Diagnose the Builder-Grade Look Before Buying
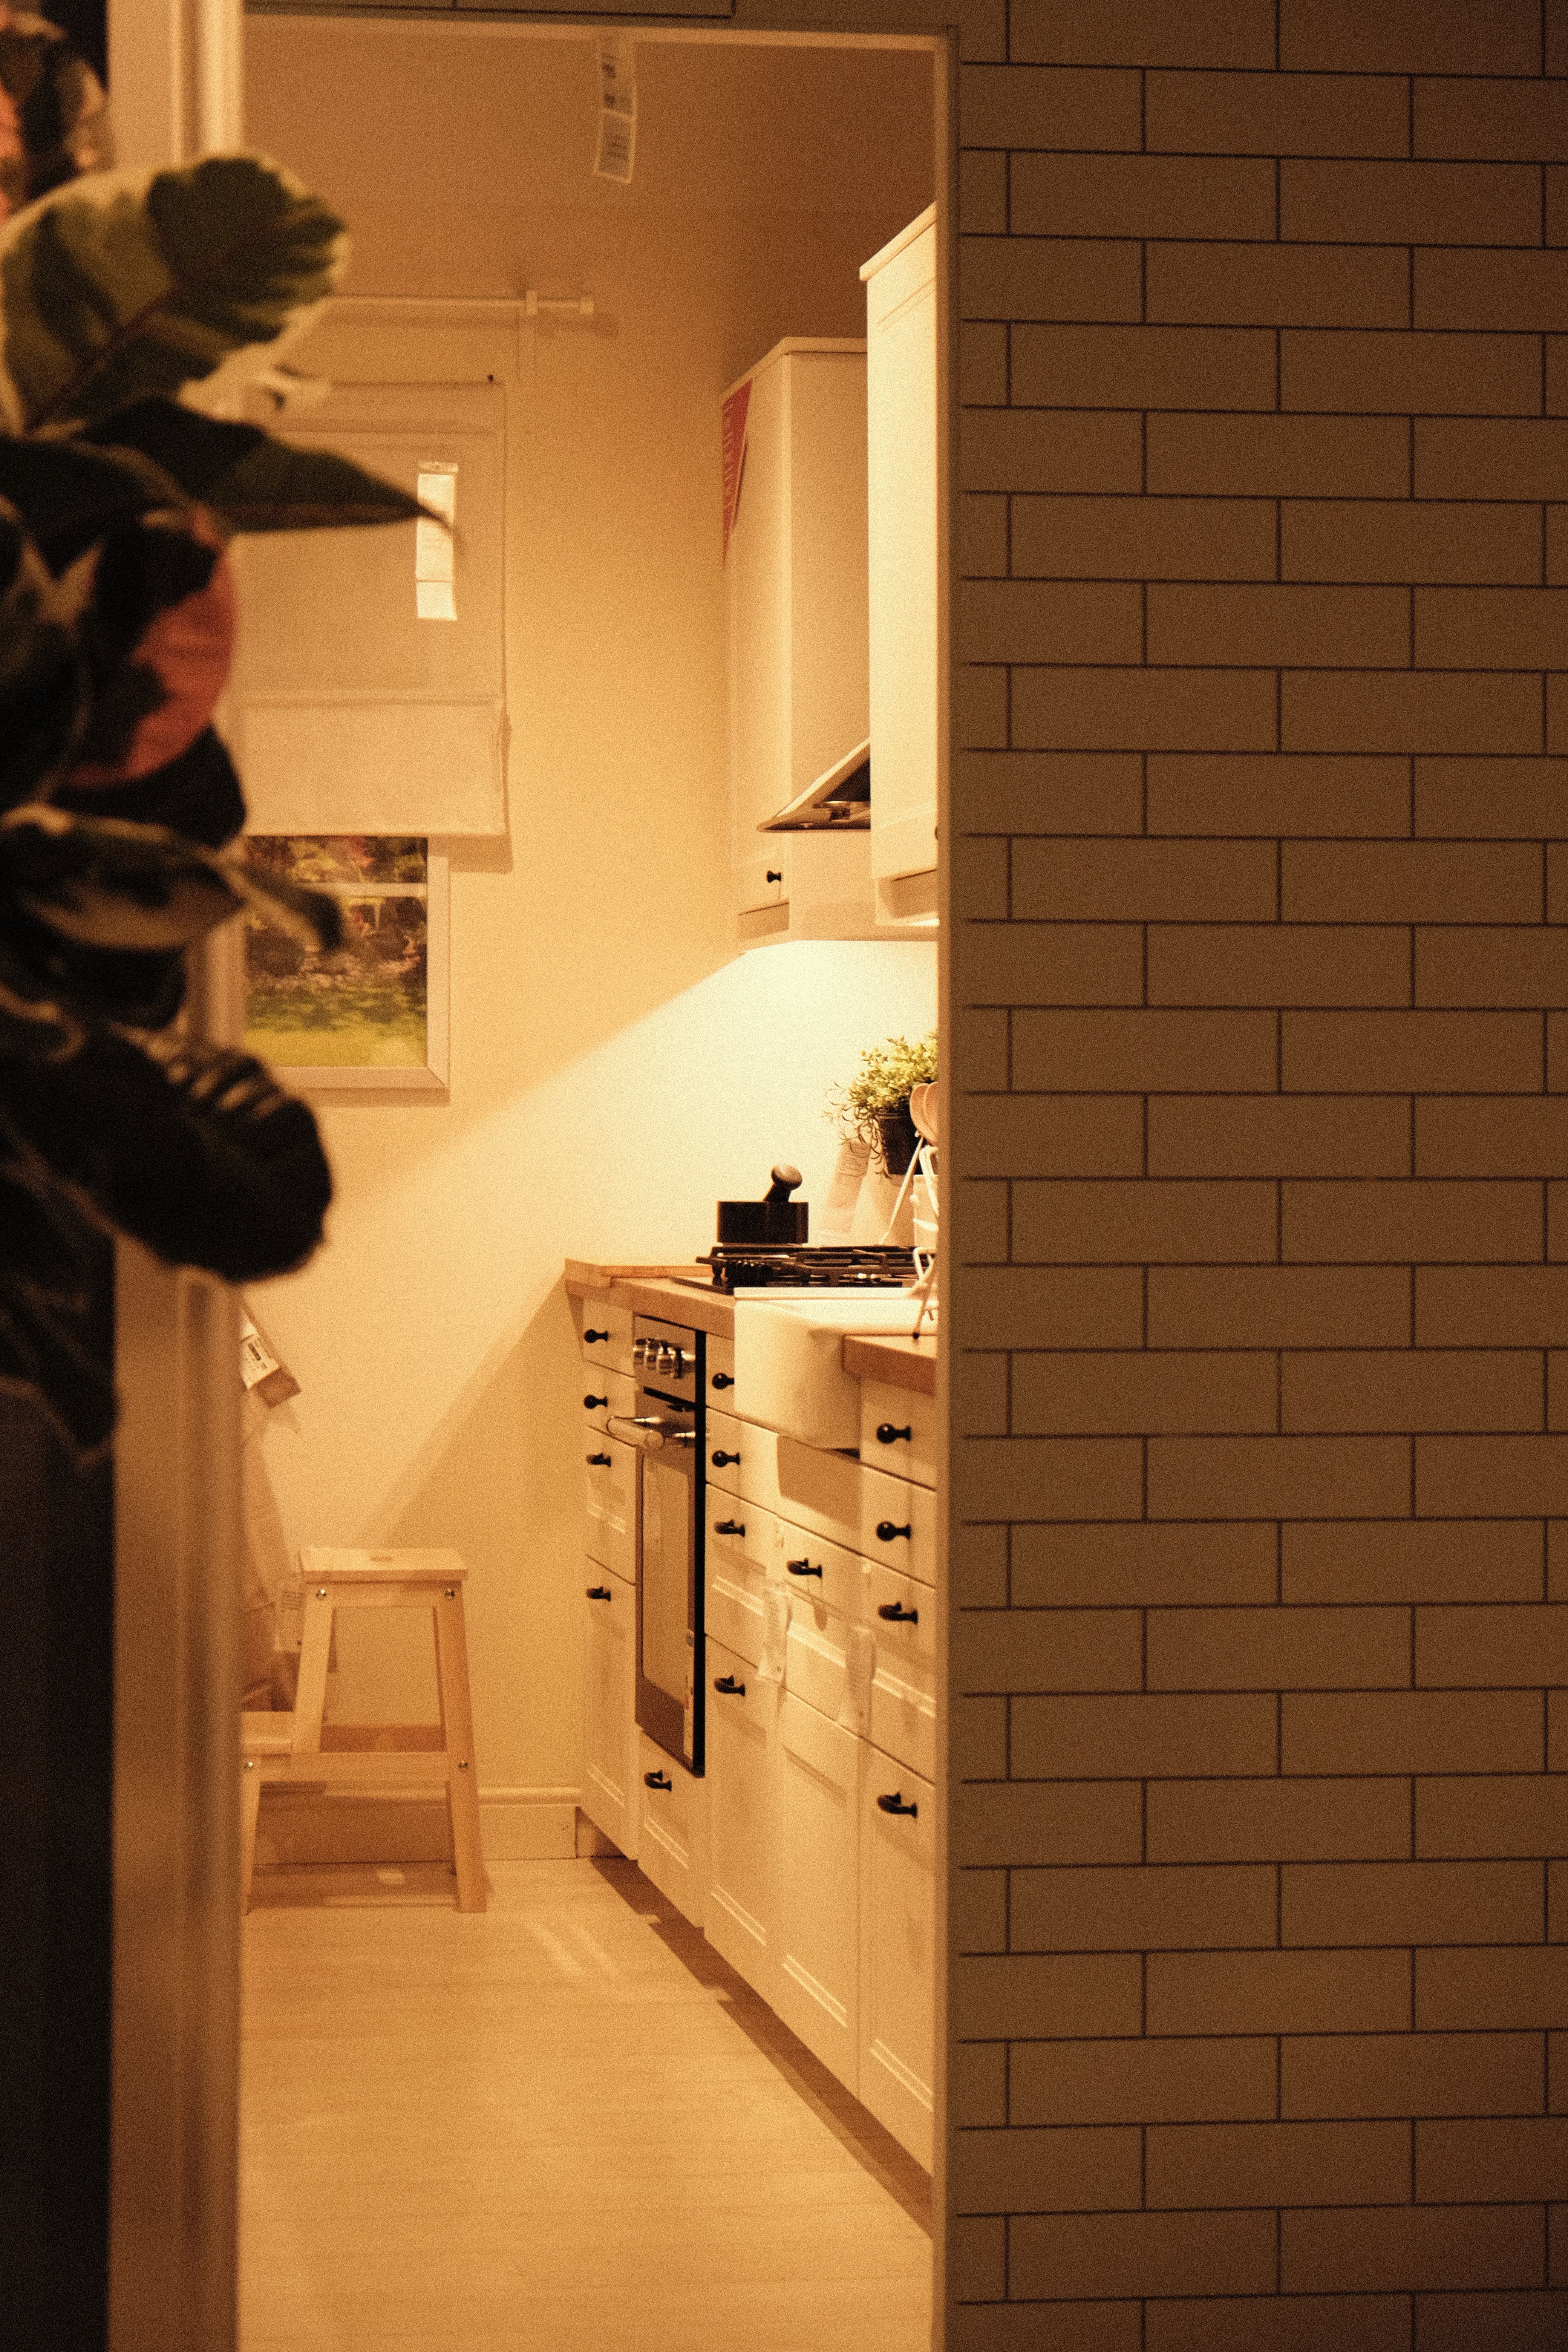
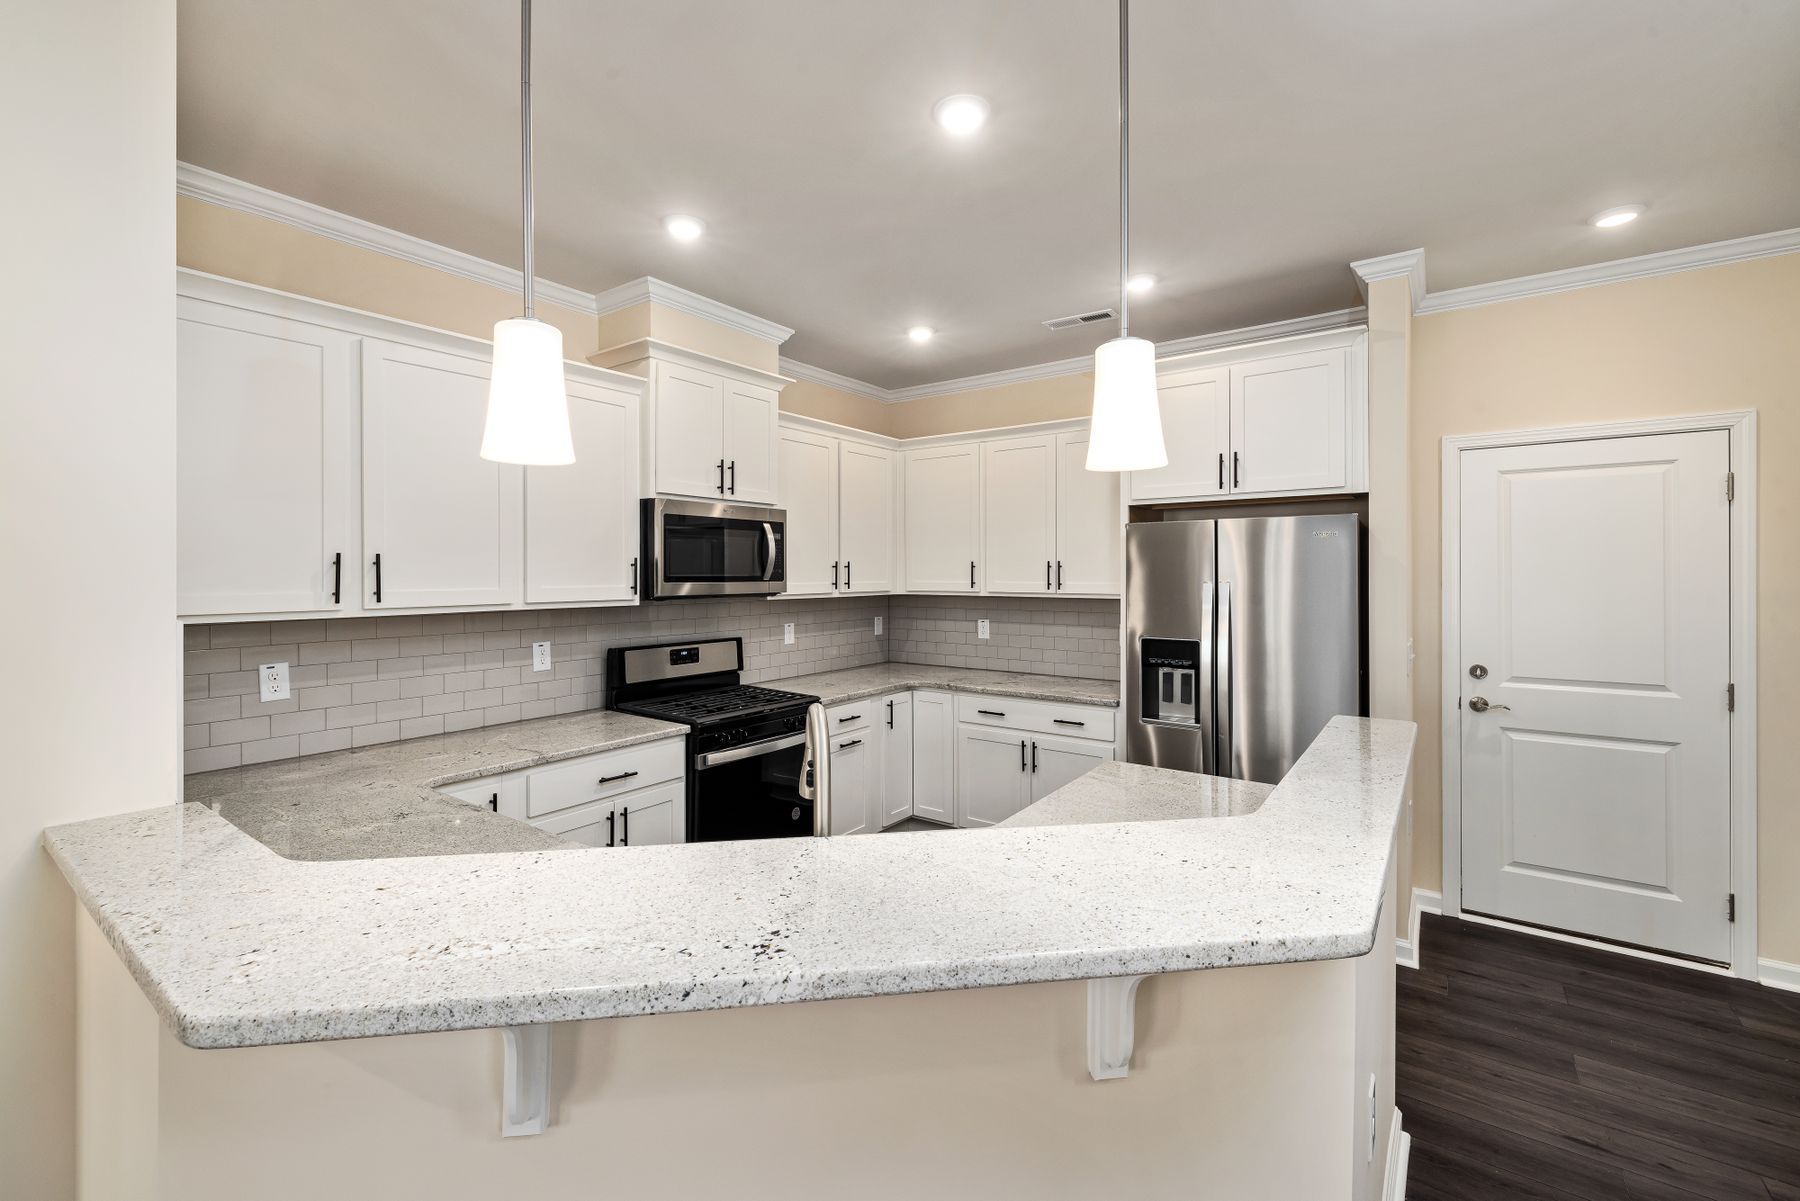
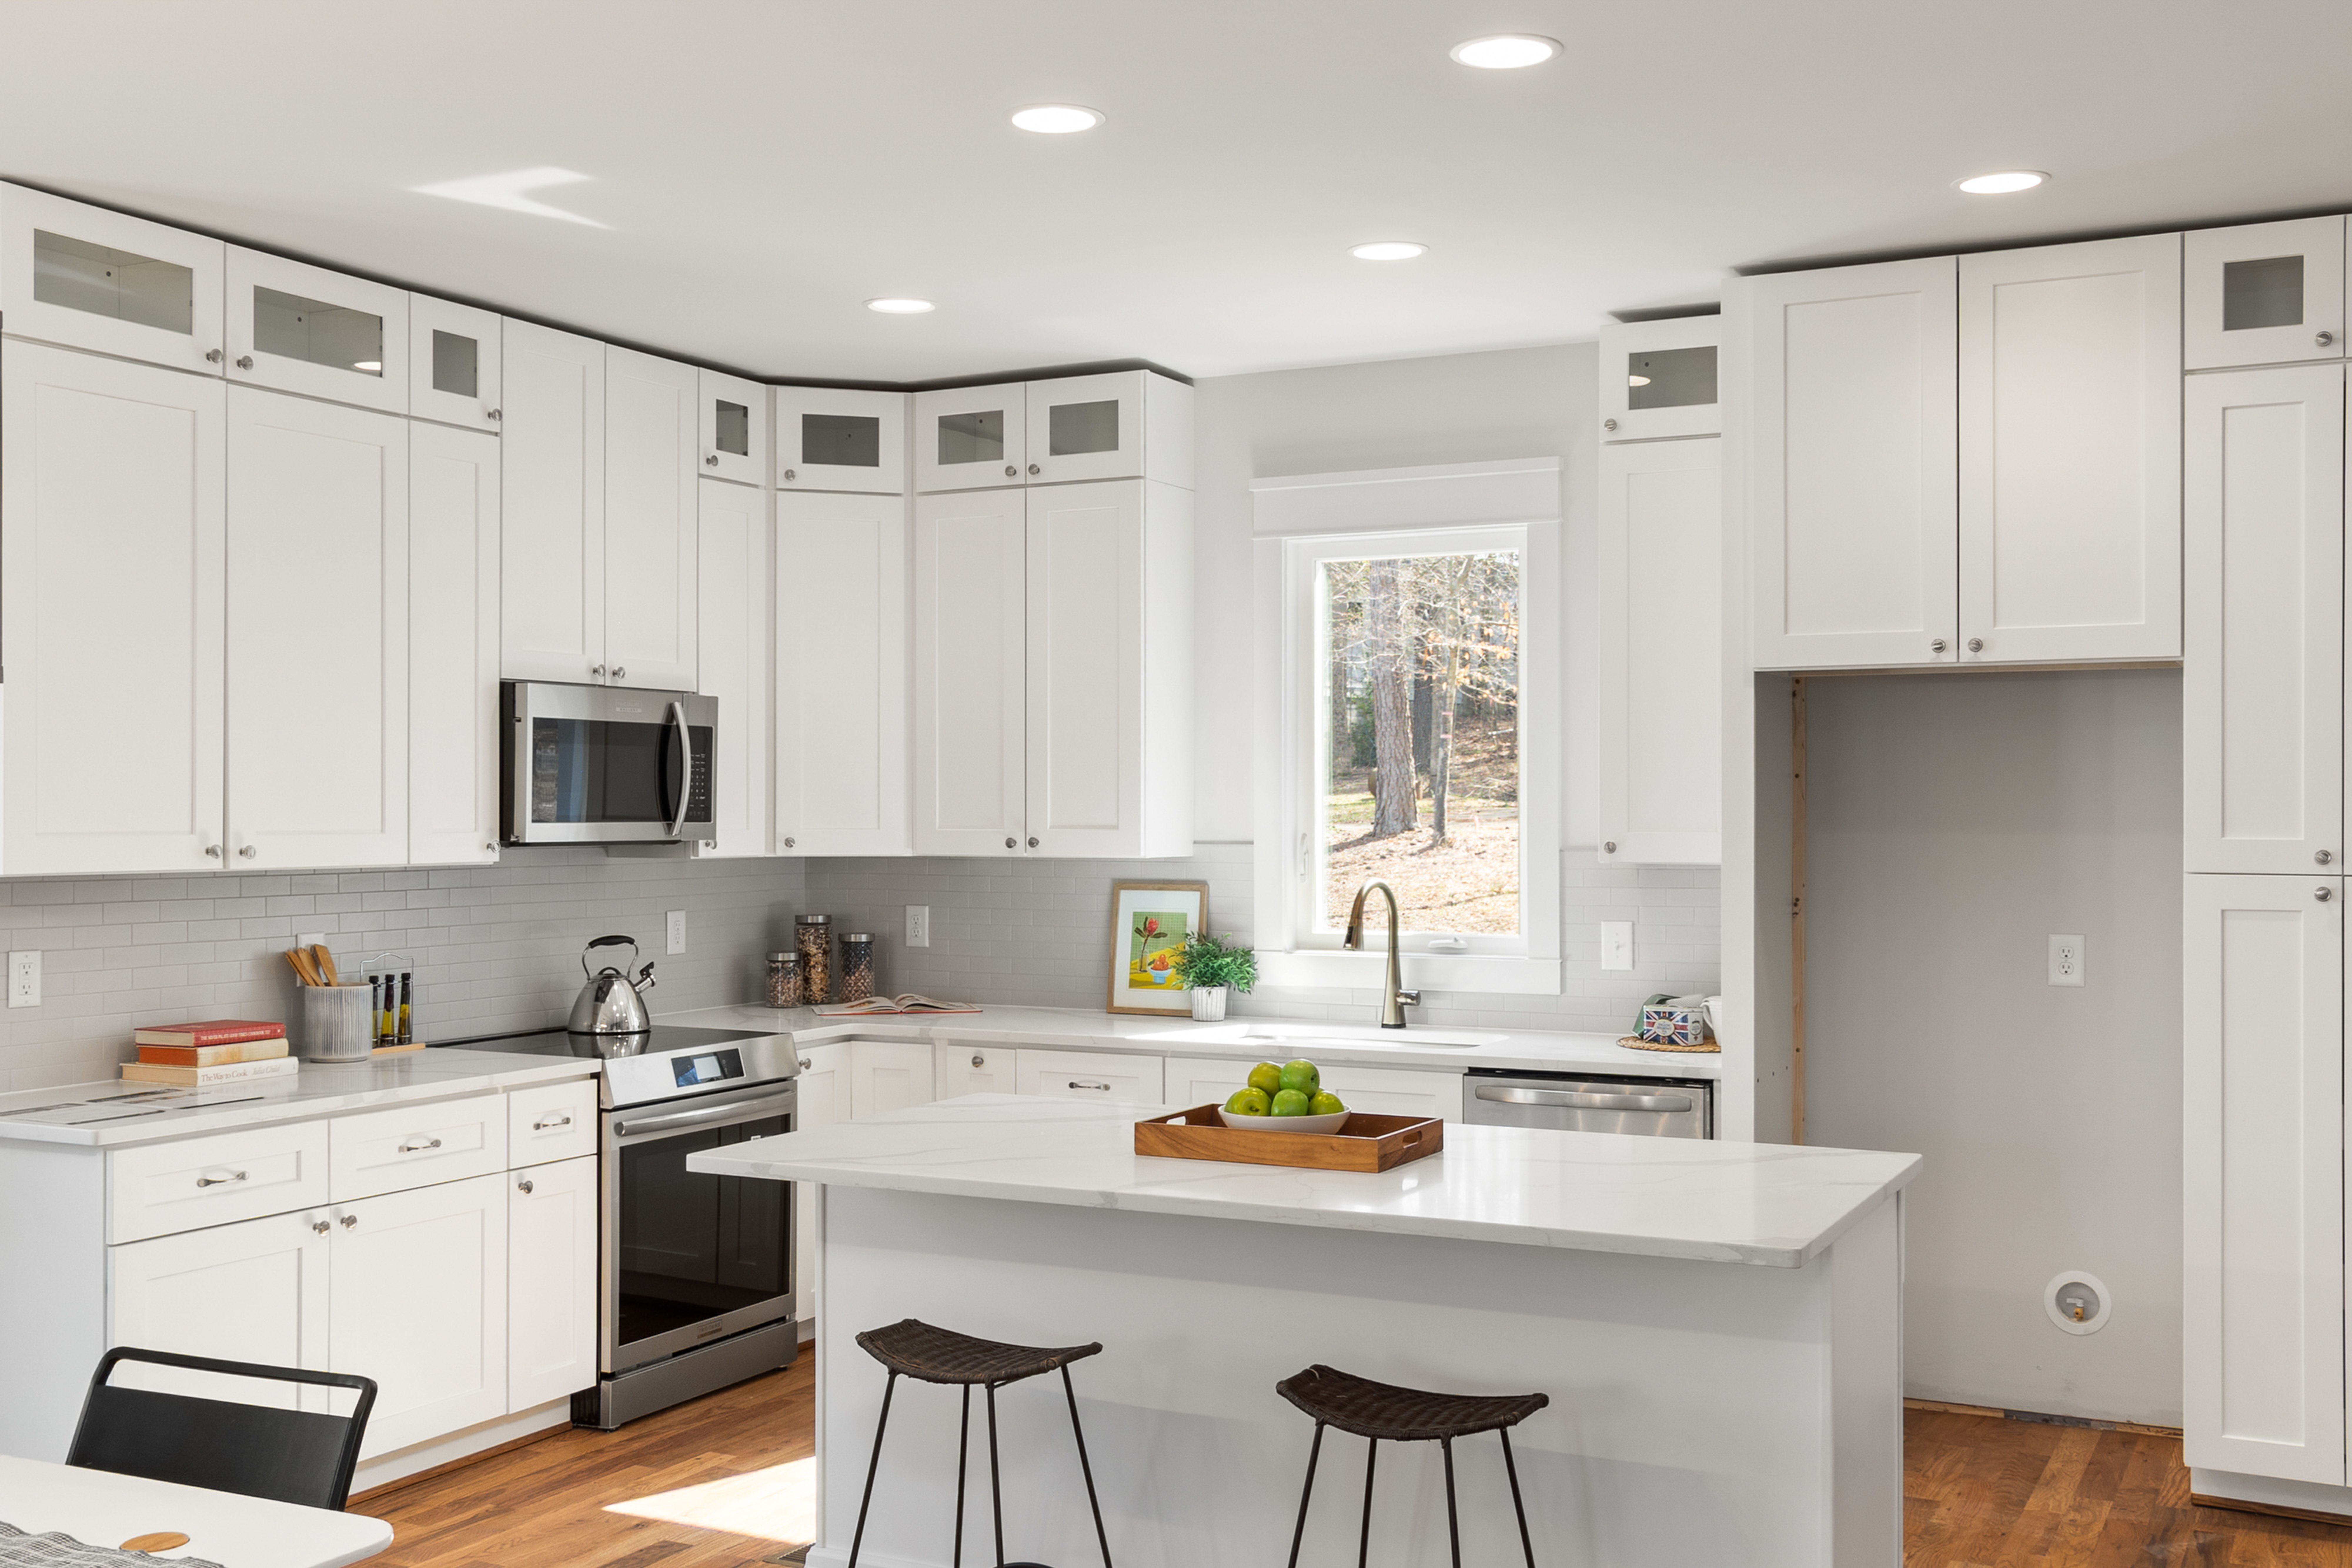
Take one photograph from the doorway and another from the main preparation position. In both, mark the largest visual fields before looking at accessories. Cabinetry may dominate, but a dark counter, exposed appliance bank or harsh ceiling fixture can be the stronger signal. Count finishes and distinguish visual dissatisfaction from defects: a dated door profile invites an aesthetic decision, while a loose hinge, swollen base or leak needs repair. Make four notes—keep, maintain, restyle and permanently alter—so a small shopping trip does not become an accidental renovation.
No-Reno Has More Than One Permanence Level
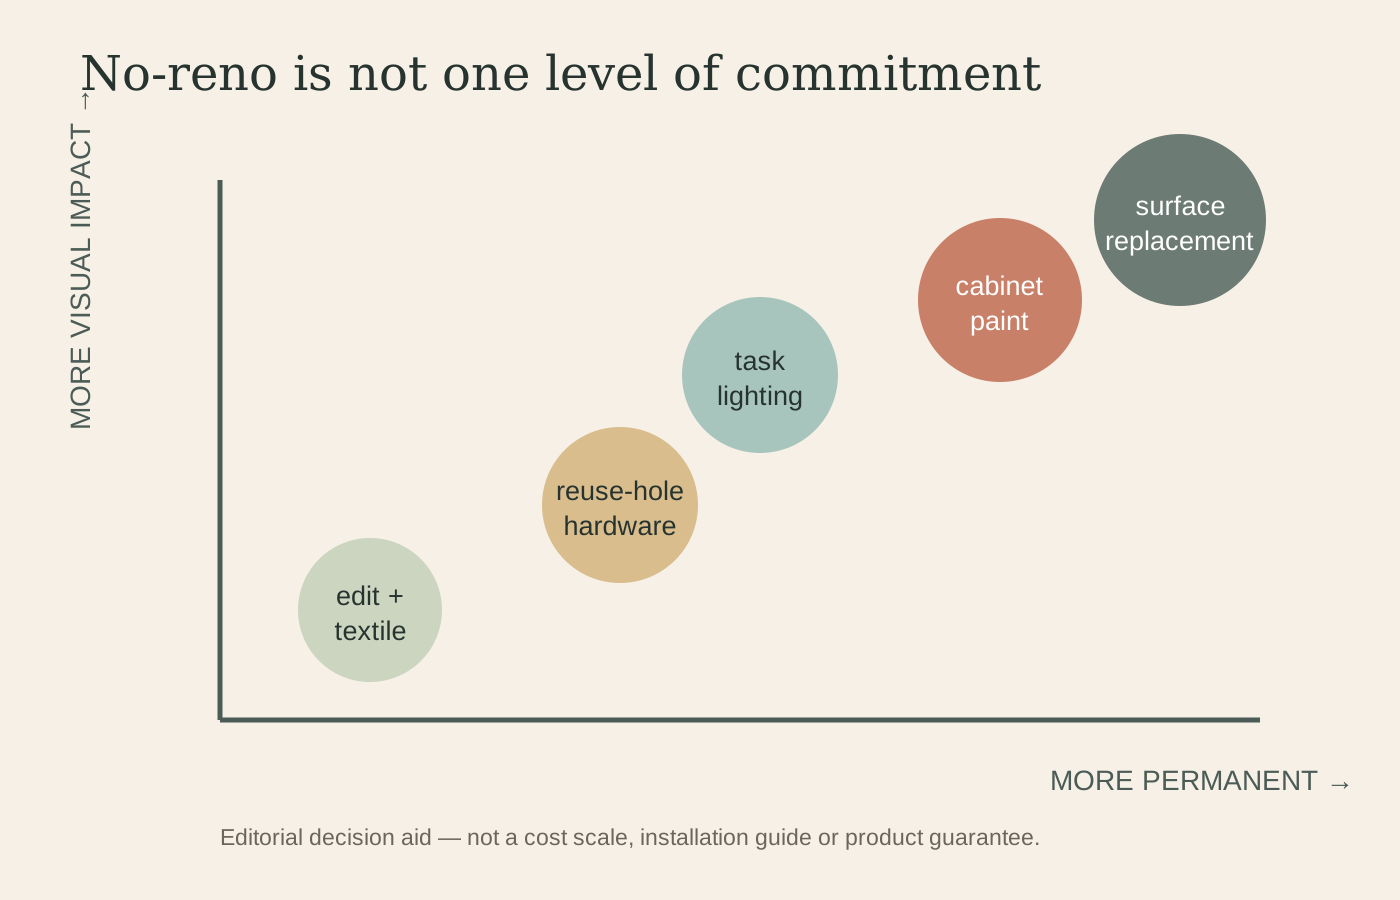
Removing clutter and adding a washable runner leave the underlying room largely unchanged. Reusing existing hardware holes alters little; drilling new ones does not. Cabinet painting leaves boxes in place but requires preparation, curing and a finish that may be difficult to reverse. Counter replacement belongs to another project scale. Assess whether the original component remains, whether the work can be undone without damage and whether the kitchen can operate during the change. Renters need written permission where the lease requires it; owners still benefit from choosing the least disruptive intervention that solves the diagnosed problem.
The Installed Door Profile Sets the Terms
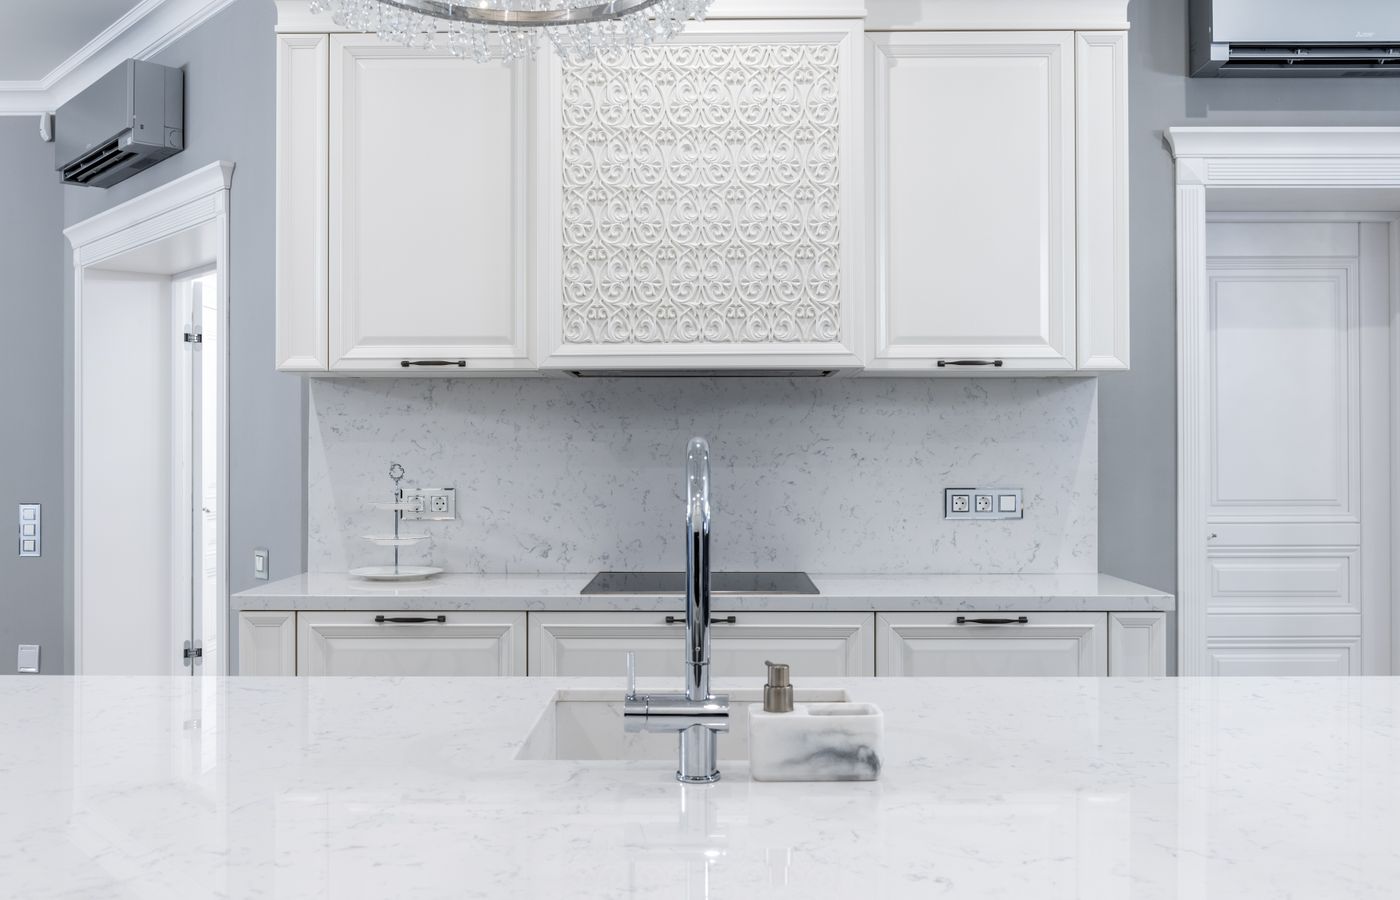
Slab, Shaker and raised-panel doors cannot all be made to read as the same kitchen by applying one fashionable color. A flat door relies on proportion, sheen and hardware; a framed door already carries a repeated shadow pattern; an ornate profile may become busier when extra trim is added. Inspect gaps, drawer relationships, hinges and swing clearance before considering applied molding. If the desired result requires rebuilding door geometry, the project has crossed from styling into carpentry. [Kitchen Cabinet Ideas](/kitchen/kitchen-cabinet-ideas/) compares cabinet forms in depth; this decision begins with the doors already installed.
Paint Is a Surface Test, Not a Color Shortcut
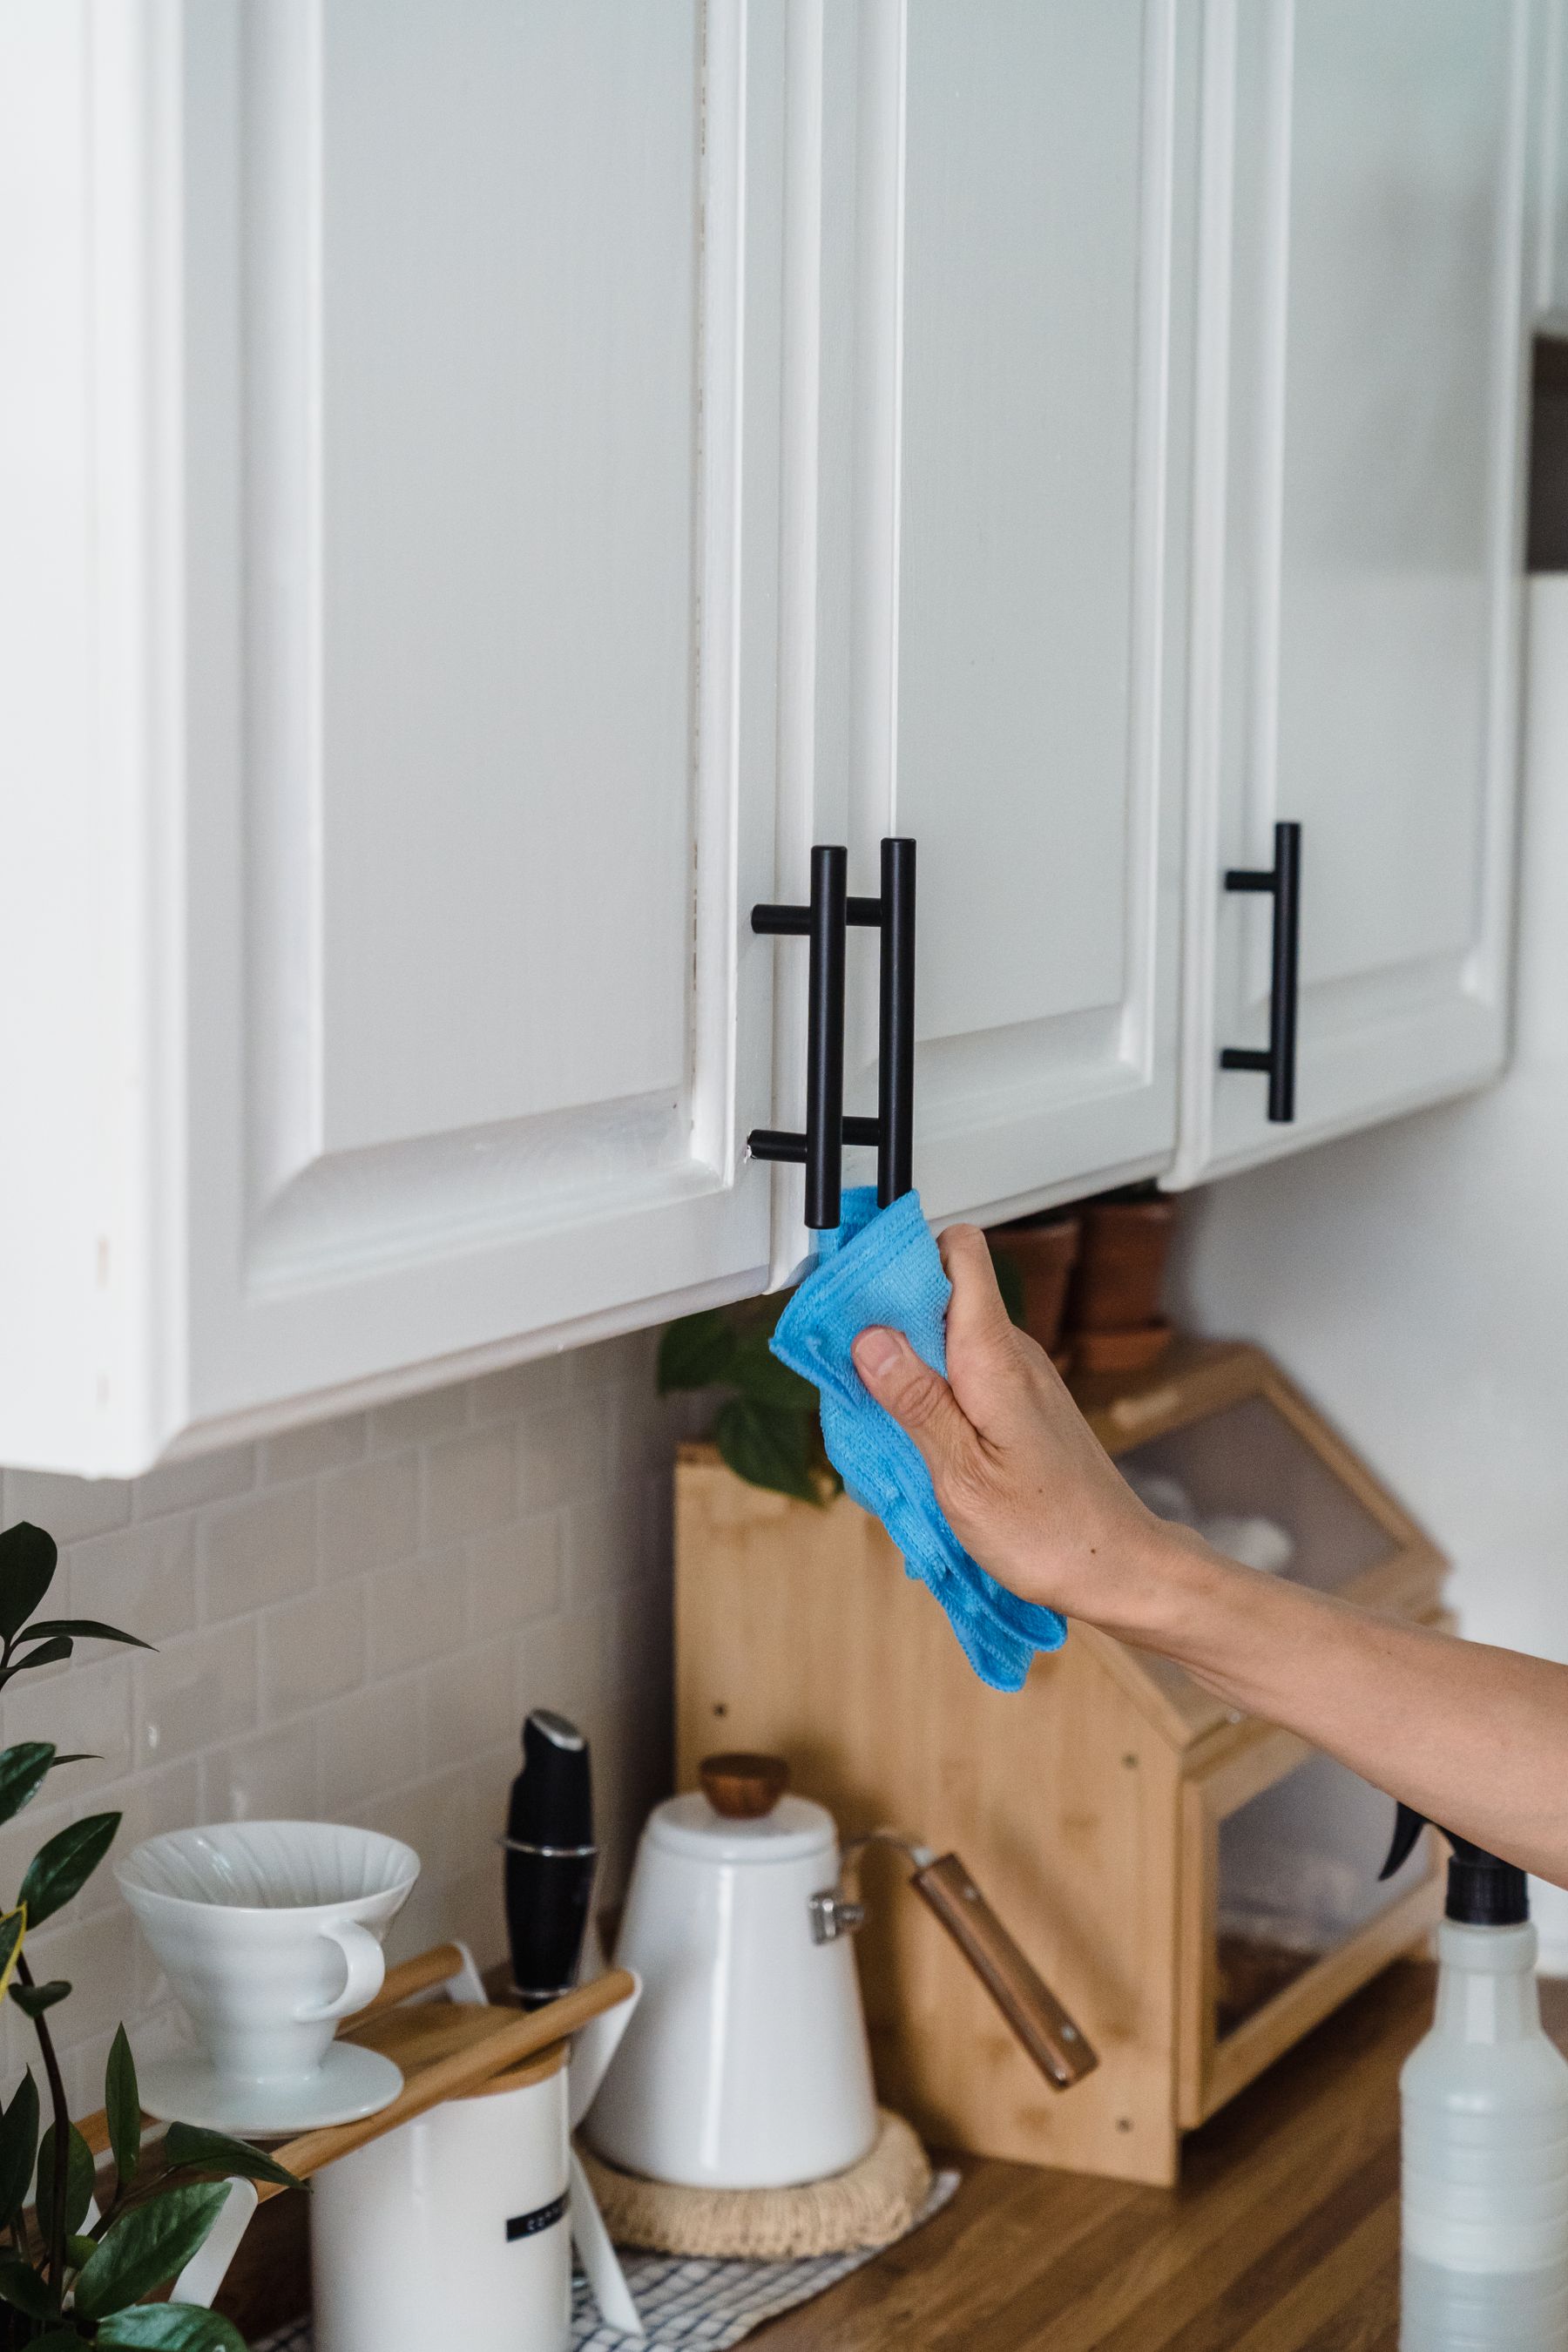
The substrate, existing coating, edge condition, cleaning residue and new product instructions determine whether painting is responsible. Solid wood, factory-finished panels, laminate and thermofoil are not interchangeable bases. Identify the material and manufacturer guidance where available, inspect a concealed area and decide whether correct preparation and curing are realistic in an operating kitchen. Peeling film, swelling or a failing substrate is not repaired by decorative color. Test the proposed finish in the room's actual morning and evening light, but stop if the surface cannot accept the specified system.
Hardware Repairs Rhythm When the Holes Cooperate
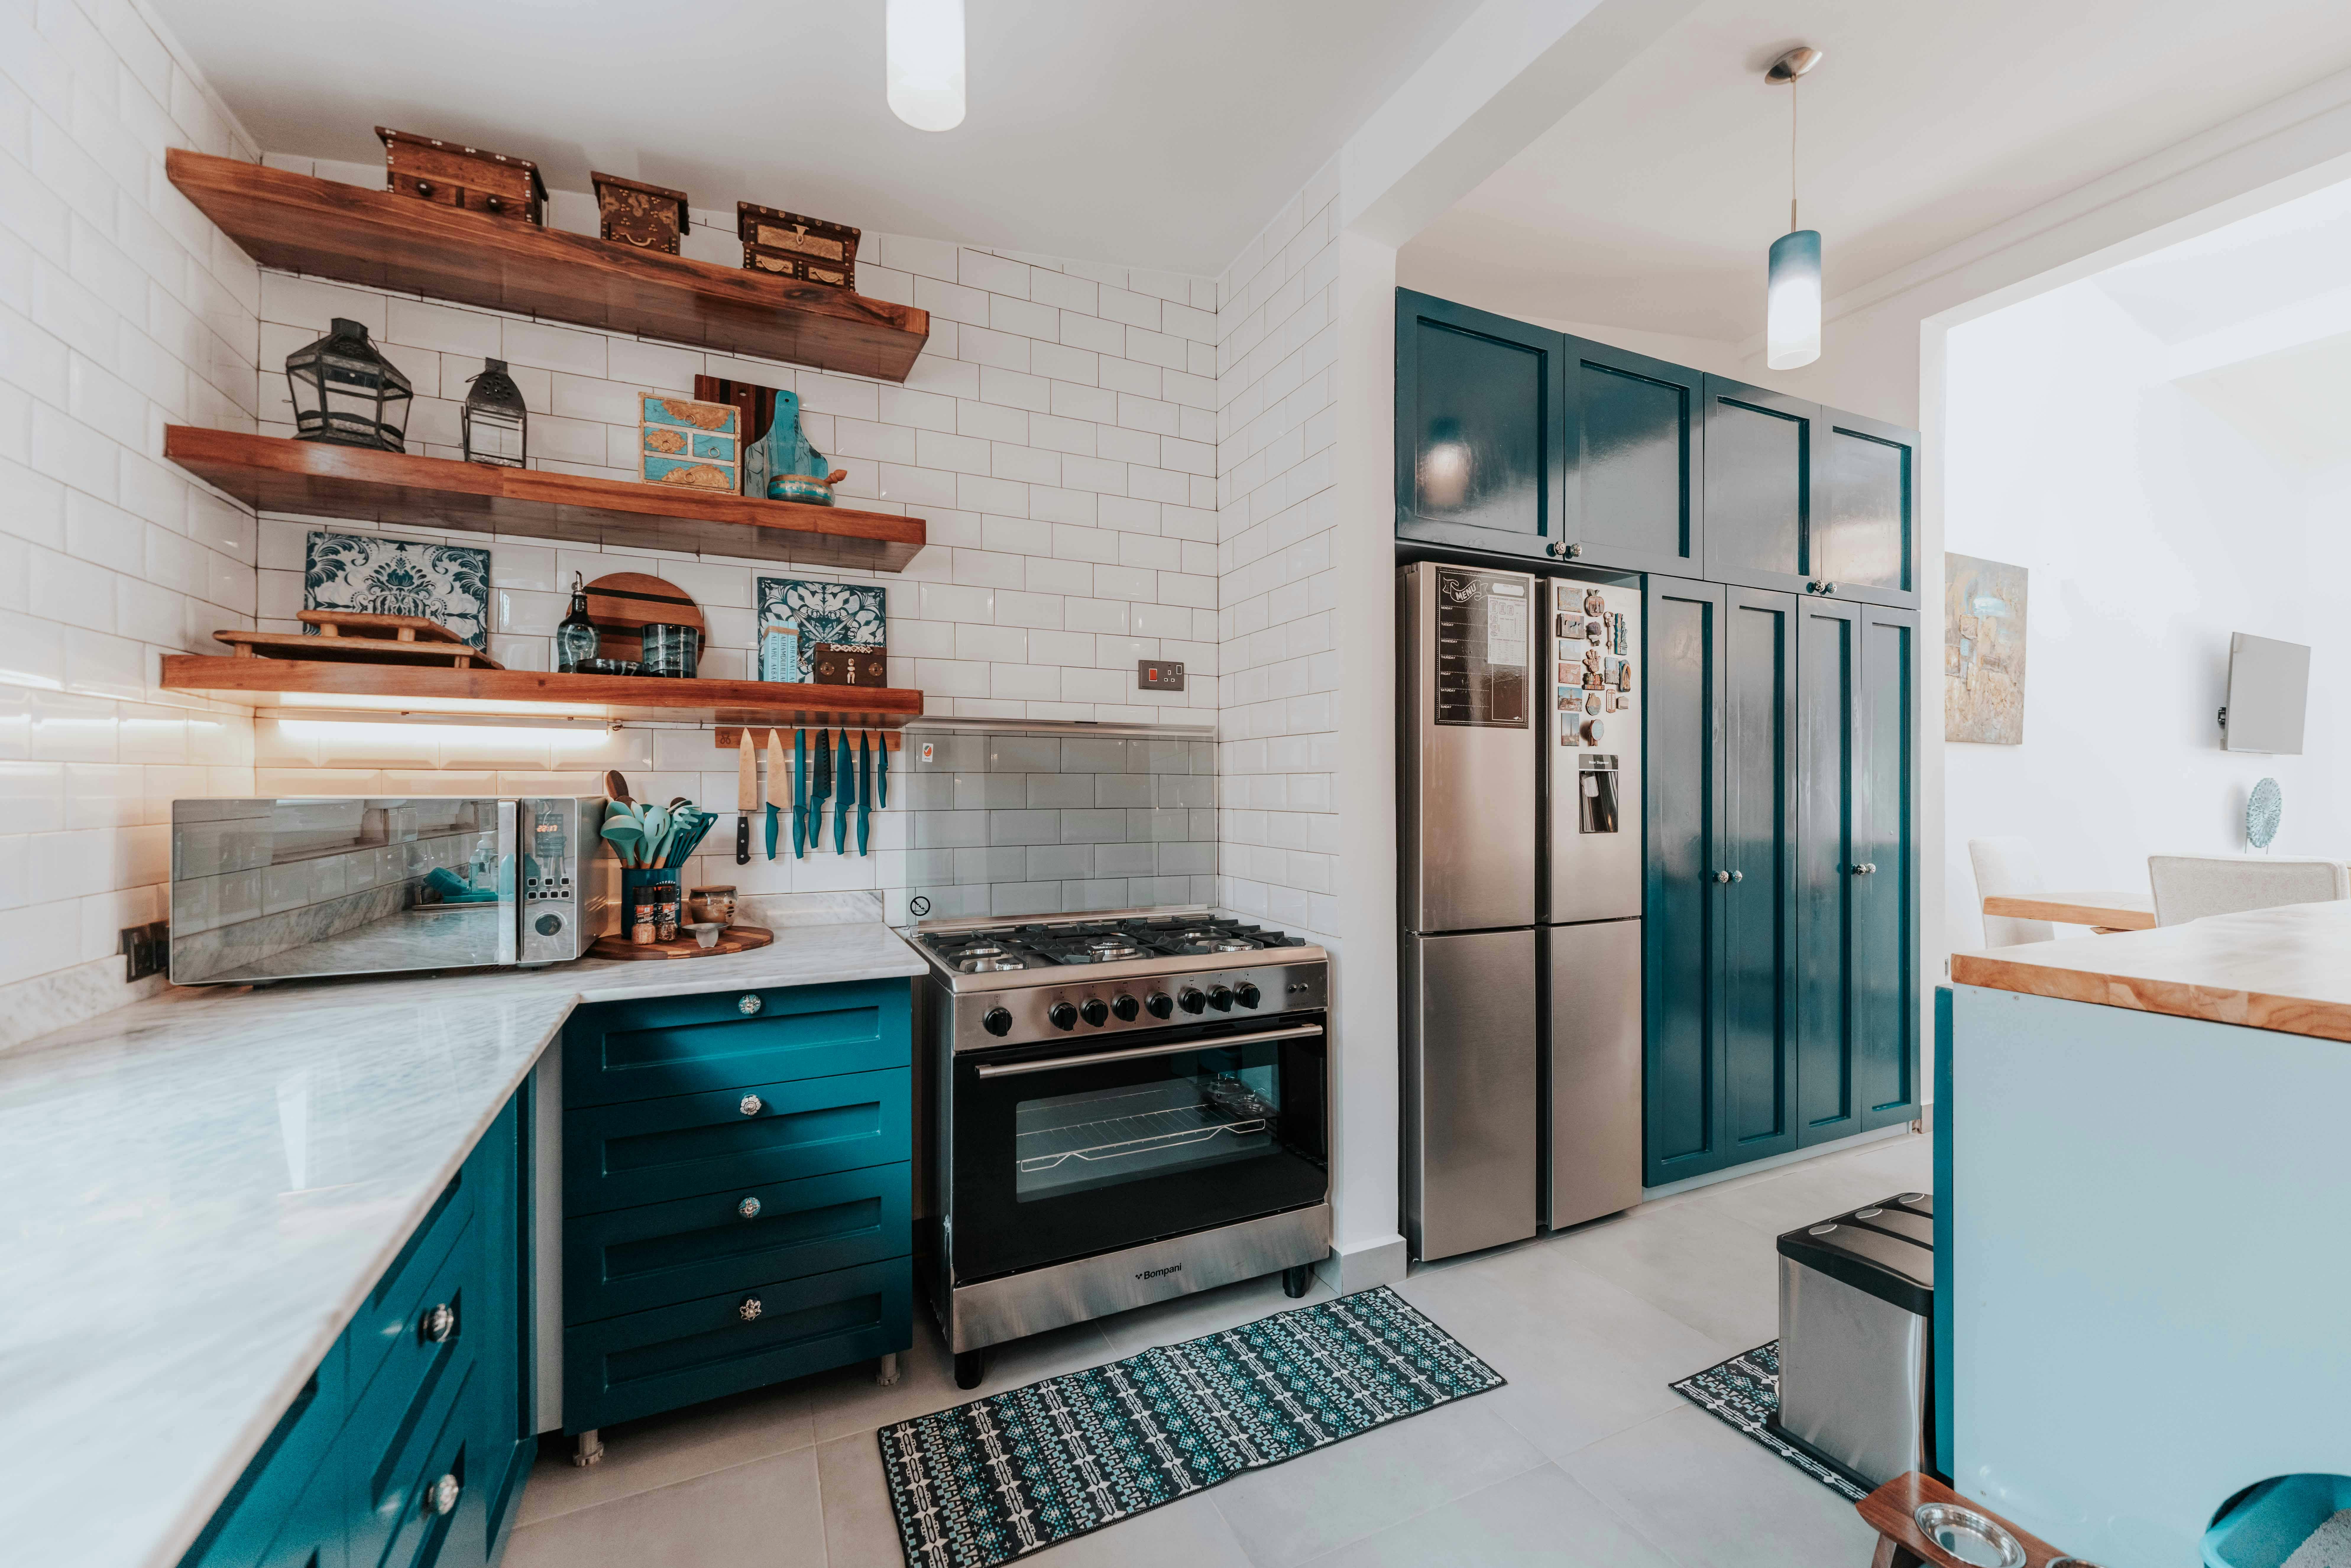
Measure the distance between existing holes, door thickness, projection and clearance before ordering. A long pull may suit a wide drawer yet overpower a narrow door; a tiny knob can disappear on a broad slab. New hardware can also reveal old paint outlines or leave unused drilling that requires repair. Make paper templates and view several doors together. Finishes do not need to match every faucet and appliance exactly, but repetition within each cabinet run should be deliberate and the grip comfortable during real use.
The Backsplash Must Negotiate Two Surfaces
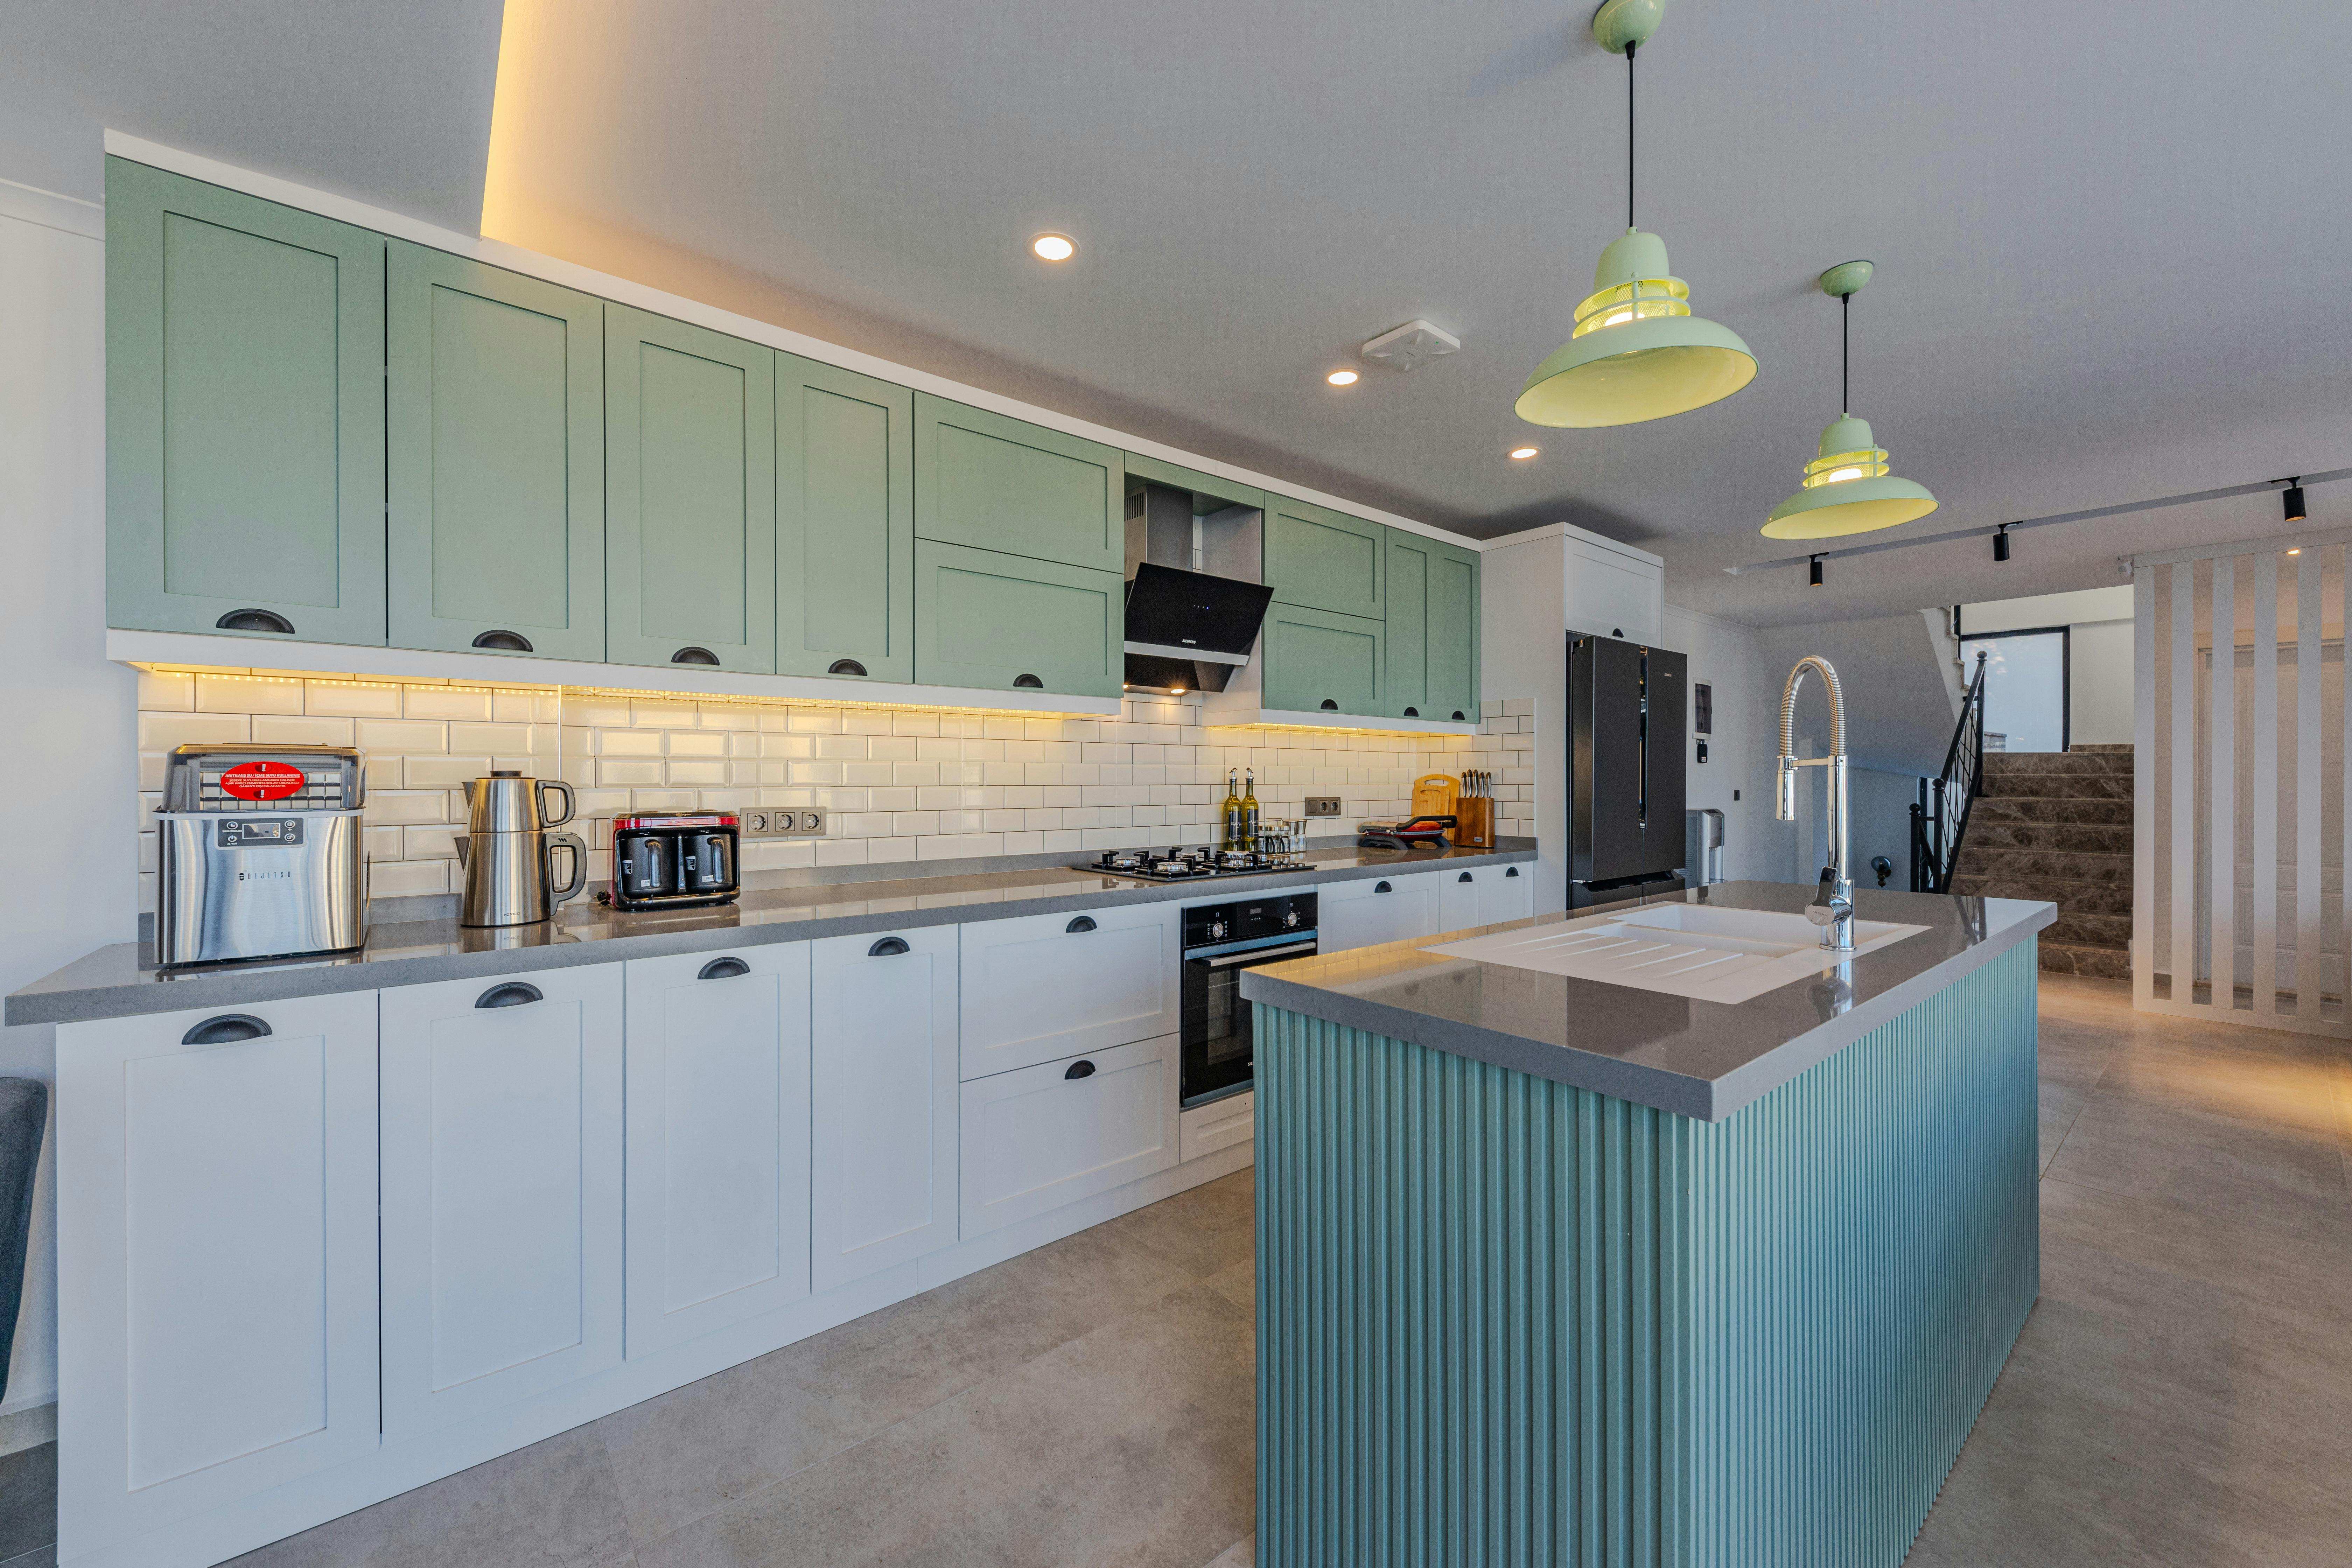
The backsplash touches cabinet and countertop simultaneously, so sample color, pattern and grout at that junction. A cool tile may exaggerate yellowed doors; a busy pattern may compete with a strongly grained counter. Adhesive panels and peel-and-stick products need their exact moisture, heat, cleaning and substrate limits checked, particularly near cooking appliances. A styled photograph is not evidence that a product is approved for a hot location. For permanent material comparisons, continue to [Kitchen Backsplash Ideas](/kitchen/kitchen-backsplash-ideas/); the no-reno task is to connect what remains without creating a weak new interface.

Task Light Can Reframe the Existing Finish
A central ceiling fixture may brighten the room while leaving the counter in the user's shadow. Identify the actual preparation zones, then examine reflection, glare and how the cabinet color changes under task light. Plug-in or rechargeable products may suit some installations, but cables, charging and manufacturer placement instructions still matter around water, heat, moving doors and cutting areas. Do not improvise mains wiring. [Kitchen Lighting Ideas](/kitchen/kitchen-lighting-ideas/) builds the full layered plan; here light is a targeted test of whether the existing finish needs replacing at all.
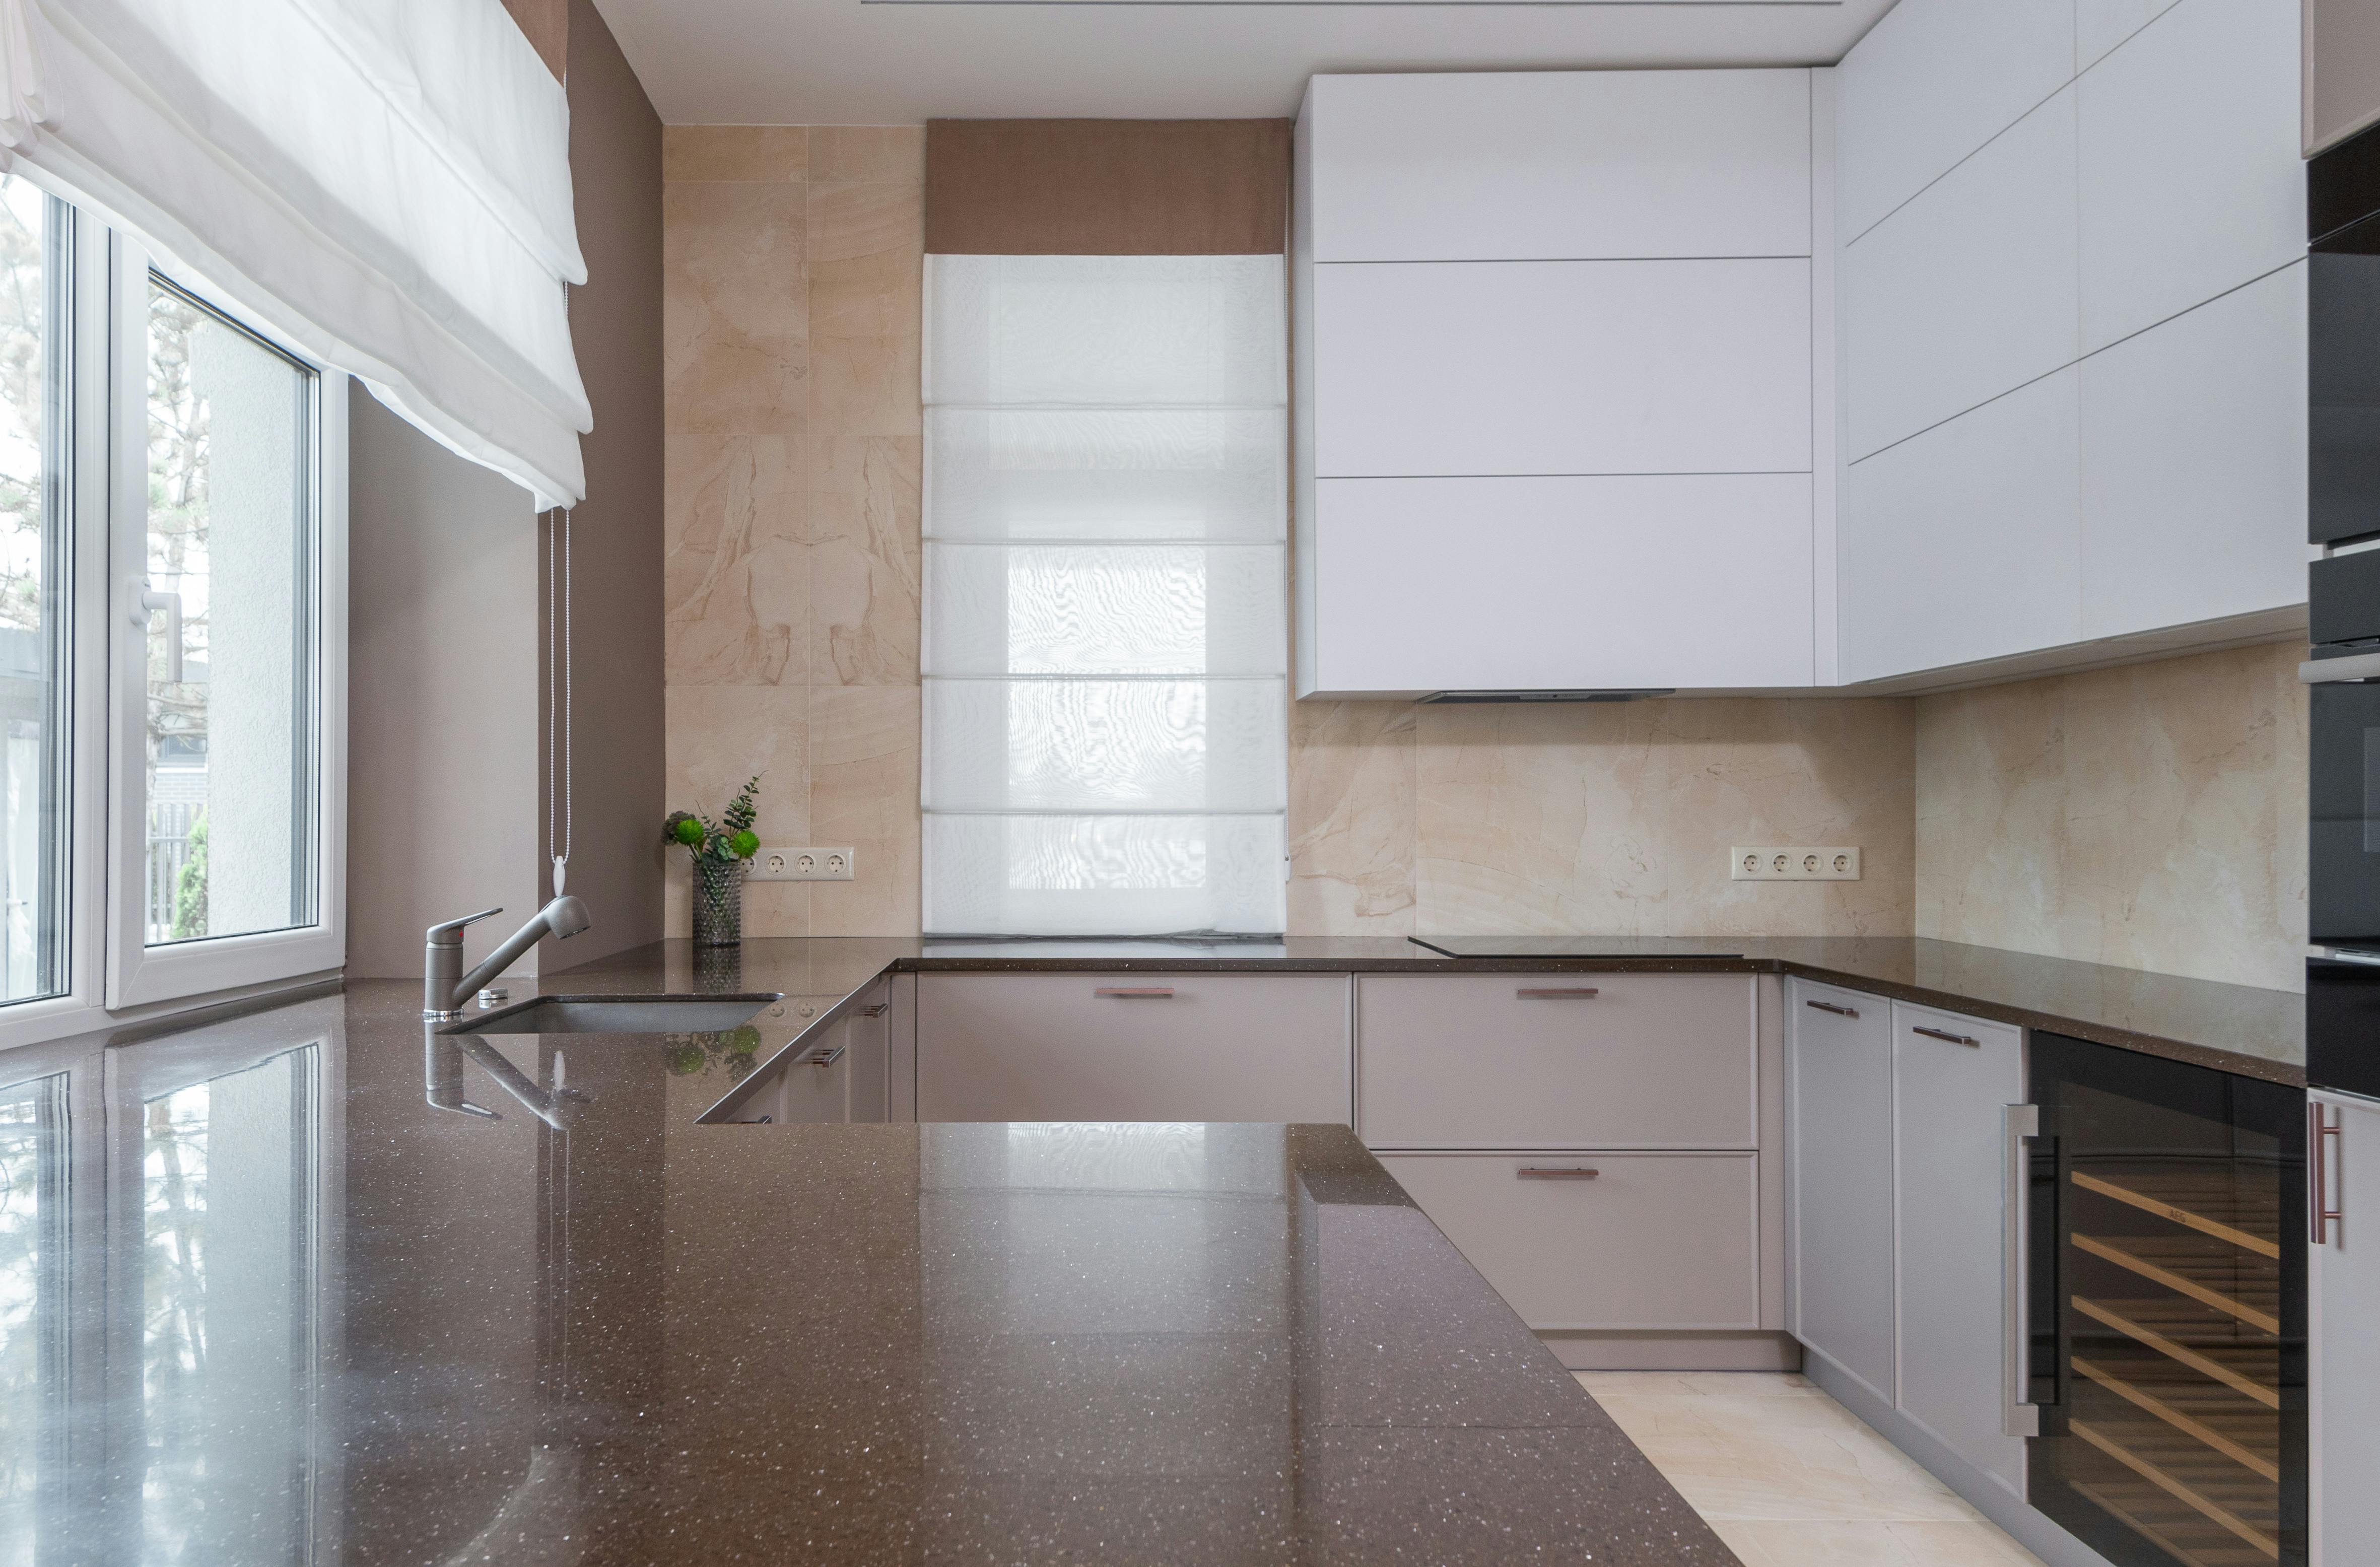
A Sound Countertop Can Stay Unfashionable
An unfashionable but sound counter does not automatically need replacement. View it beside proposed hardware, cabinet and lighting samples; the surrounding relationship may be the problem. Decorative films can be temporary surface treatments in suitable conditions, but they are not equivalent to a manufactured worktop. Check exact instructions for heat, water, seams, scratching and cleaning, especially around sinks and cooking zones. Never cover swelling, delamination or structural failure. [Kitchen Countertop Ideas](/kitchen/kitchen-countertop-ideas/) is the next step when replacement is genuinely justified.

Sink and Faucet Form One Working Center
A faucet may be the most conspicuous metal object in a plain kitchen, but replacement begins with reach, control access, splash behavior, nearby window clearance and maintenance. The sink, drain, faucet and counter can read as one center without sharing an identical finish. First reduce the soap-and-cleaning cluster and check whether the visual problem remains. Plumbing work must follow the fixture instructions and may require a qualified professional. Leaks, failing seals and moisture damage are repair questions, never styling opportunities.
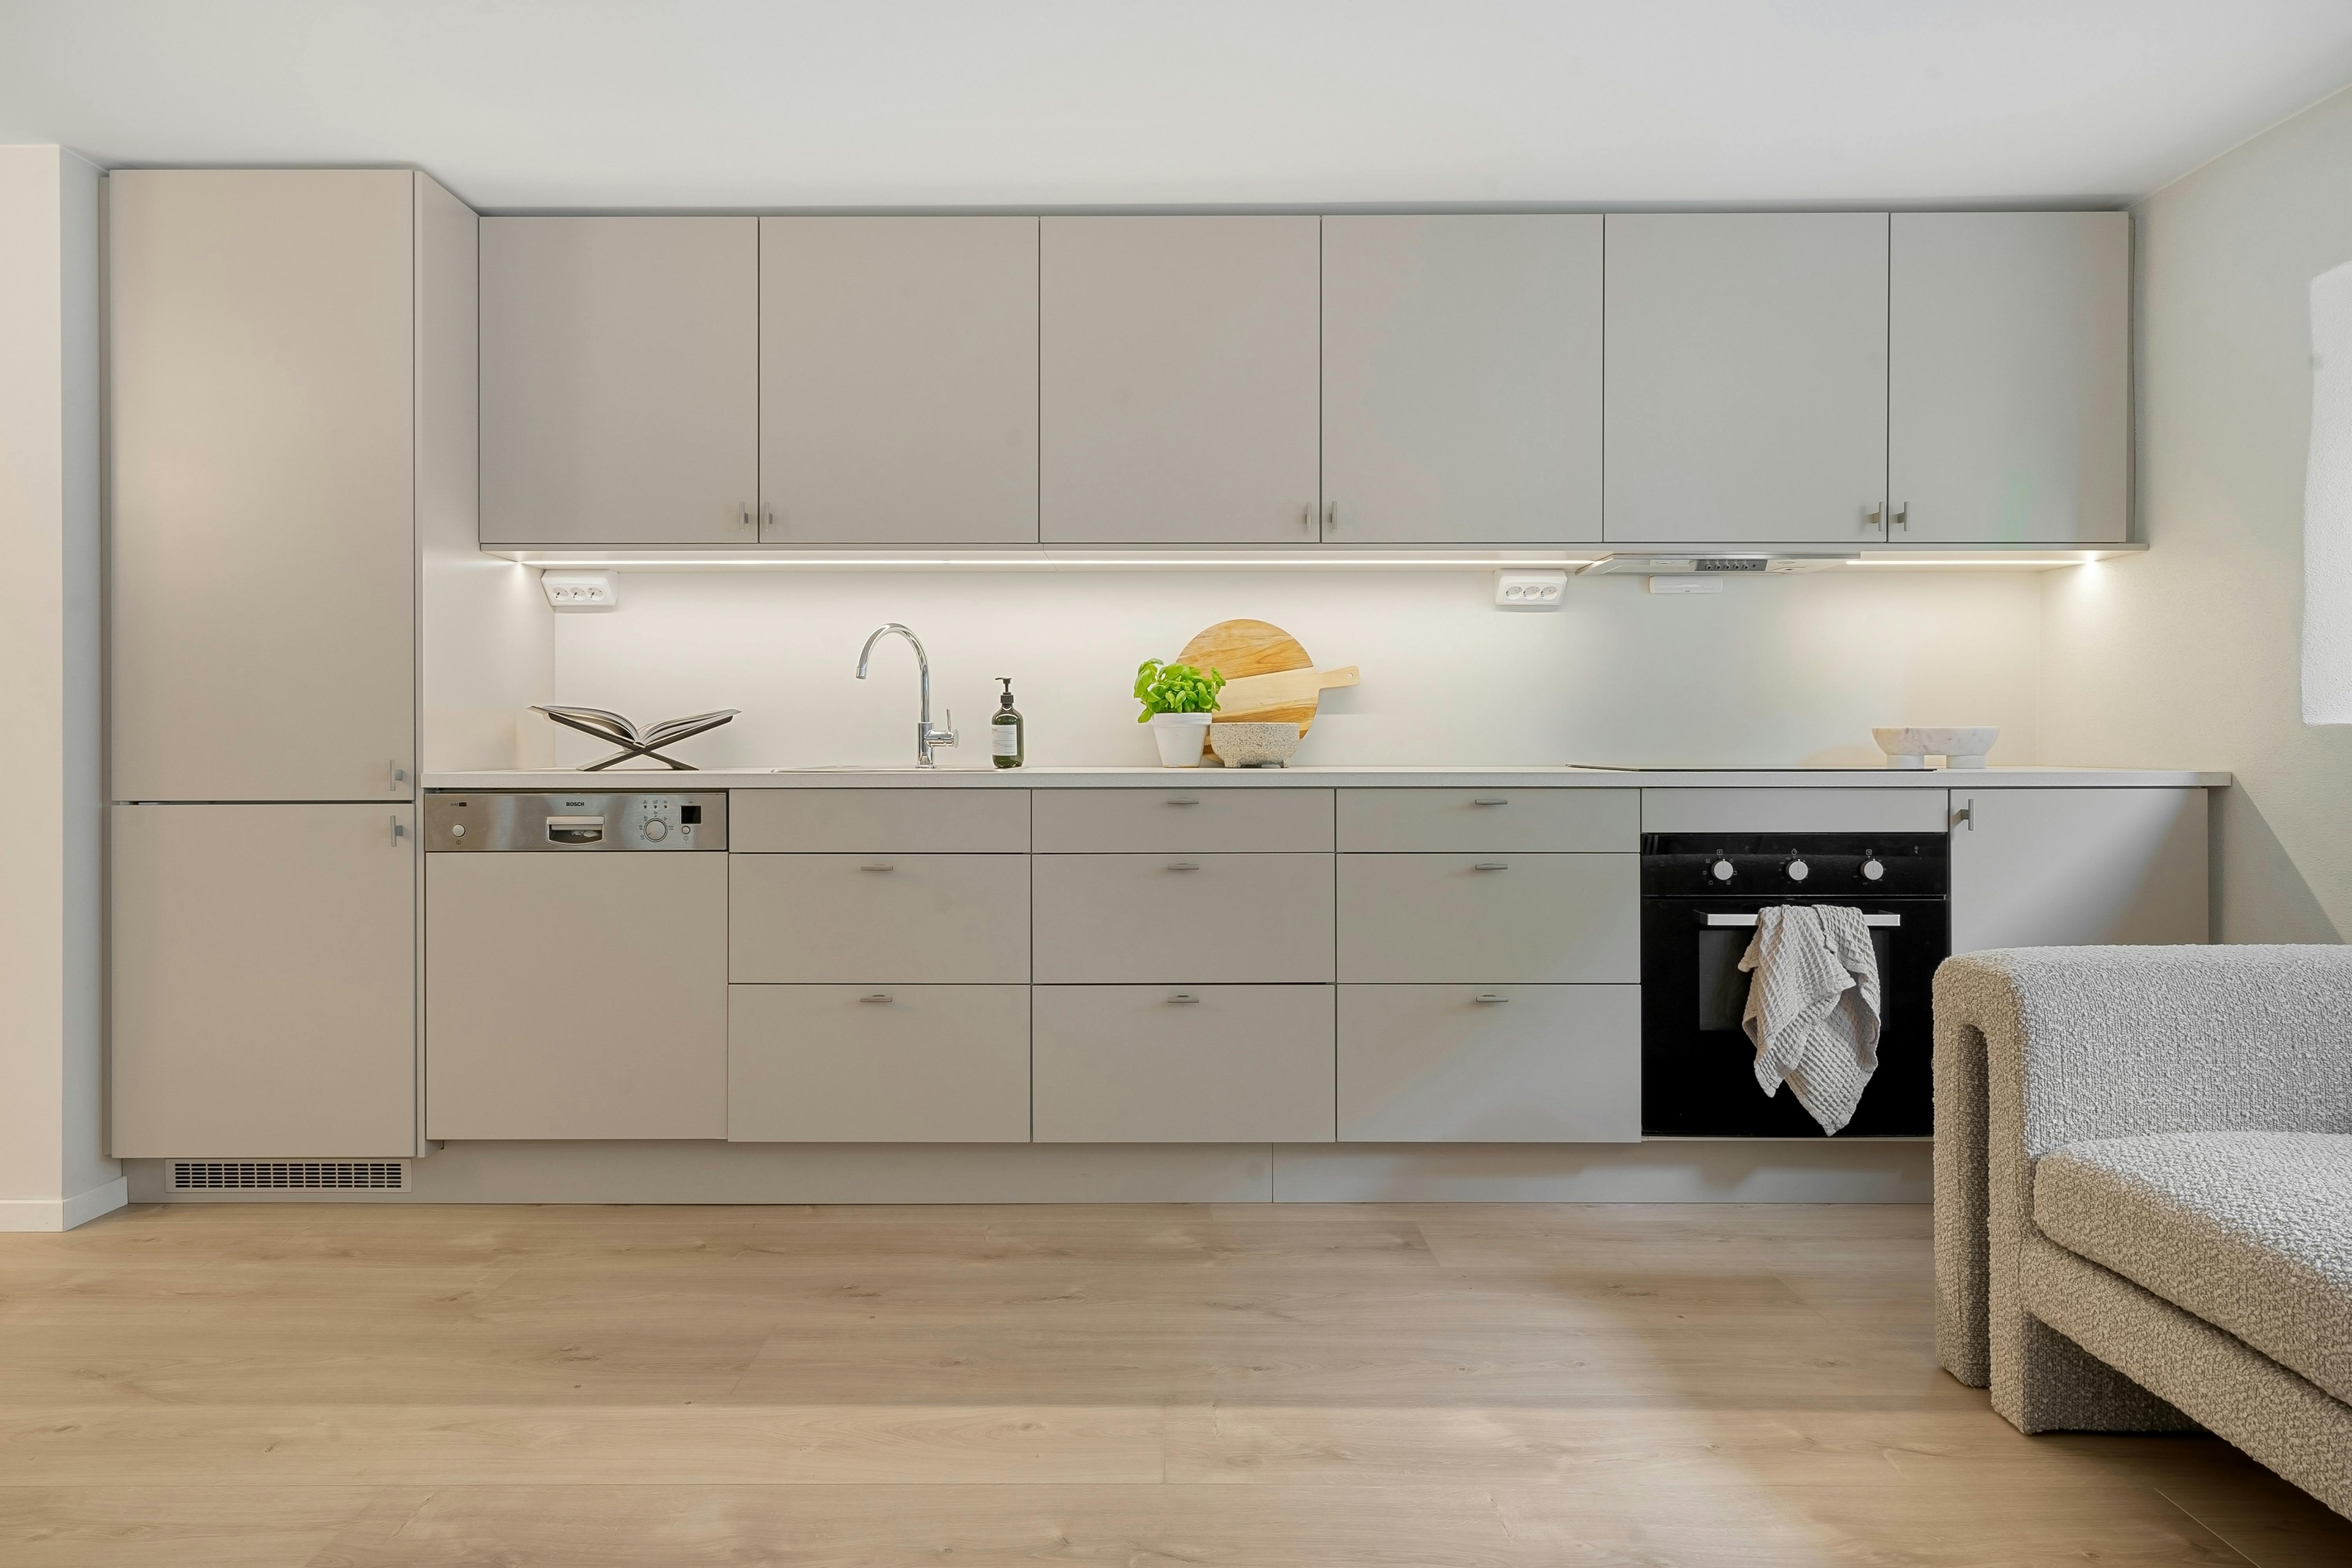
Small Visual Noise Can Outshout Major Fixtures
Put away rarely used appliances, combine sink-side supplies and restore one generous preparation span before judging expensive fixtures. This is not a demand for a sterile counter: a daily coffee machine or utensil crock can remain when it has sufficient operating space. Multiple boards, jars, trays and plants can hide the backsplash you are trying to evaluate. [Kitchen Counter Organization Ideas](/kitchen/kitchen-counter-organization-ideas/) develops a point-of-use system; this initial edit is a diagnostic that prevents decoration from disguising the true problem.

One Textile Gesture Can Soften the Hard Shell
Cabinet fronts, counters, tile and appliances create a reflective shell. A washable lower-window panel, appropriate runner or genuinely useful upholstered seat can soften it without changing fixed elements. Position fabric away from open flame, persistent dampness and obstructed window operation, and check care requirements before choosing a pale or textured weave. Begin with one textile role instead of repeating pattern across towels, rugs and seats. In a constrained room, [Small Kitchen Ideas](/kitchen/small-kitchen-ideas/) helps protect circulation and usable floor area.
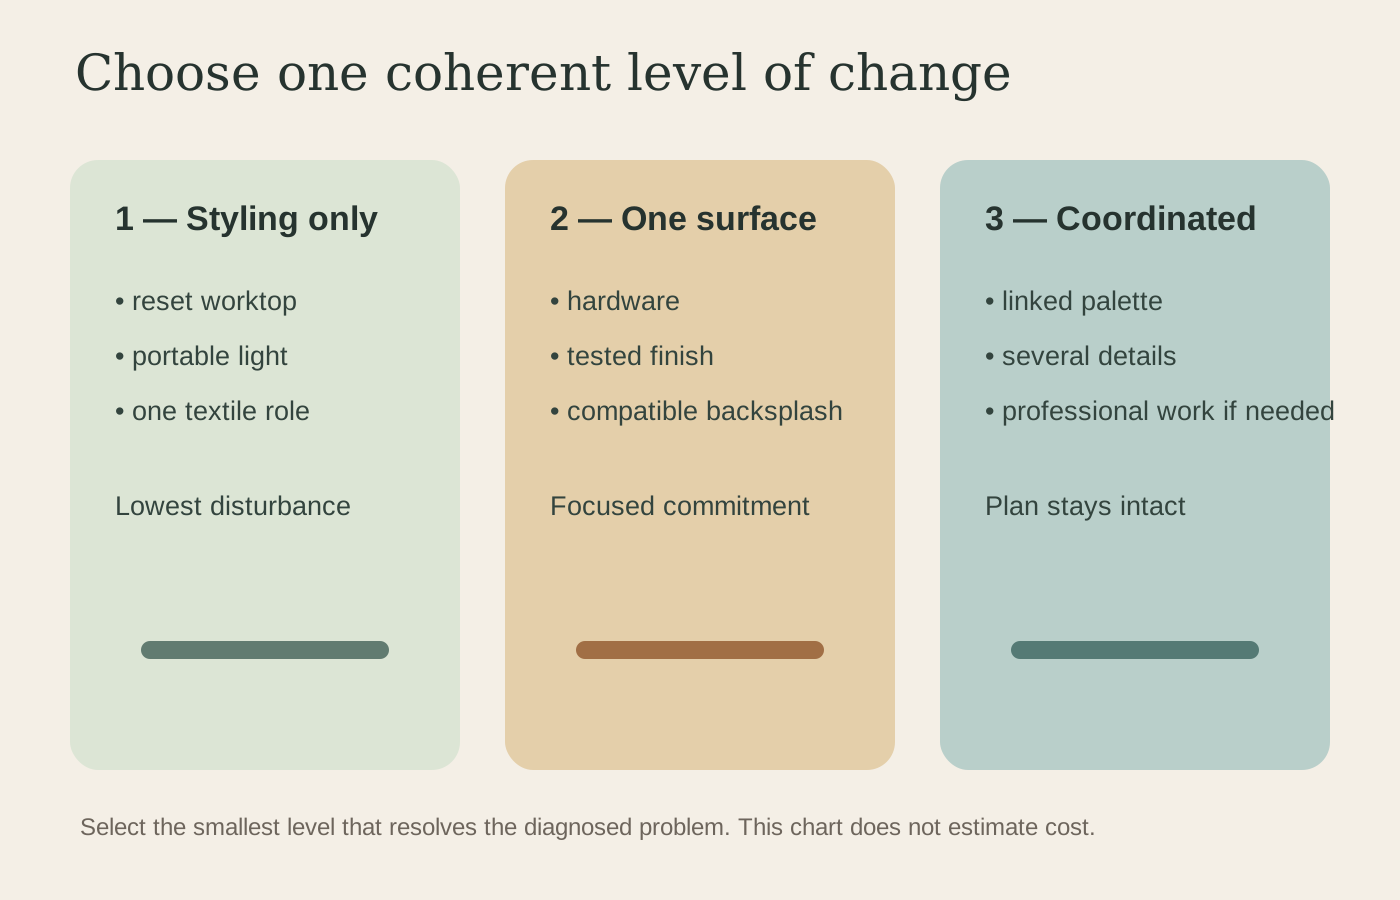
Three Change Levels, Three Different Commitments
A styling-only path clears and reorganizes the counter, adjusts portable light where appropriate and adds one washable textile. A one-surface refresh concentrates on hardware, a properly specified cabinet finish or a compatible backsplash change. A coordinated cosmetic update connects cabinet, backsplash and counter decisions and may include professional installation while leaving the plan intact. The cheapest purchase is not always the economical choice; economy means the least disruptive intervention that resolves the dominant problem without creating work that soon needs to be repeated.
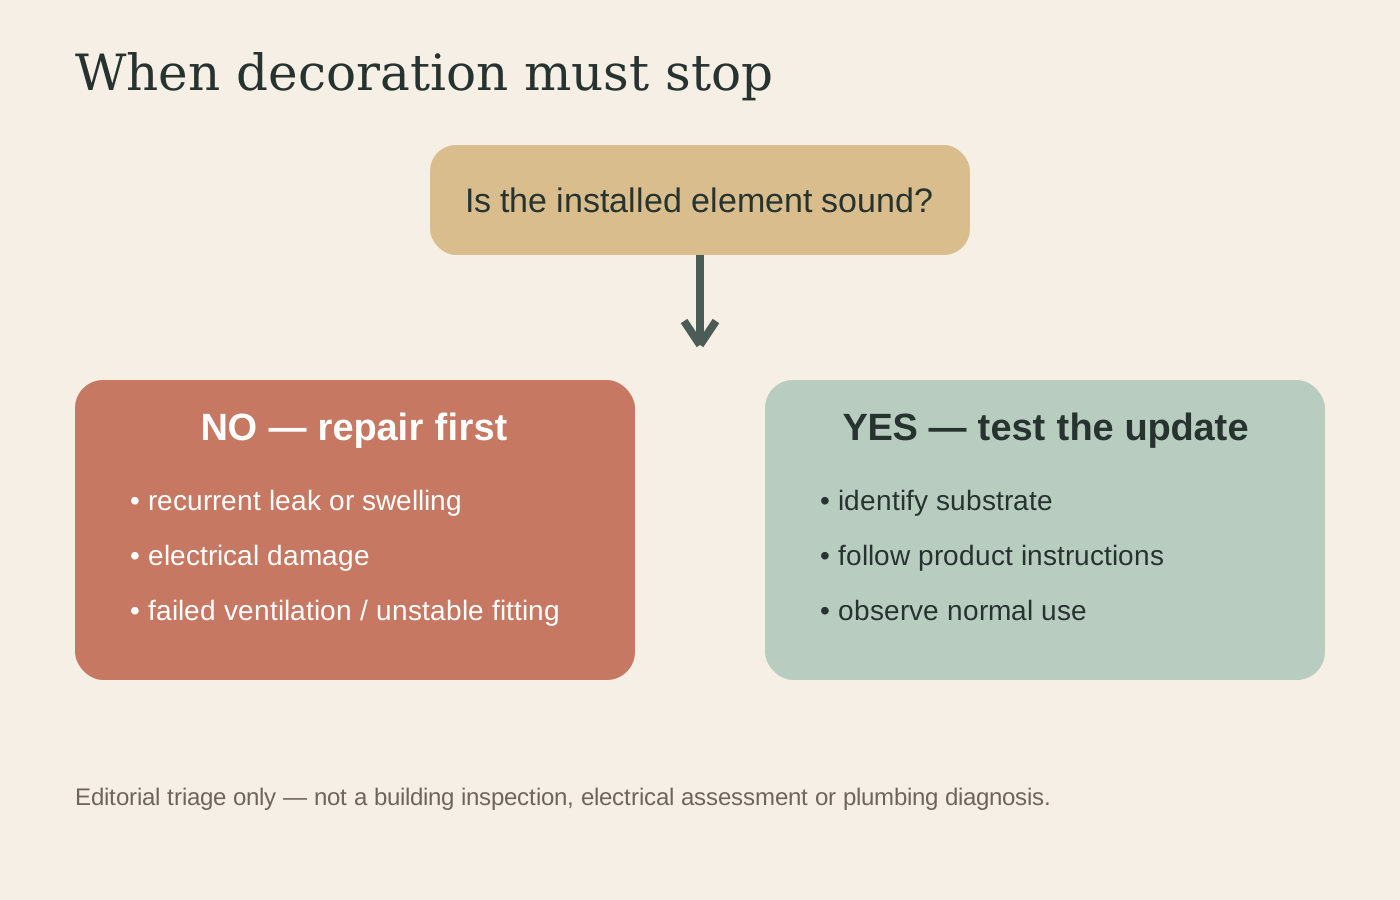
Some Conditions End the Decorating Project
Recurrent leaks, swollen cabinet bases, damaged electrical components, failing ventilation and unstable fittings require repair or assessment. Film, paint and decorative panels can conceal evidence and complicate access. Open doors, use the tap, clean the counter and inspect around appliances before committing to a surface treatment. Where plumbing, electrical or building components are involved, seek qualified assessment as appropriate. Waiting is not a failure of creativity; it protects both the household and the eventual finish.

Sequence the Update Across Real Time
Over one weekend, photograph the room, repair simple hardware issues, reset the main work area and build a palette from the finishes that will remain. Over the next month, trial one intervention—perhaps hardware samples, an appropriate window treatment or a tested finish—then use the kitchen normally. A new metal can expose a faucet mismatch; a curtain can change how tile color reads. Over the longer term, reserve money for the one remaining problem. If the solution depends on changing the plan, moving services or replacing failed surfaces, name it honestly as a renovation.