Start With a Permission Ladder, Not a Product Cart
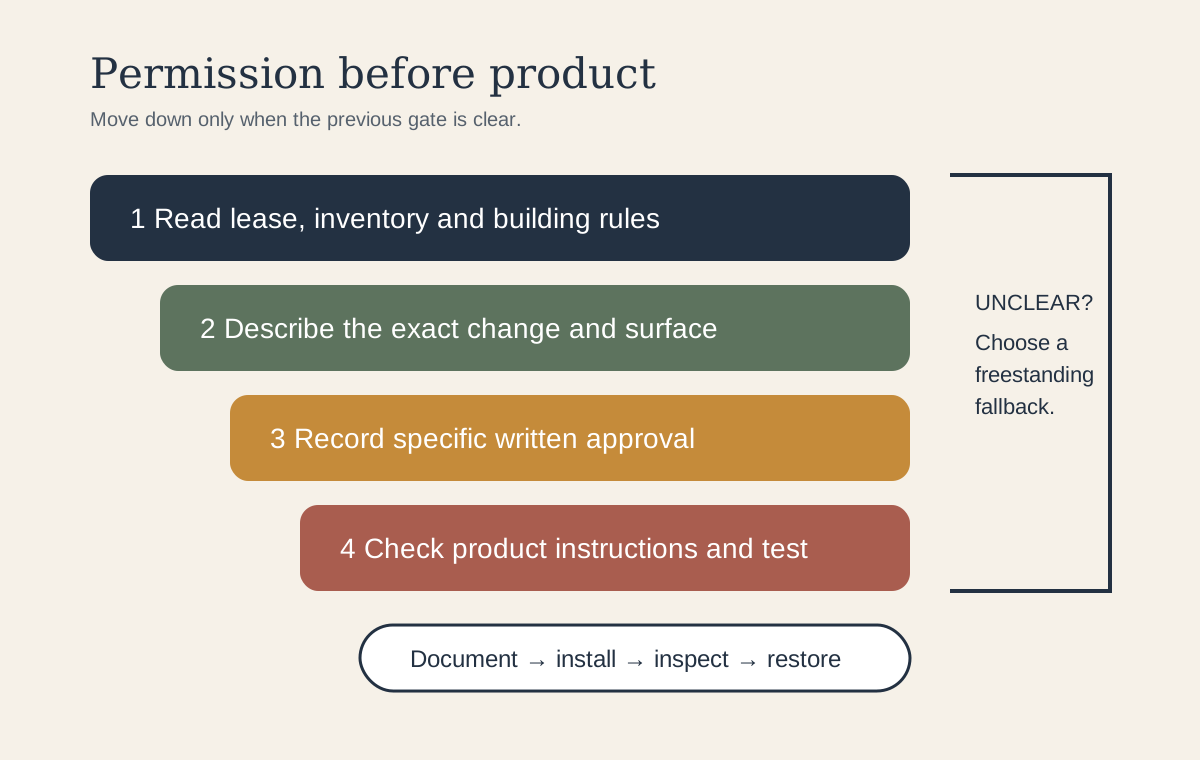
Before buying a peel-and-stick sheet, knob or plug-in light, classify the proposed change and read the relevant lease, move-in inventory and building rules. A freestanding cart may need no approval; drilling, replacing a fitting, altering a finish or working near services may require explicit written permission. Verbal reassurance is difficult to verify later, so record the approved scope, surface, product and restoration expectation in writing. Rules and local obligations vary, and this guide is not legal advice. When the answer is unclear, do not treat social-media popularity as permission. Move down the ladder to a portable solution that leaves the property untouched. This first gate distinguishes renter design from an owner-focused [builder-grade kitchen update](/kitchen/builder-grade-kitchen-updates/): the strongest visual change is not automatically the right first move.
Create a Move-In Condition Record Before You Improve Anything
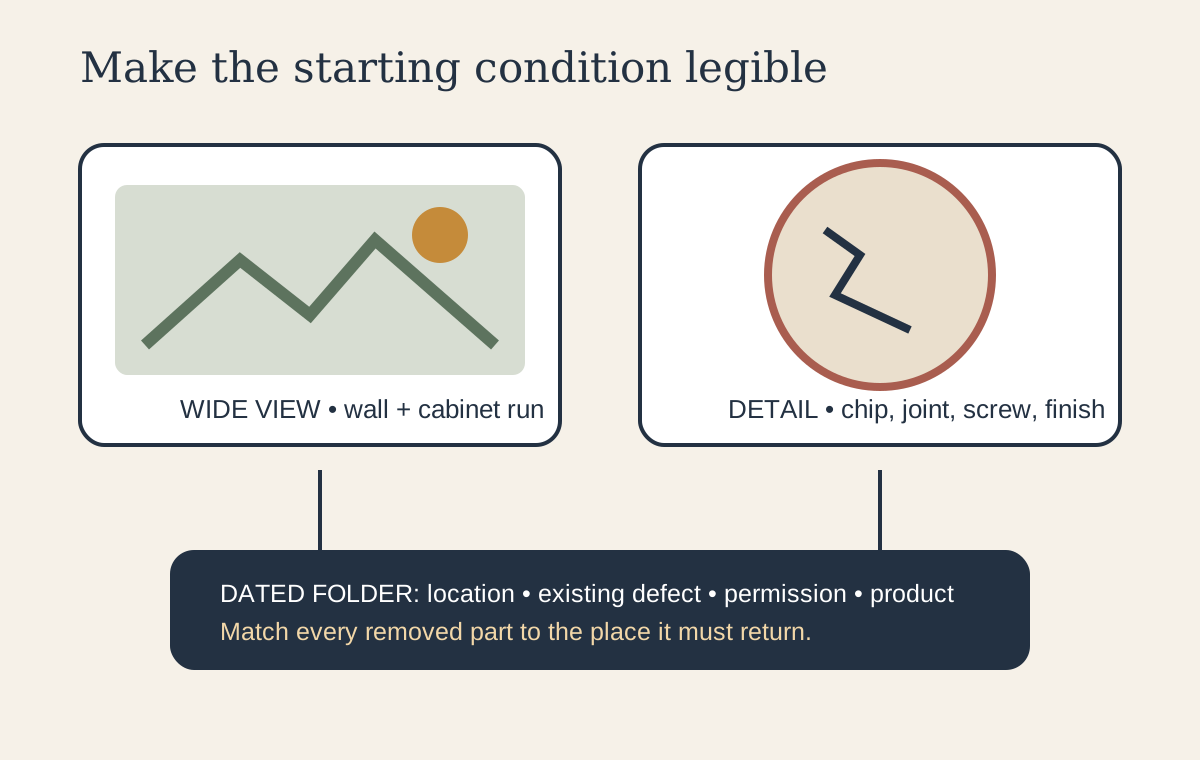
Photograph each kitchen elevation in even light, then make close images of chips, swollen edges, loose handles, stained grout, marked paint and countertop damage. Keep the original files with dates, the move-in inventory and any written response from the property manager. The purpose is not to create a dramatic defect album; it is to separate the starting condition from later work and to help you return every item to the right place. Repeat the record immediately before an approved change and after restoration. Include the inside face of a removed cabinet handle, the existing screw, the underside of a shelf and the outlet area used by a plug-in light. A simple folder organized by wall or cabinet run is more useful than dozens of unlabeled images. Documentation cannot replace permission, but it makes the physical history of the kitchen legible.
Sort Every Idea by What It Asks the Property to Endure
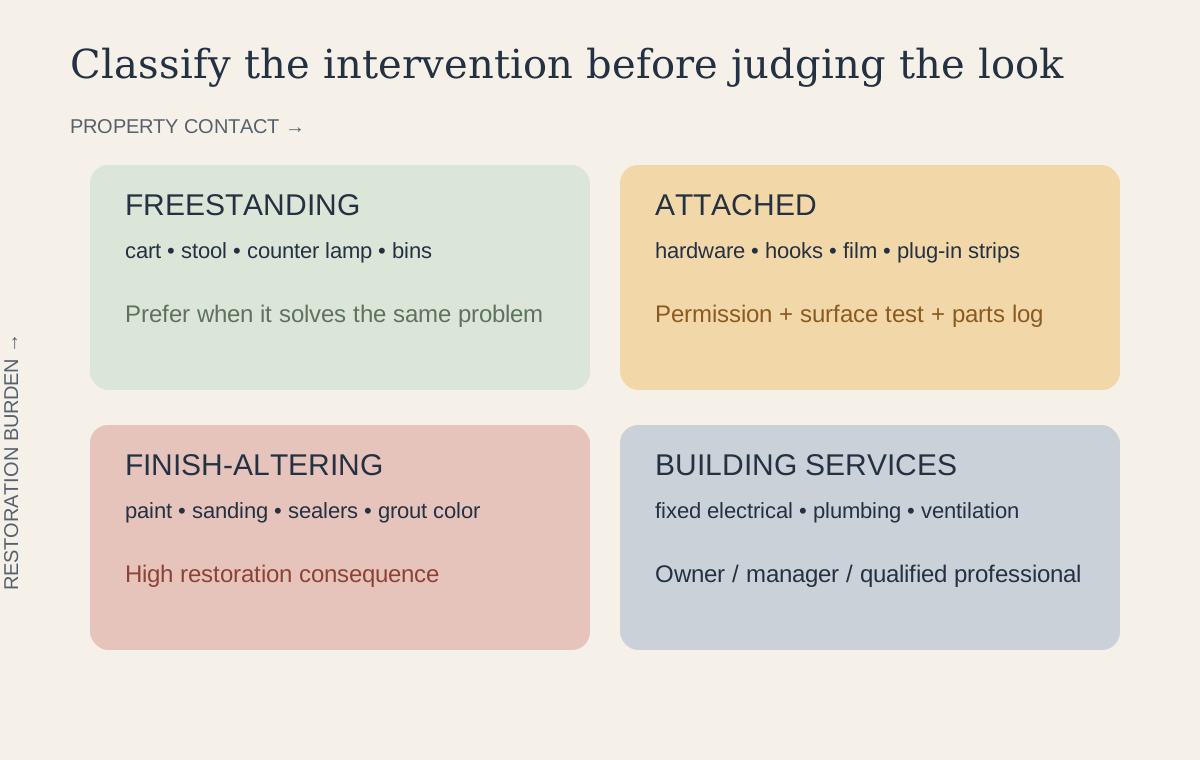
Renter-friendly is too broad to be useful until the intervention is classified. Freestanding changes—carts, lamps, stools and bins—usually travel with you and keep restoration simple. Attached changes—hooks, rails, film and hardware—depend on the substrate, fixing and approval. Finish-altering work—paint, sanding, grout color or permanent sealers—changes what the owner receives back. Electrical, plumbing and ventilation work belongs in a separate service category and may require the owner, building management or a qualified professional. Do not let a small physical size disguise a large consequence: one adhesive square on a weak veneer can be riskier than a whole movable table. Use the matrix to compare visual impact with exit burden. If two options solve the same problem, choose the one with clearer permission, better product guidance and a restoration route you can actually perform.
Test the Full Install-to-Removal Cycle on the Exact Surface
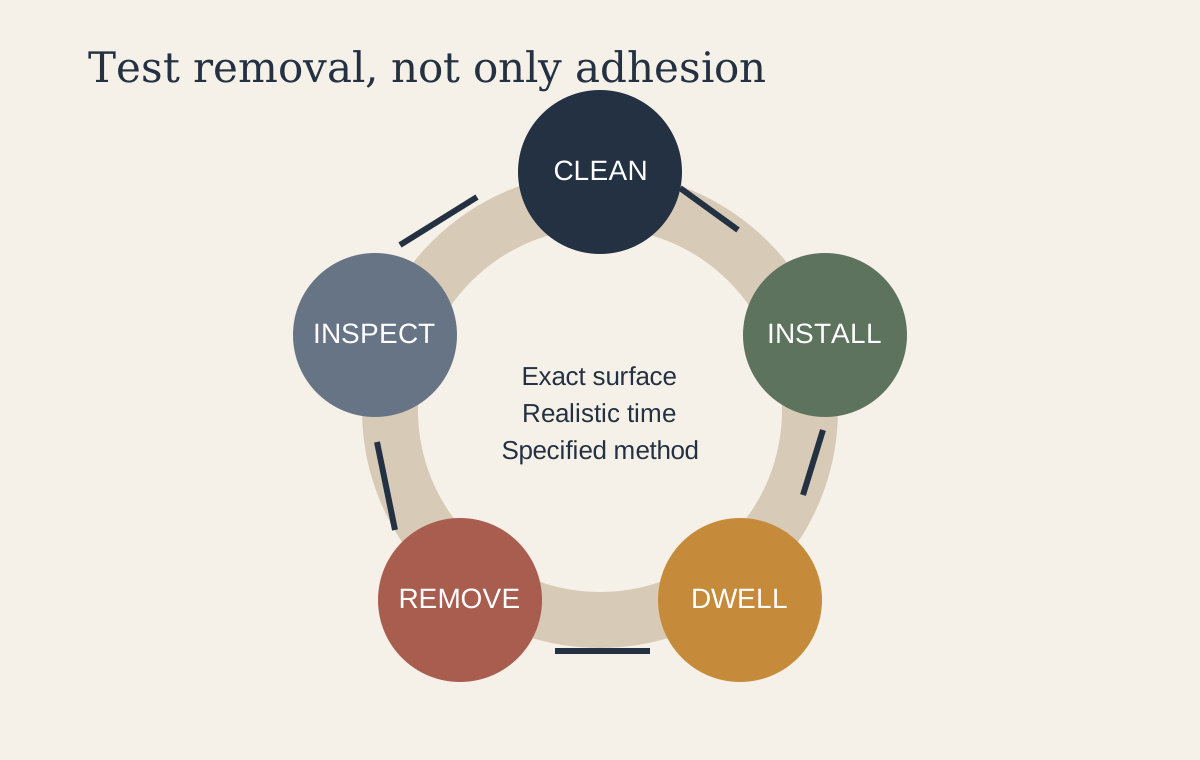
A hidden patch that sticks overnight proves very little. First identify the substrate and finish as far as reasonably possible, then check the product instructions for incompatible, recently painted, porous, textured, heat-exposed or moisture-prone surfaces. With permission, clean as directed, install a small sample in an inconspicuous place, leave it through a realistic period and remove it using the specified method. Inspect for gloss change, lifted paint, softened coating, residue, staining or trapped moisture. Kitchen conditions matter: steam, cooking oils, cleaning products and temperature cycles can change the result. Never call an adhesive product universally damage-free. If the test fails, the design decision is complete—use a freestanding layer rather than escalating to a stronger adhesive. Keep a labeled sample and the product instructions with the condition record.
Treat Cabinet Hardware as a Borrowed Set of Parts
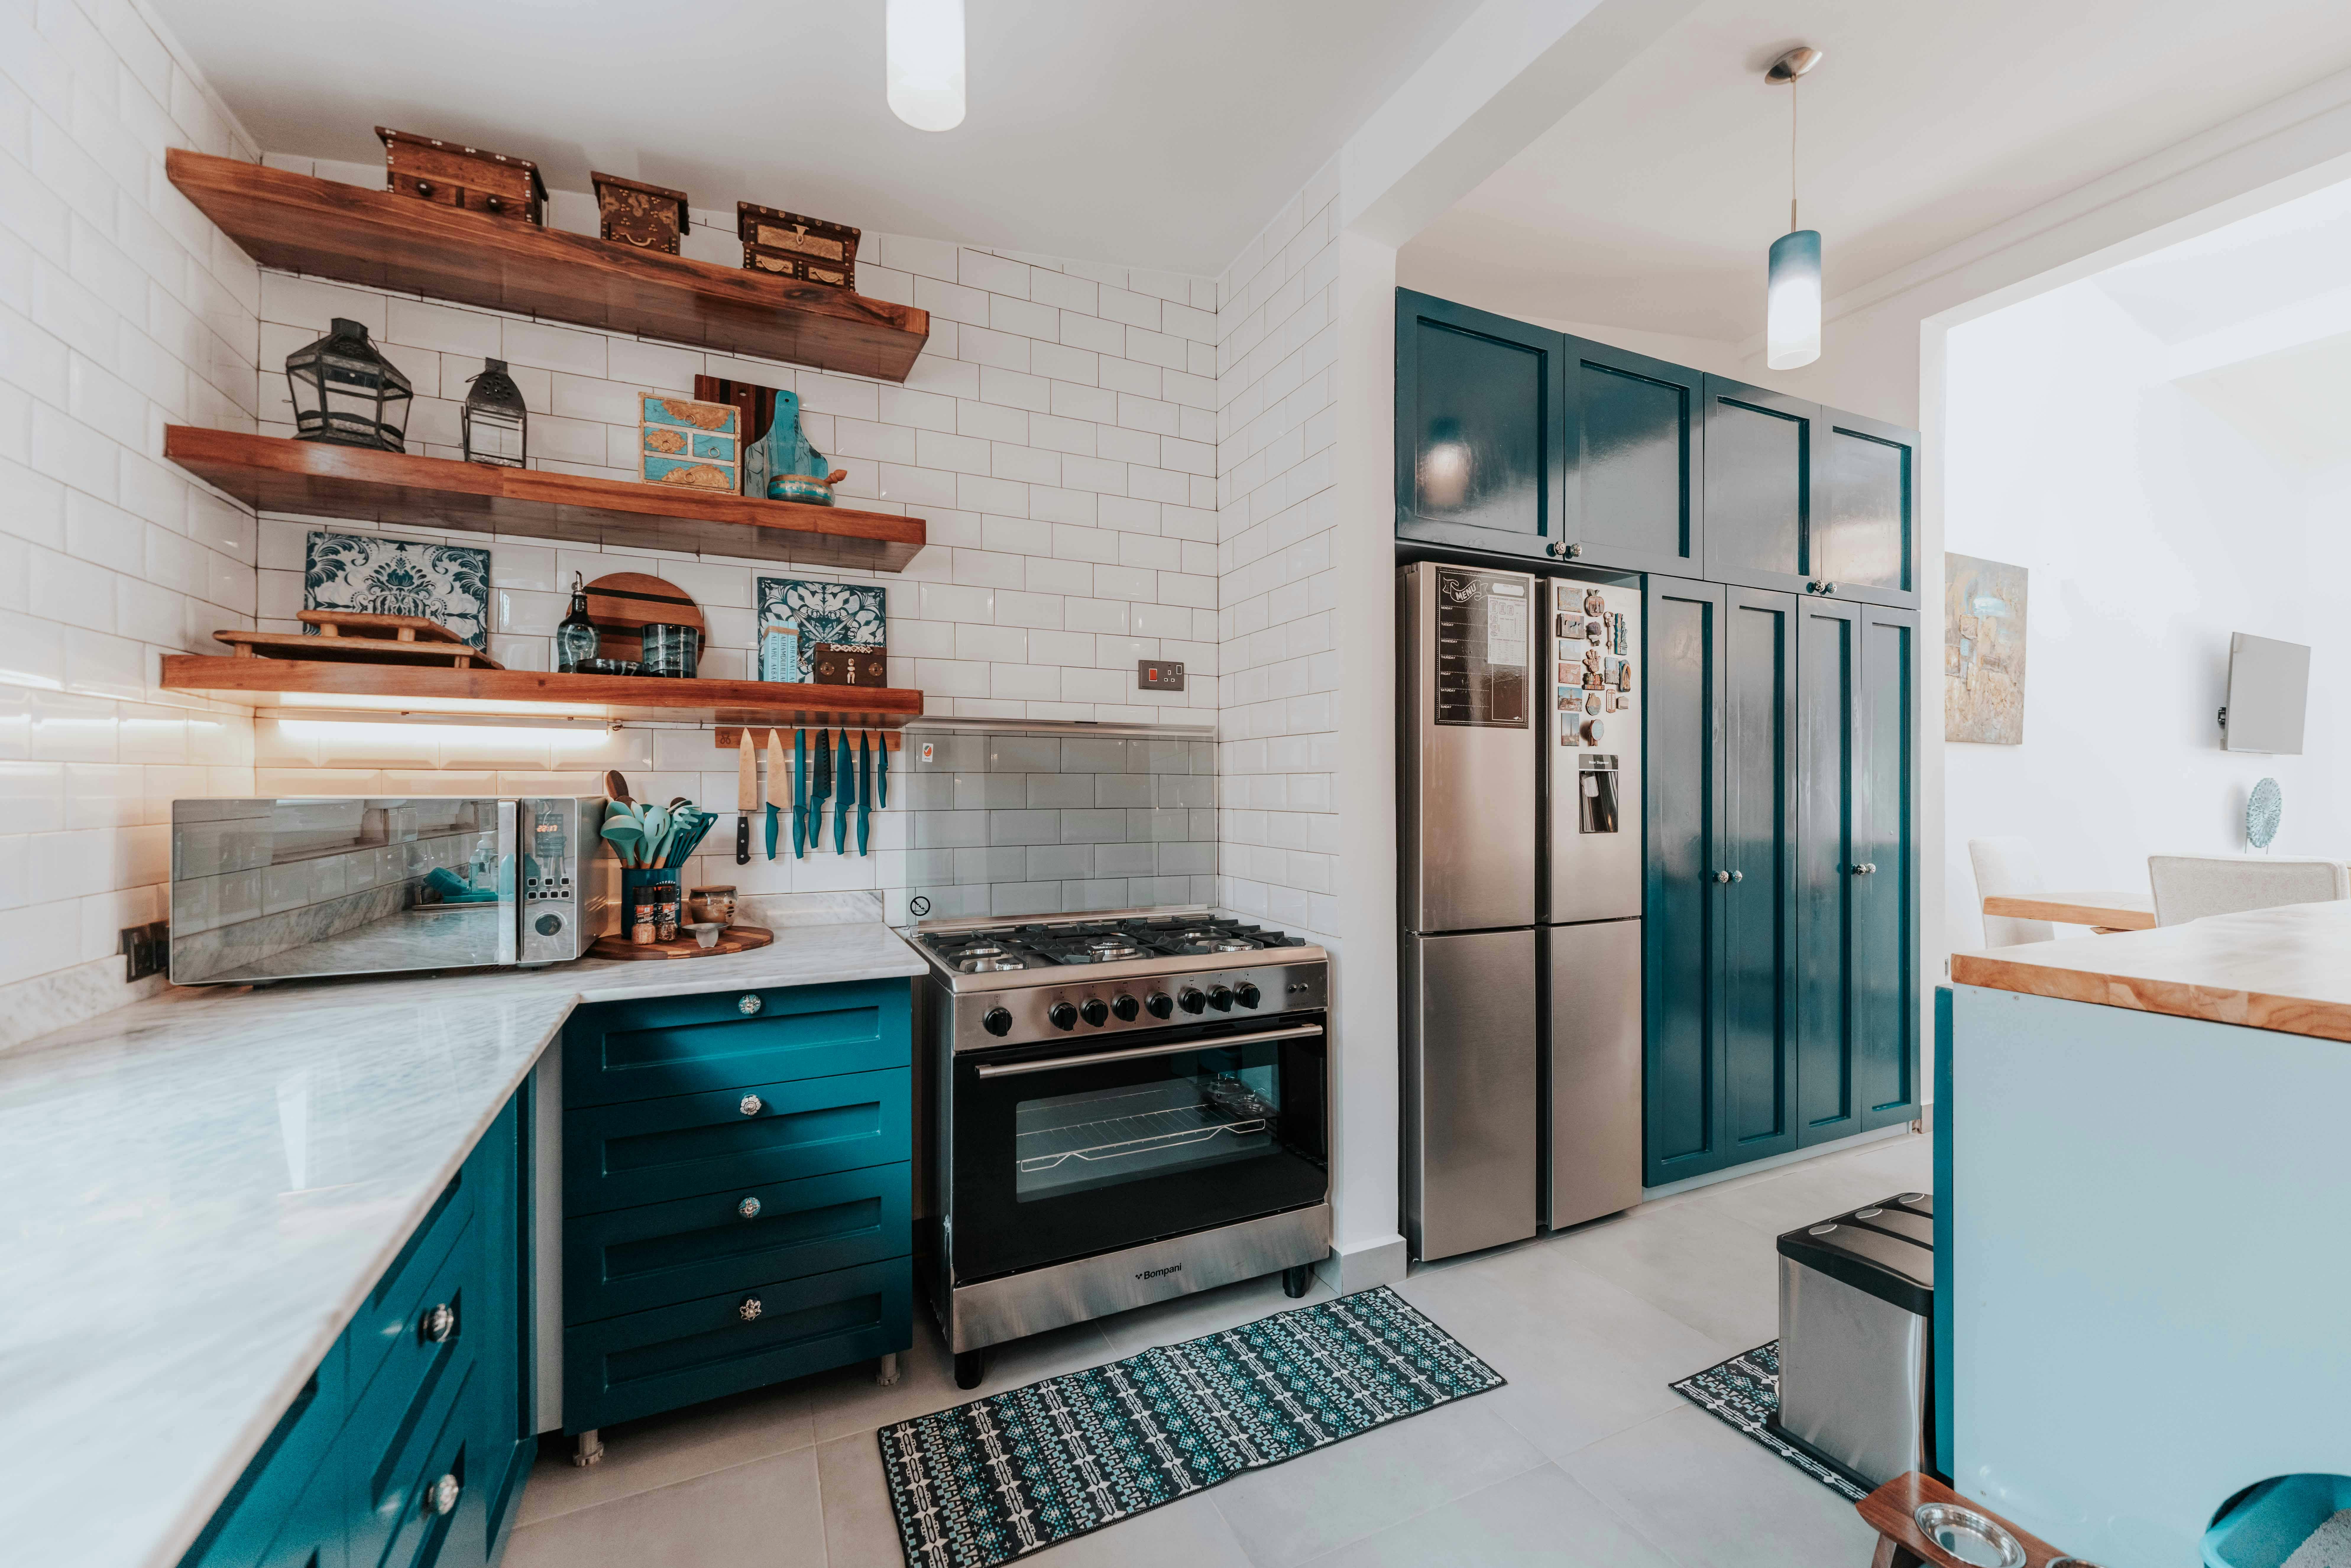
Replacing handles can be relatively contained when the lease or owner permits it and the new pieces use the existing holes without drilling. Measure center-to-center spacing and projection, check that doors and drawers still clear one another, and use compatible screws without forcing the substrate. Photograph each original position, then bag and label every handle and fastener by cabinet run; do not mix them with a general toolbox. Keep decorative knobs away from oven doors or tight corners where extra projection catches clothing. If an old fitting is loose, corroded or already damaging the door, report it rather than concealing the condition behind a new piece. At move-out, reinstall the original set carefully and compare the result with the condition record. The [cabinet guide](/kitchen/kitchen-cabinet-ideas/) can help you read door proportions, but renters should let the existing hole pattern set the hardware brief.
Make Temporary Backsplashes Pass a Splash-Zone Test
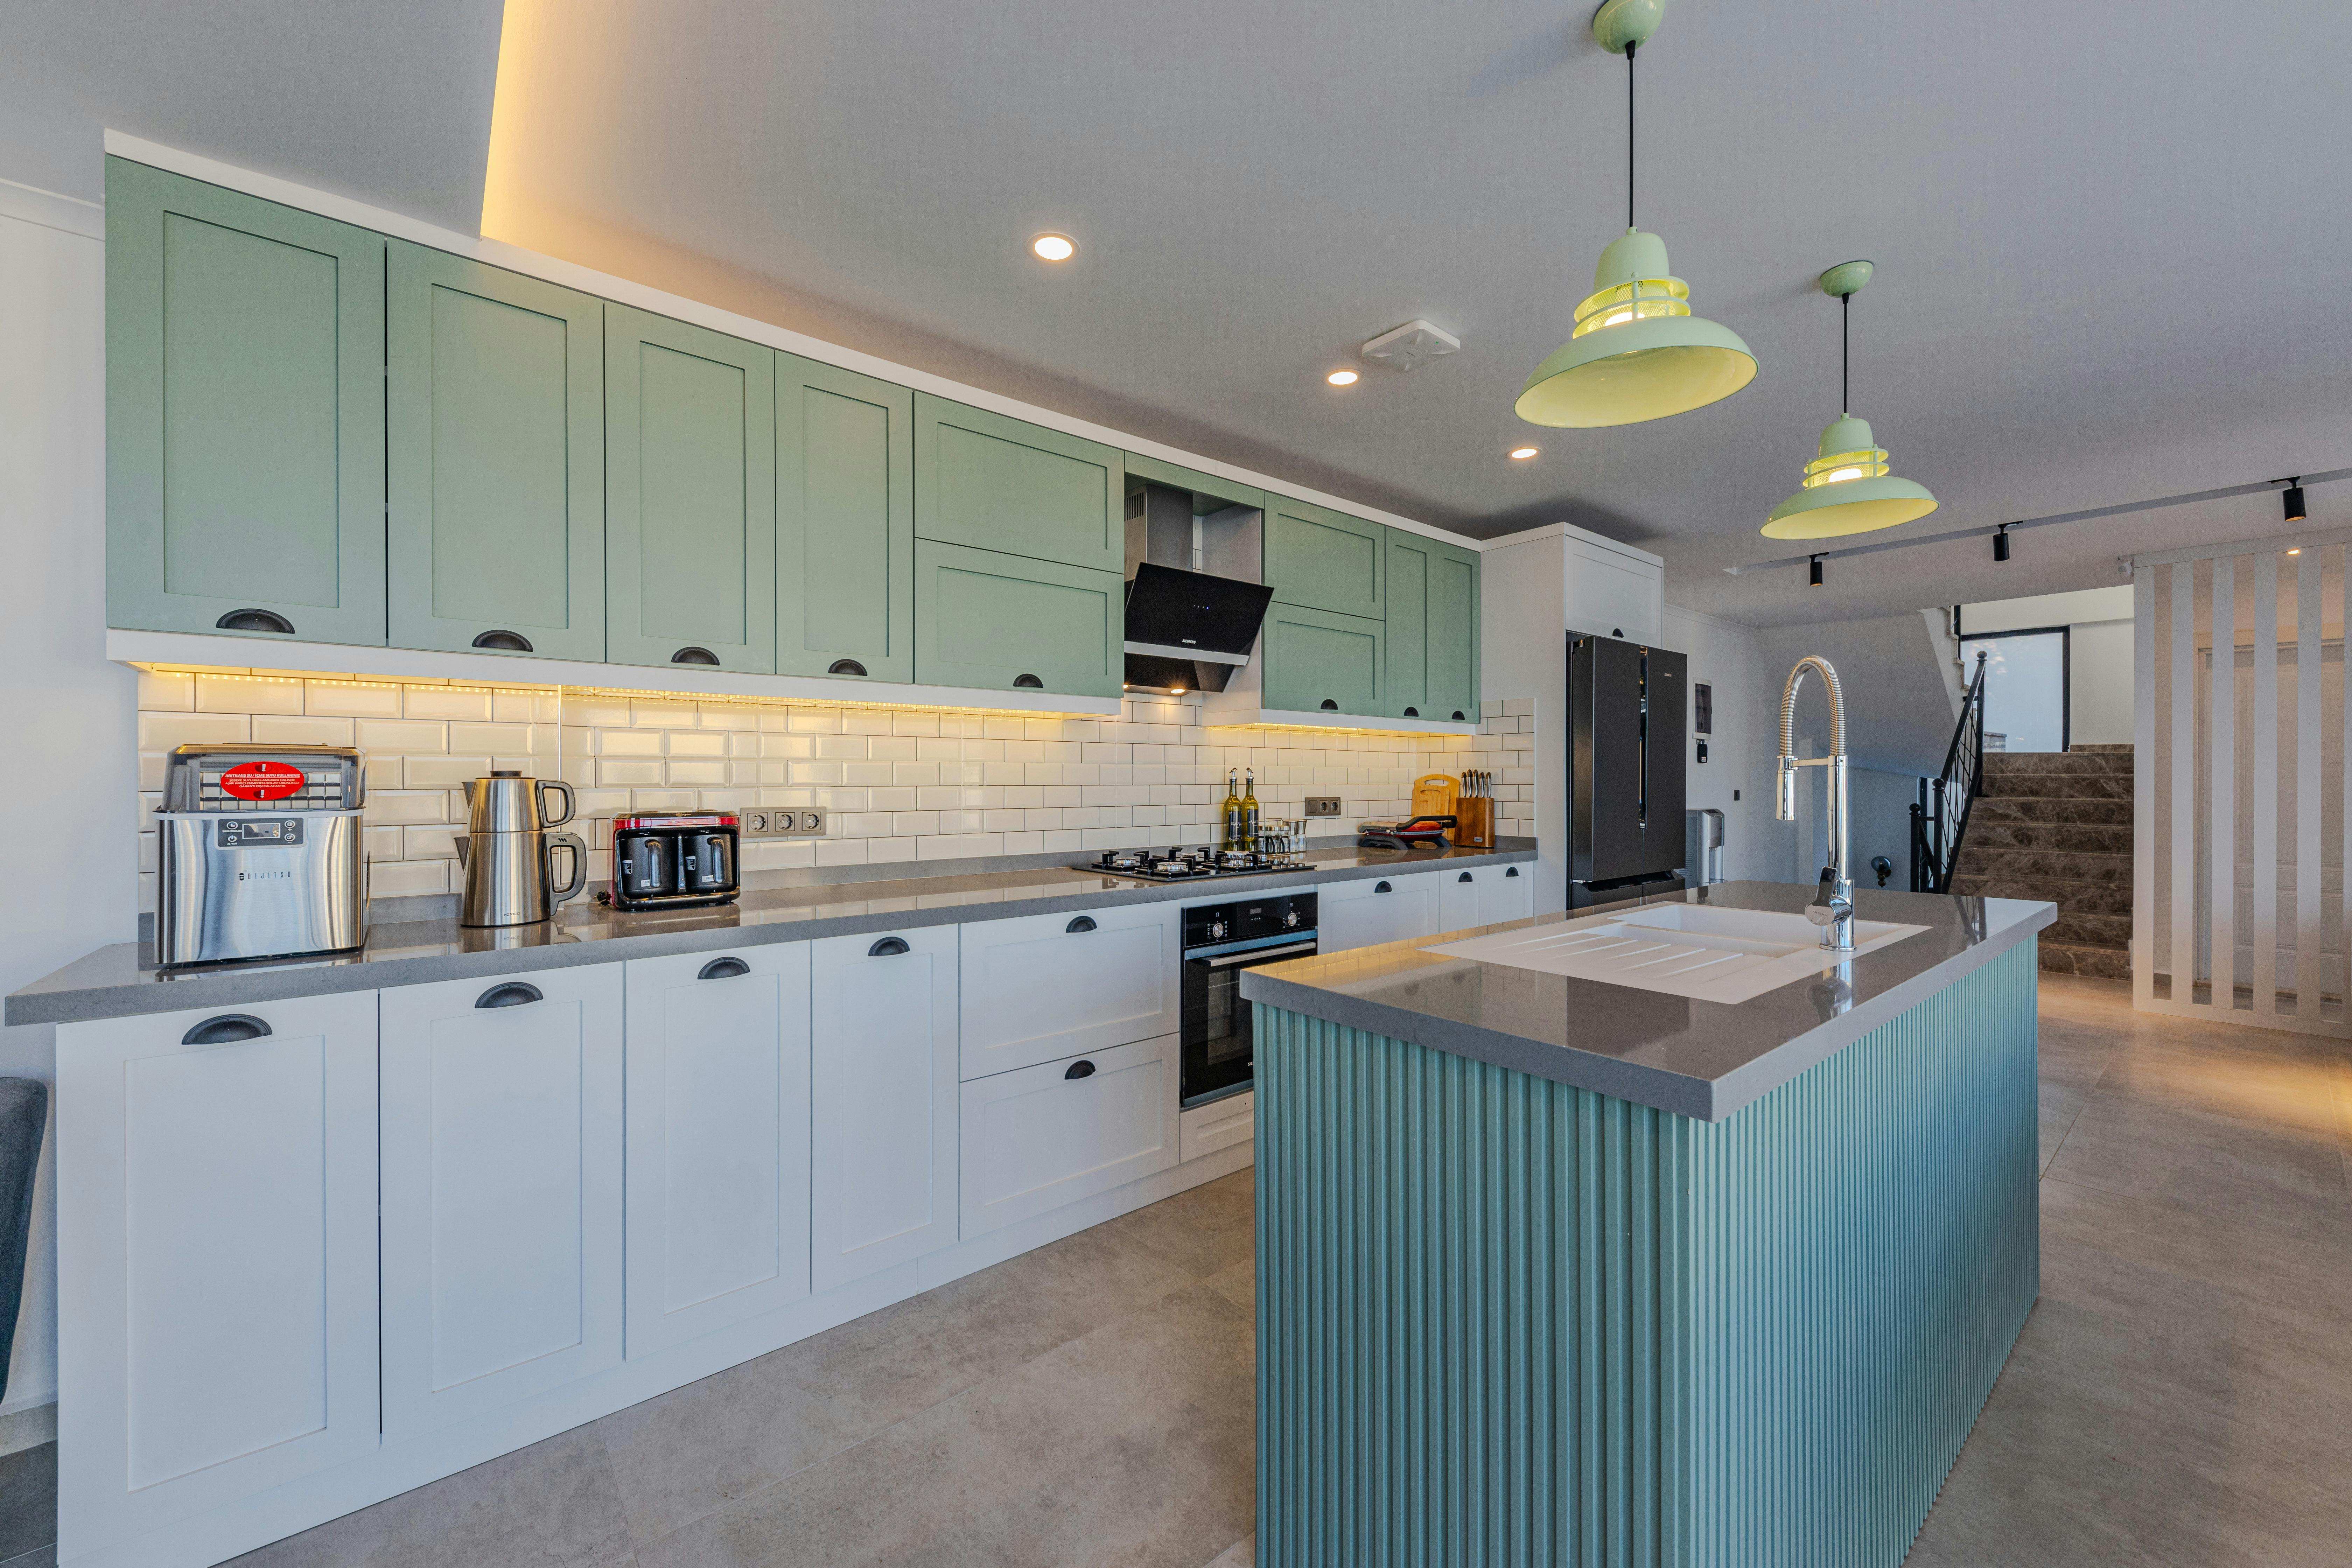
The visual appeal of a temporary backsplash is easy to judge; its boundary conditions are not. Map the wall finish, countertop joint, sink splash, cooking heat, outlets and exposed edges before choosing any covering. Follow the product's allowed surfaces, clearances and cleaning guidance, plus appliance instructions. Do not bridge ventilation openings, cover uncertain wiring, trap water behind loose edges or run an unsuitable sheet close to heat. Permission and a successful hidden removal test remain necessary even when the package says removable. A smaller panel used only on a low-risk, compatible section may be more defensible than a full wall. If no adhesive option passes the test, let countertop objects, a freestanding utensil rail or color elsewhere carry the decorative idea. The [backsplash guide](/kitchen/kitchen-backsplash-ideas/) helps with visual endpoints; the renter decision is whether the endpoint can be restored.

Add Task Light Without Inventing a Wiring Project
Begin with the shadow on the actual chopping or washing area, not with a fashionable fixture. A portable counter lamp or manufacturer-approved plug-in task light may solve the problem without fixed wiring, but it still needs a stable position, kitchen-suitable product, accessible switch and cable route away from water, heat, blades and walkways. Follow the product and appliance instructions; do not conceal unsuitable extension leads, overload outlets or improvise a connection. Adhesive clips and under-cabinet strips still contact a finish, so include them in the permission and removal test. If useful light cannot be added without drilling, uncertain attachment or unsafe cable routing, request an owner-approved installation rather than disguising the risk. The [kitchen lighting guide](/kitchen/kitchen-lighting-ideas/) helps map ambient and task layers; here portability and safe removal are part of the brief.
Use One Movable Workhorse Instead of Altering Several Cabinets
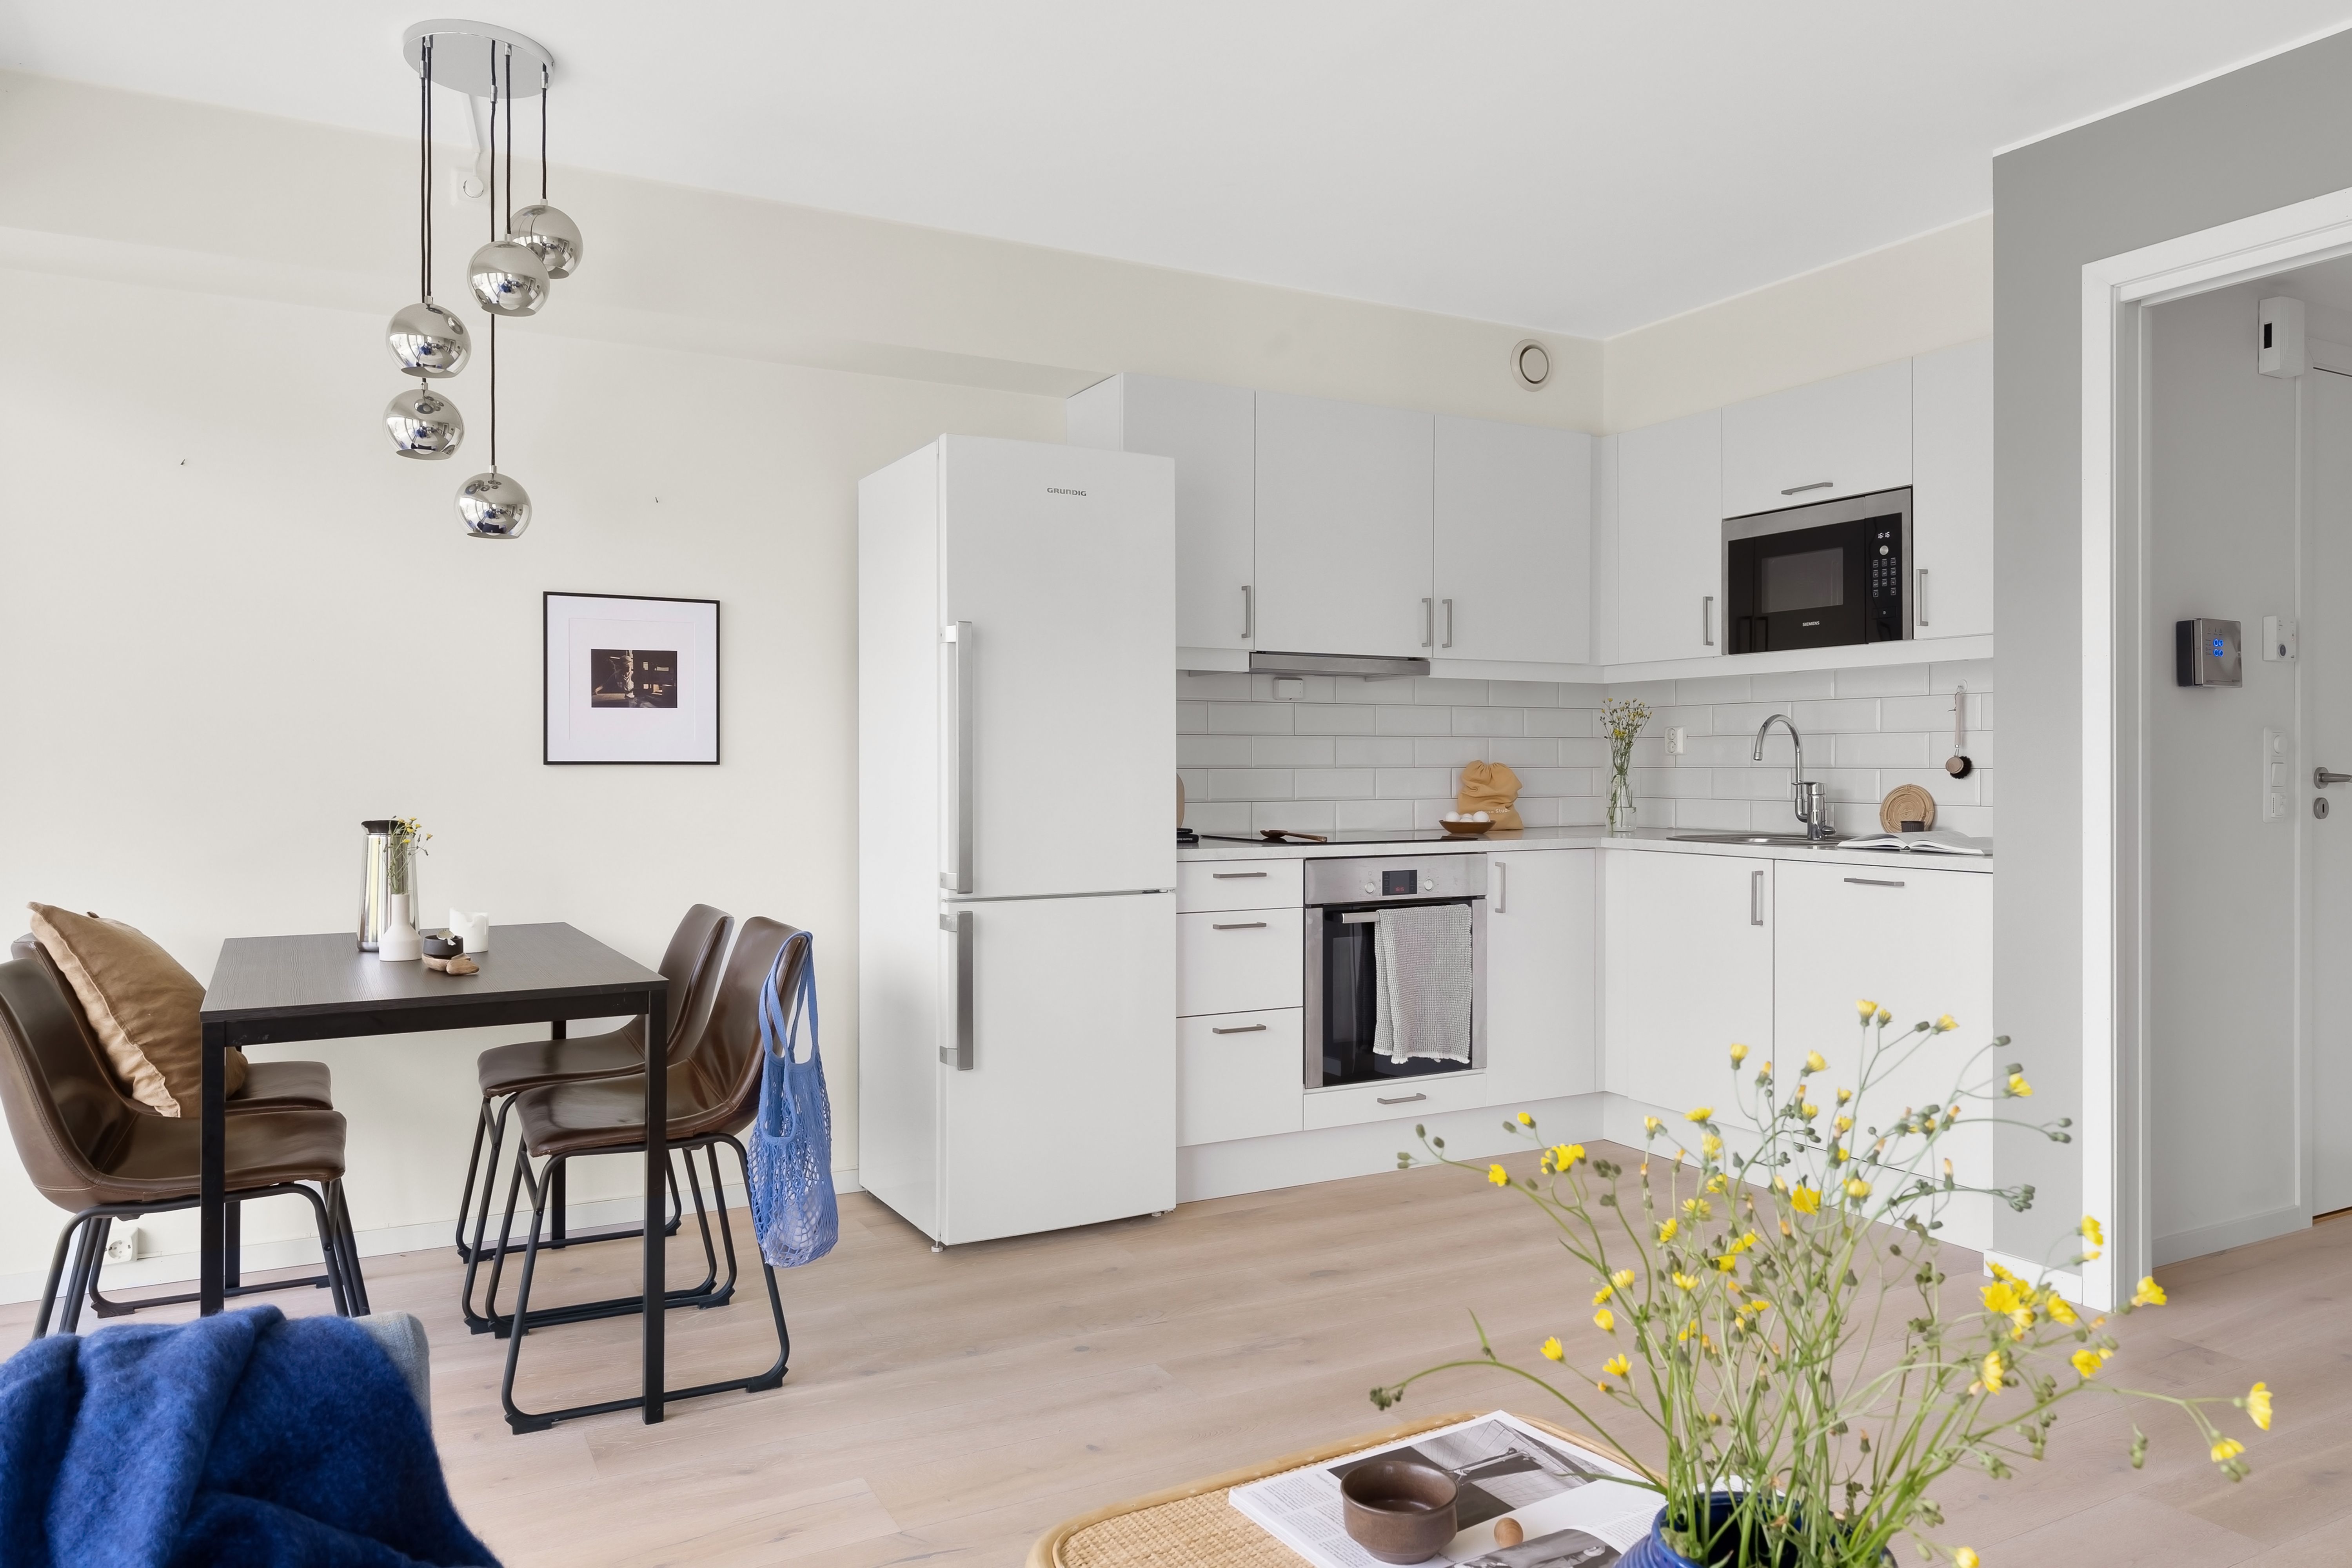
When storage and prep are both weak, one freestanding piece can outperform a series of attached organizers. Choose a cart, narrow table or shelving unit only after measuring appliance doors, cabinet openings, the main walking route and a comfortable working position. Check the manufacturer's load and care guidance, stabilize the piece as intended and avoid treating casters as proof that it is safe to lean on. A top used for food preparation needs an appropriate, maintainable surface; a piece beside a cooker needs a location consistent with appliance clearances and kitchen safety. Give the unit one primary role—prep, pantry, breakfast or serving—then one secondary role, rather than filling every side with hooks. In a very small room, a clear route may be more valuable than extra storage. Continue with the [small-kitchen guide](/kitchen/small-kitchen-ideas/) for workflow, but keep this piece portable enough to leave with you.

Let Washable Textiles and Portable Color Carry the Personality
When the fixed cabinets, floor and countertop cannot change, build a portable palette that works with them rather than trying to hide every surface. Repeat one chosen color in two or three movable places—a washable runner where safe, seat pads, tea towels, a tray or a small lamp—then let the fixed finish act as the background. Choose kitchen textiles for cleaning, slip resistance and placement away from flames and wet work, following product care and appliance guidance. Avoid fabric or paper used as an improvised cover on cabinet faces, ventilation areas or heat-adjacent surfaces. The point is not to decorate every available ledge. A concentrated color family creates continuity while keeping the counter clear for work. This approach is especially useful when permission stops at freestanding objects: the room gains a recognizable identity, and the entire scheme can be packed rather than peeled.
Build the Move-Out Restore Loop on Day One
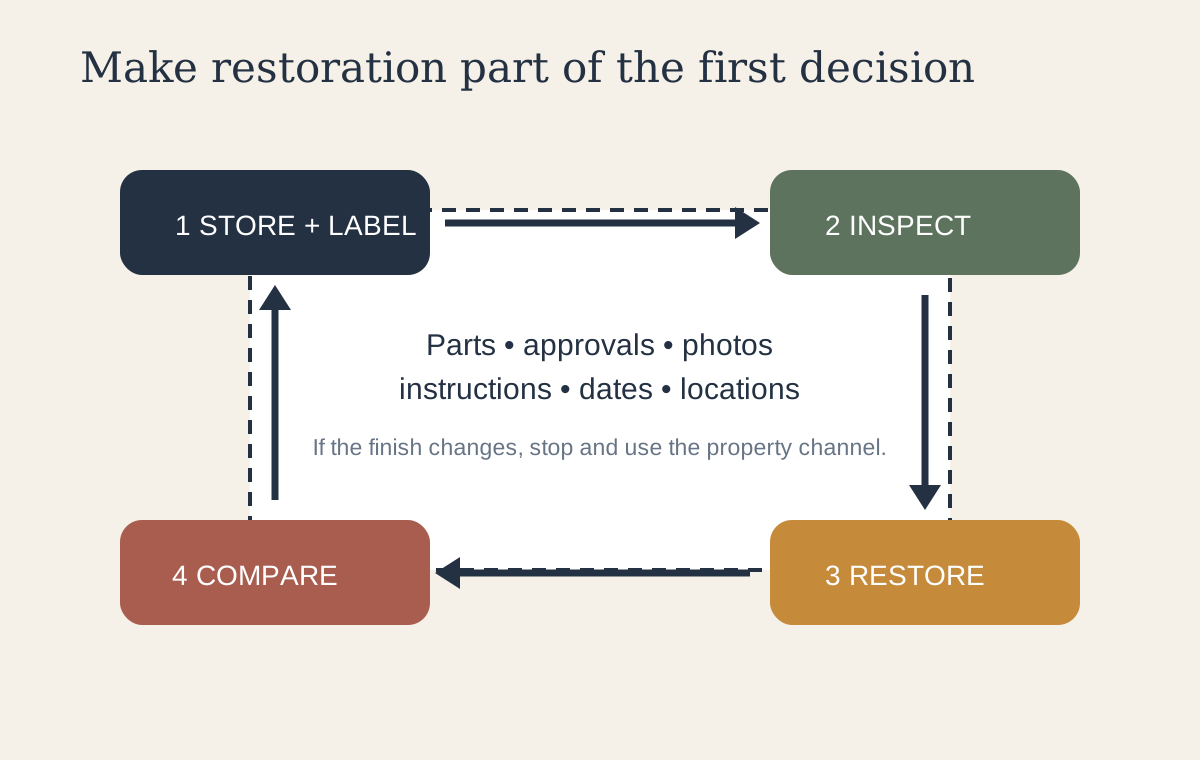
Keep an exit box from the first change: labeled original parts, approved fasteners, product instructions, spare matching materials where appropriate, permission records and the condition photographs. Add a simple change log with the installation date, exact location and intended removal method. Periodically inspect temporary layers for lifting edges, residue, moisture or finish change instead of waiting until move-out. When restoration begins, follow the approved method and product guidance, work slowly, and stop if the surface changes rather than escalating with stronger solvents or scraping. Report damage or uncertain repairs through the appropriate property channel. After reinstating original parts, clean as agreed and compare each elevation with the starting record. This loop changes buying decisions at the beginning: if a product, part or finish cannot be documented, stored and reversed credibly, it is not a low-burden renter choice.