Choose the Right Level of Modularity
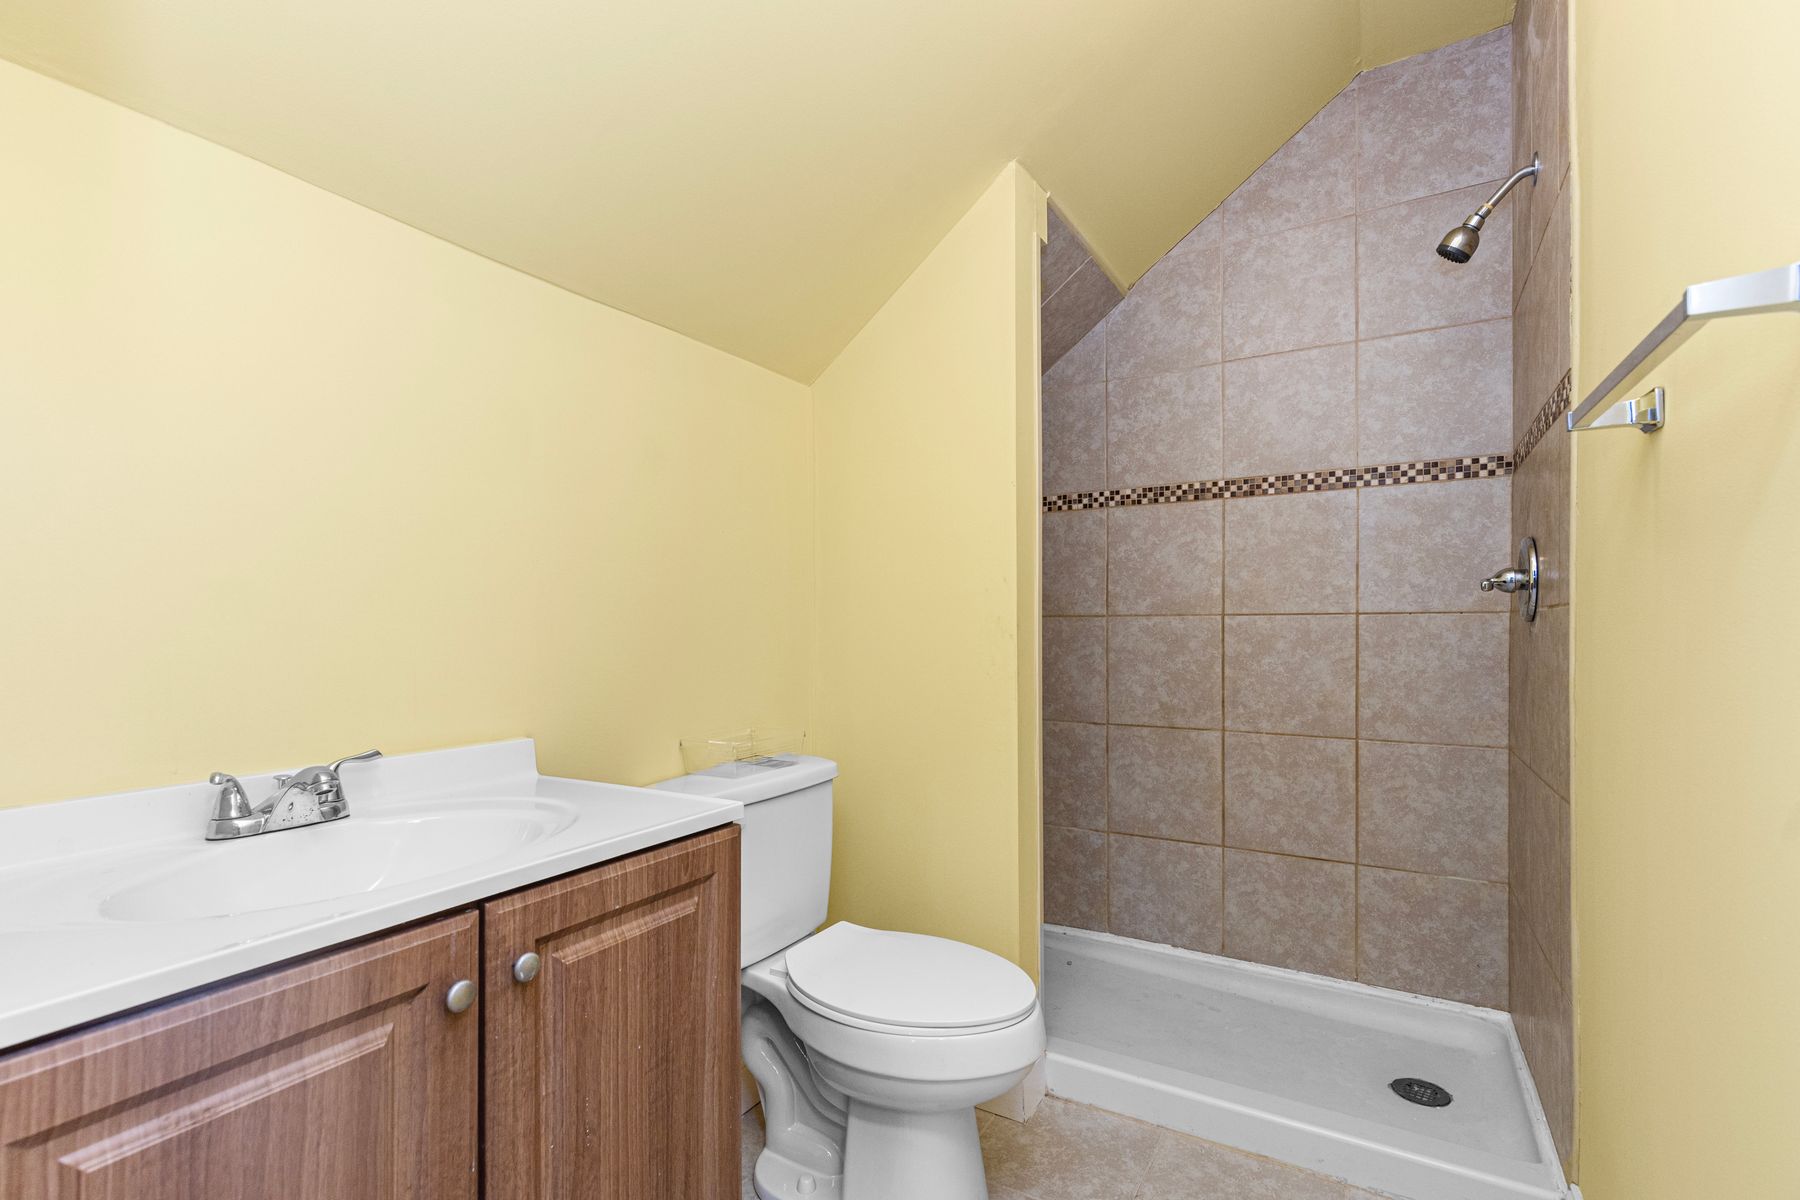
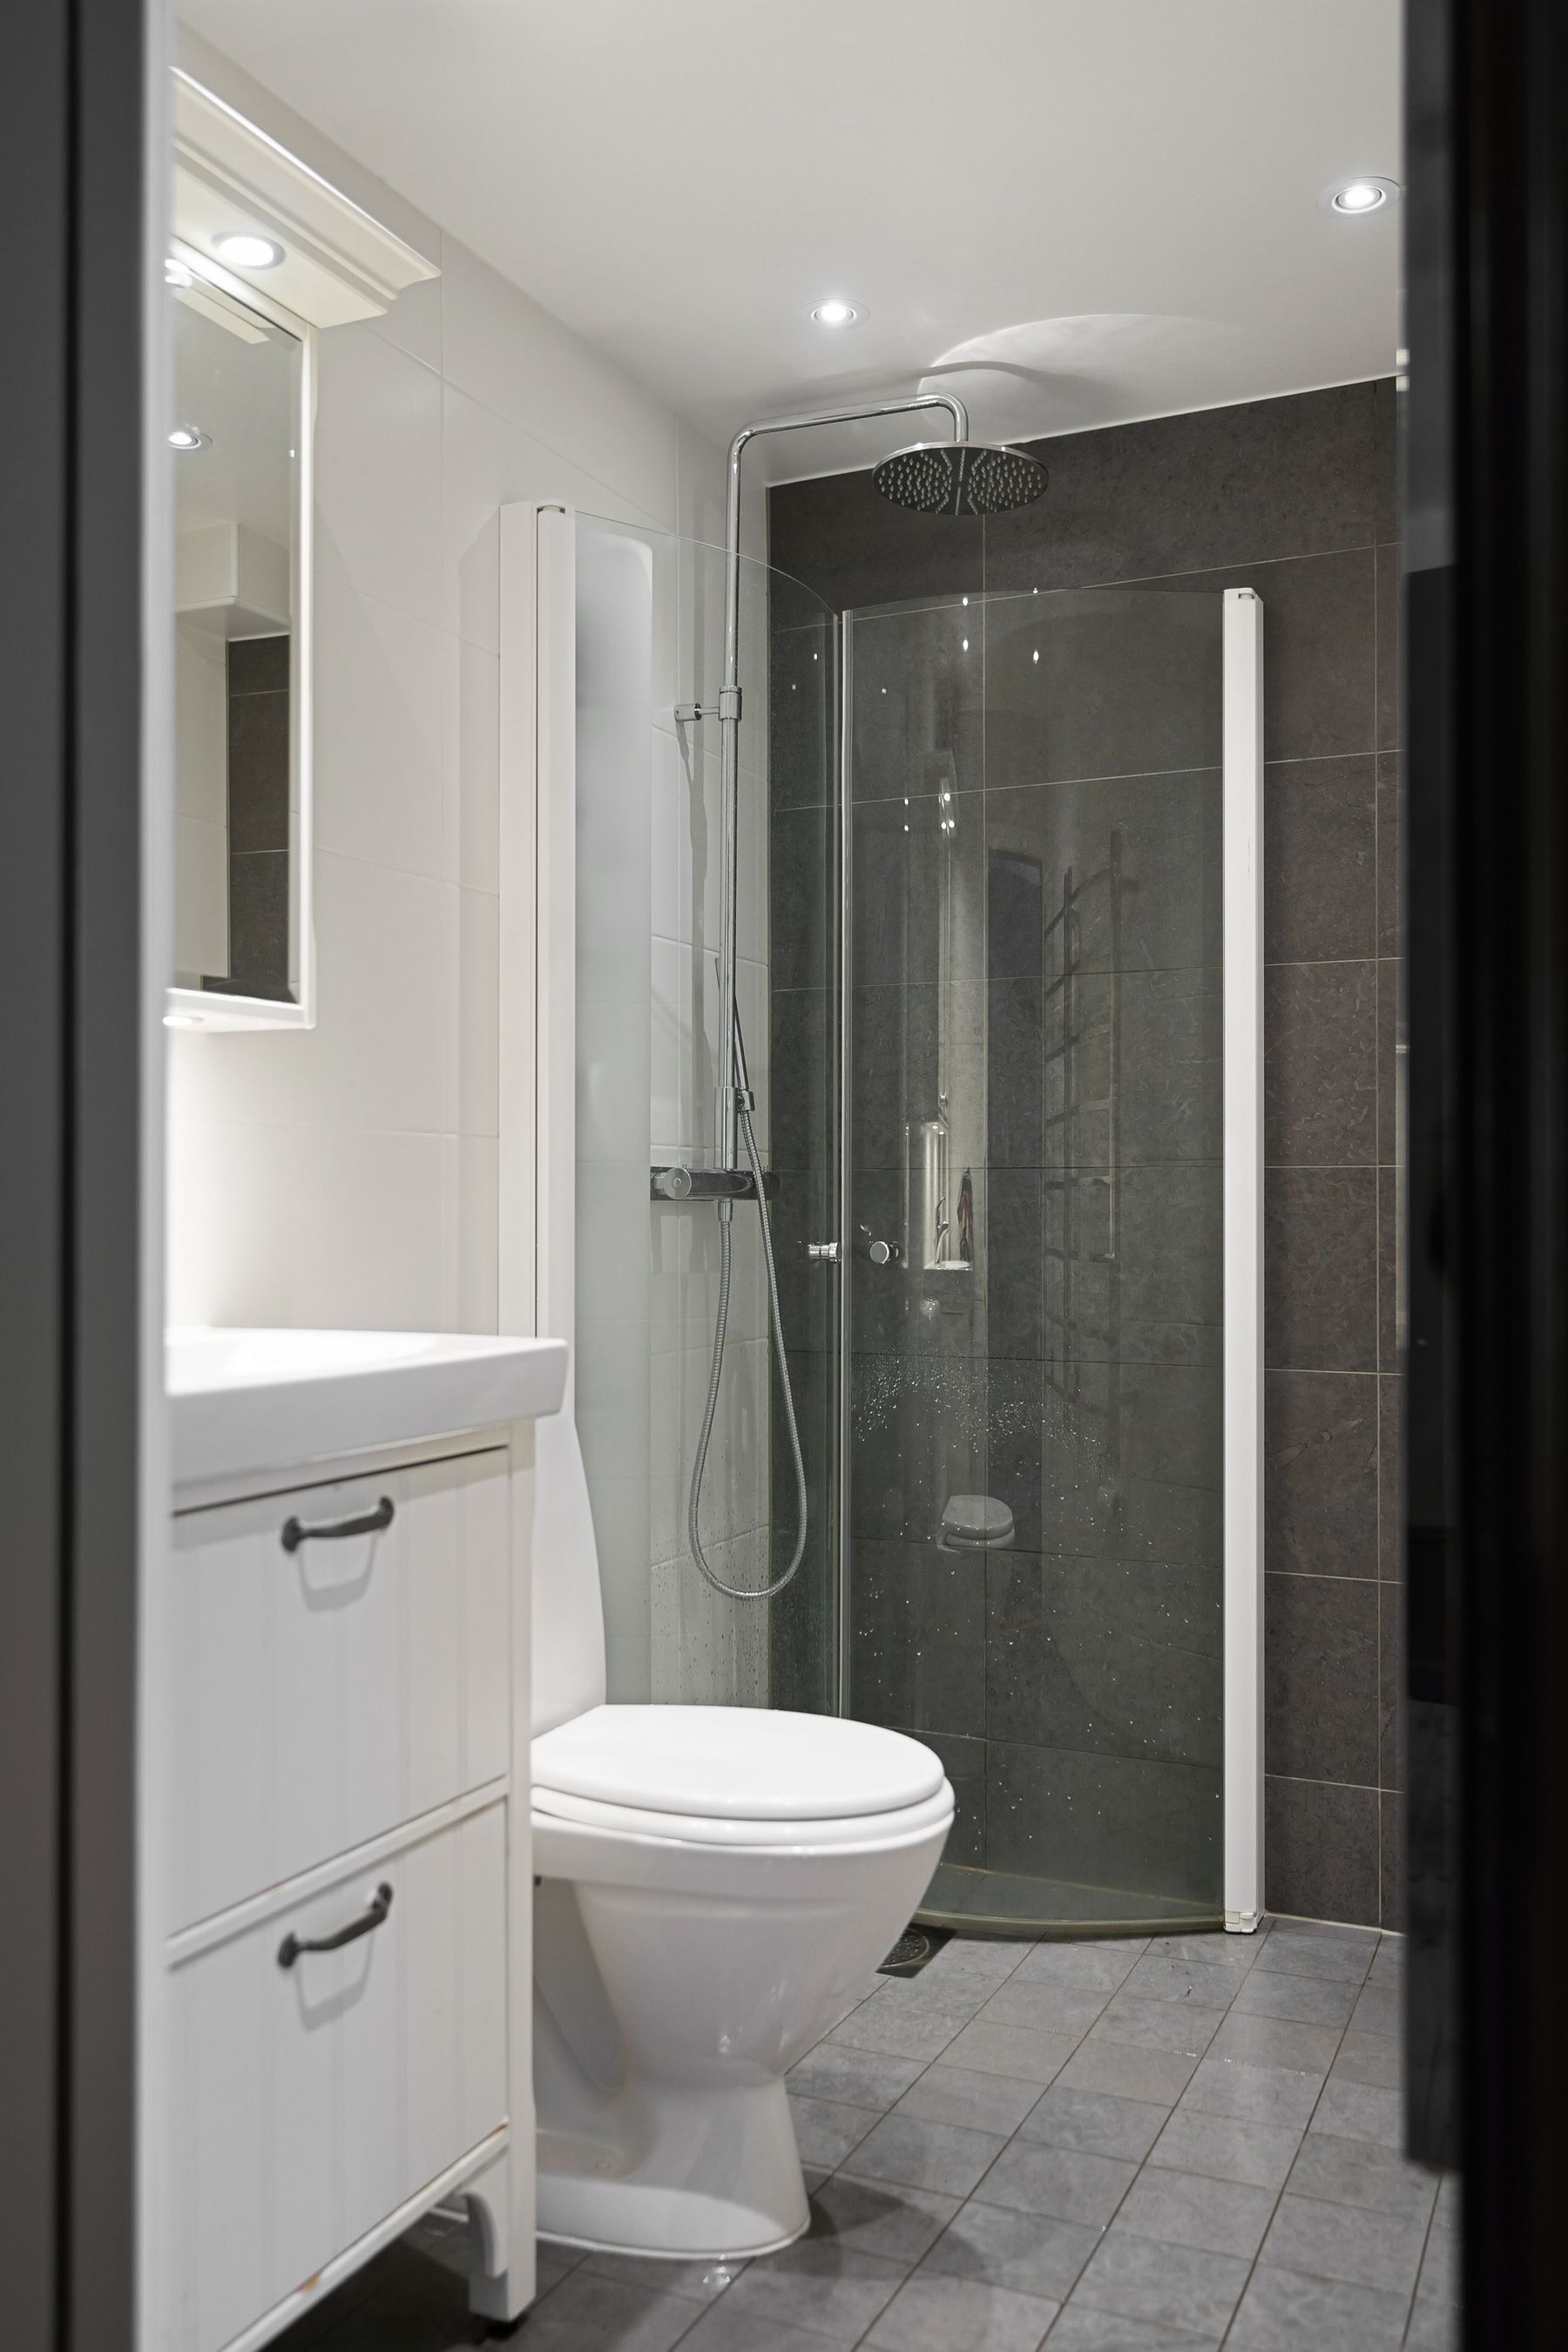
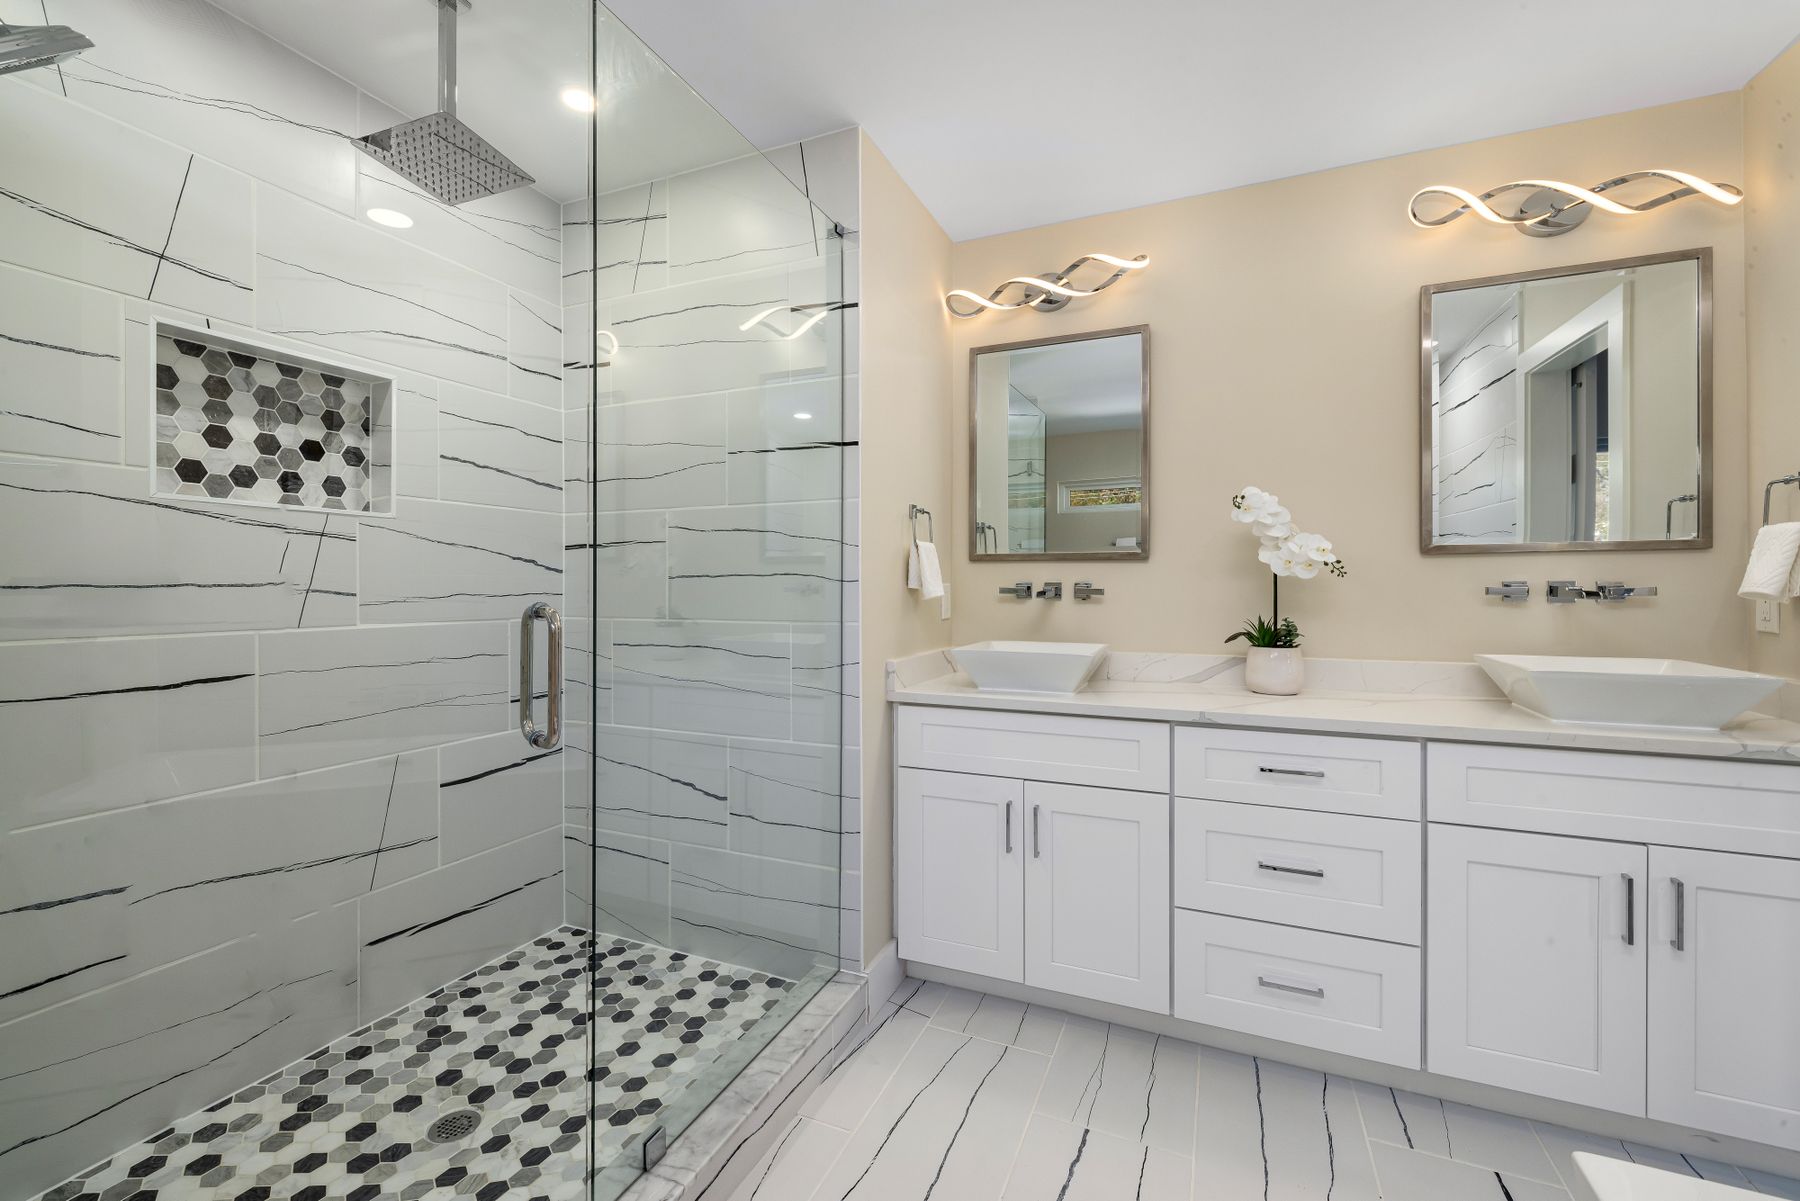
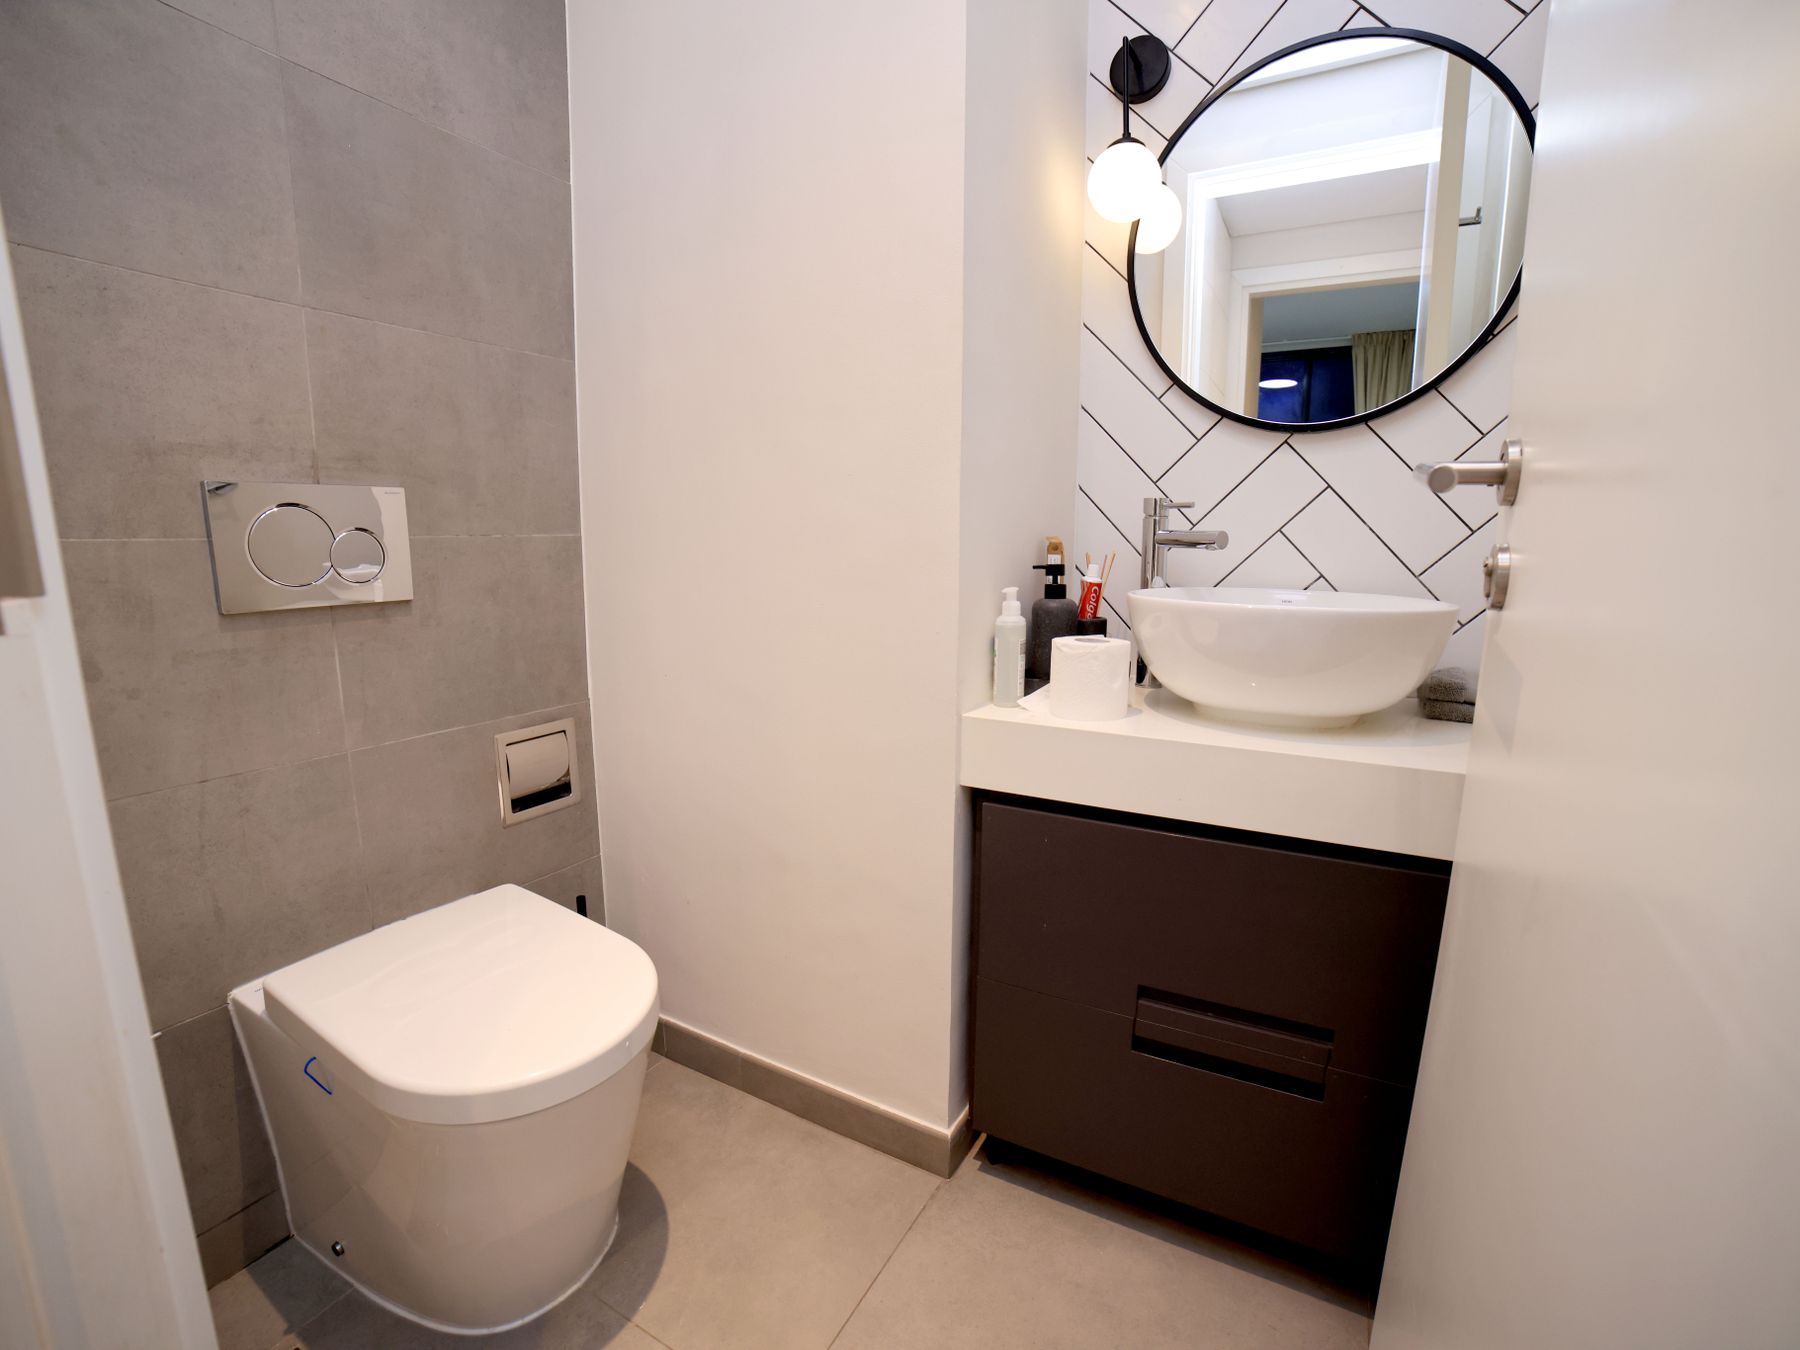
A full pod arrives as a largely completed room; a component system standardizes the wet zone, service wall or panels; modular cabinetry standardizes only the furniture layer. These are not interchangeable solutions. A pod can reward repetition and early decisions, while component systems suit projects that need conventional walls or must enter through normal doorways. Cabinet modules provide the least construction change and the most late-stage flexibility. Define the level first so suppliers are pricing the same scope rather than three different meanings of modular.
Use a Pod Only When Repetition Repays the Setup
Factory production has the strongest case when several bathrooms share dimensions, services and specification. One-off homes can still use a pod, particularly for an ADU or cabin, but engineering, shop drawings, transport and lifting are then spread across fewer units. Compare like for like: include design coordination, foundations or support, delivery, cranage, connections, finishes, testing and local site work. If the brief is unique and likely to change, a panelized wet zone or conventional bathroom may preserve more value than a complete pod.
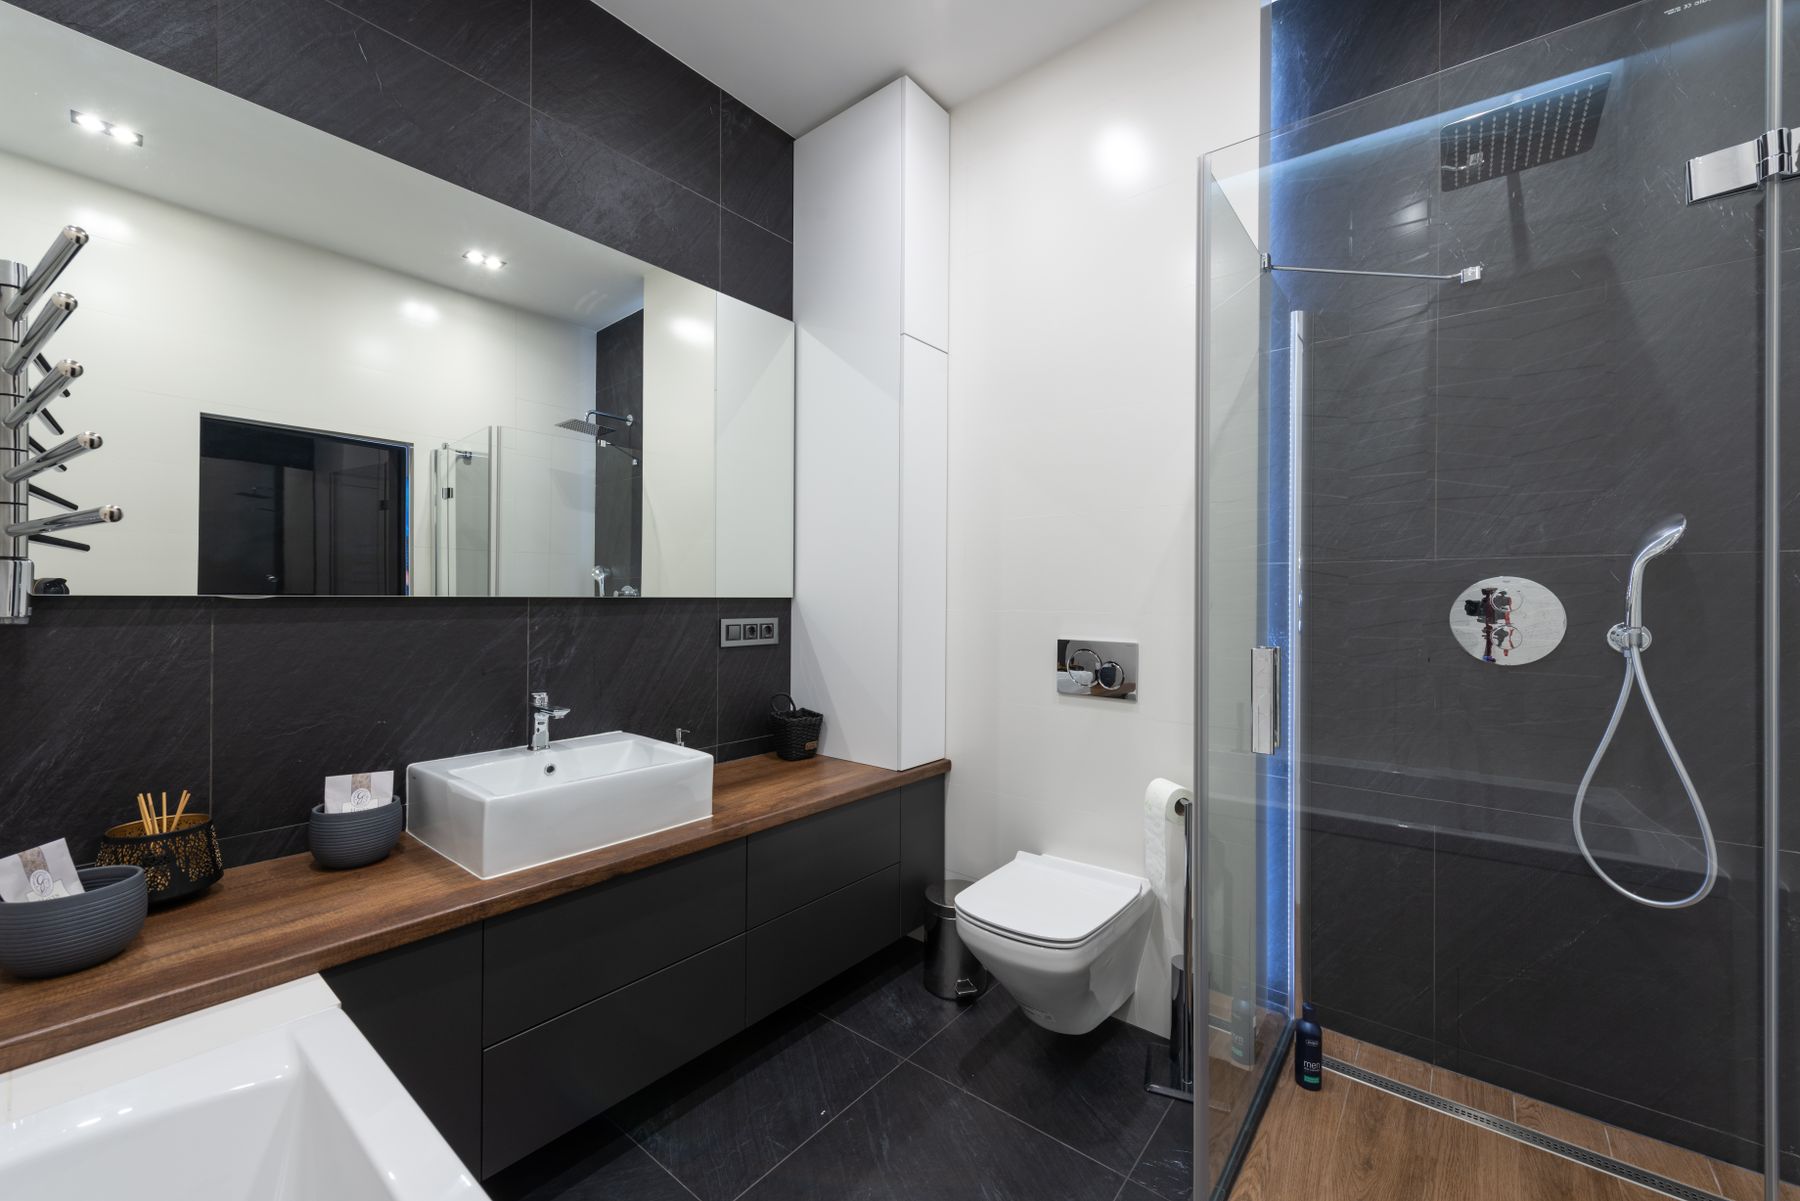
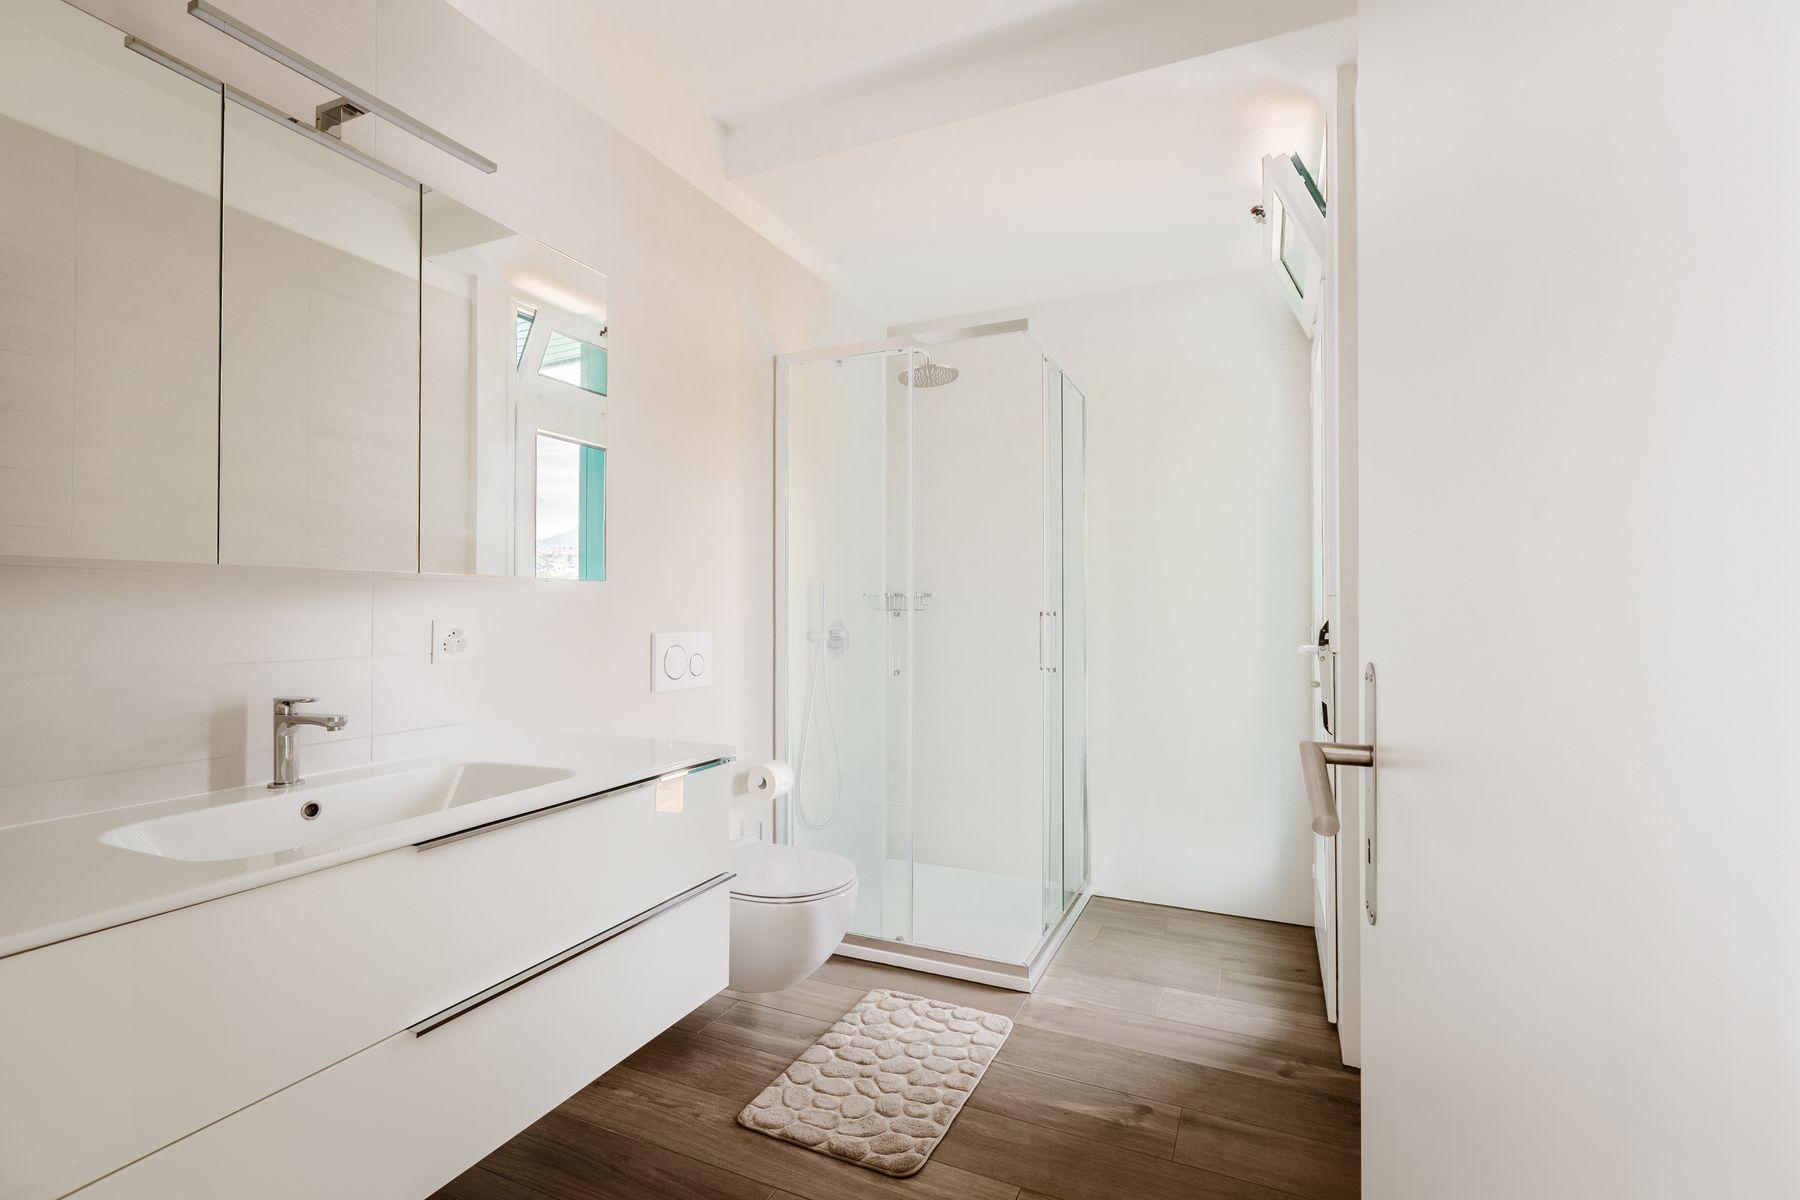
Freeze the Brief Before Factory Work Begins
Off-site manufacture shifts decisions forward. Basin model, tap type, mirror, outlet, light, fan, grab-rail backing and tile or panel penetrations may all affect shop drawings. Late changes can require rework in the factory and at the site interface, defeating the promised predictability. Establish who approves drawings, how substitutions are handled and when the design becomes fixed. Keep a short controlled palette rather than asking the system to absorb unlimited options.
Build the Plan Around Repeatable Clearances
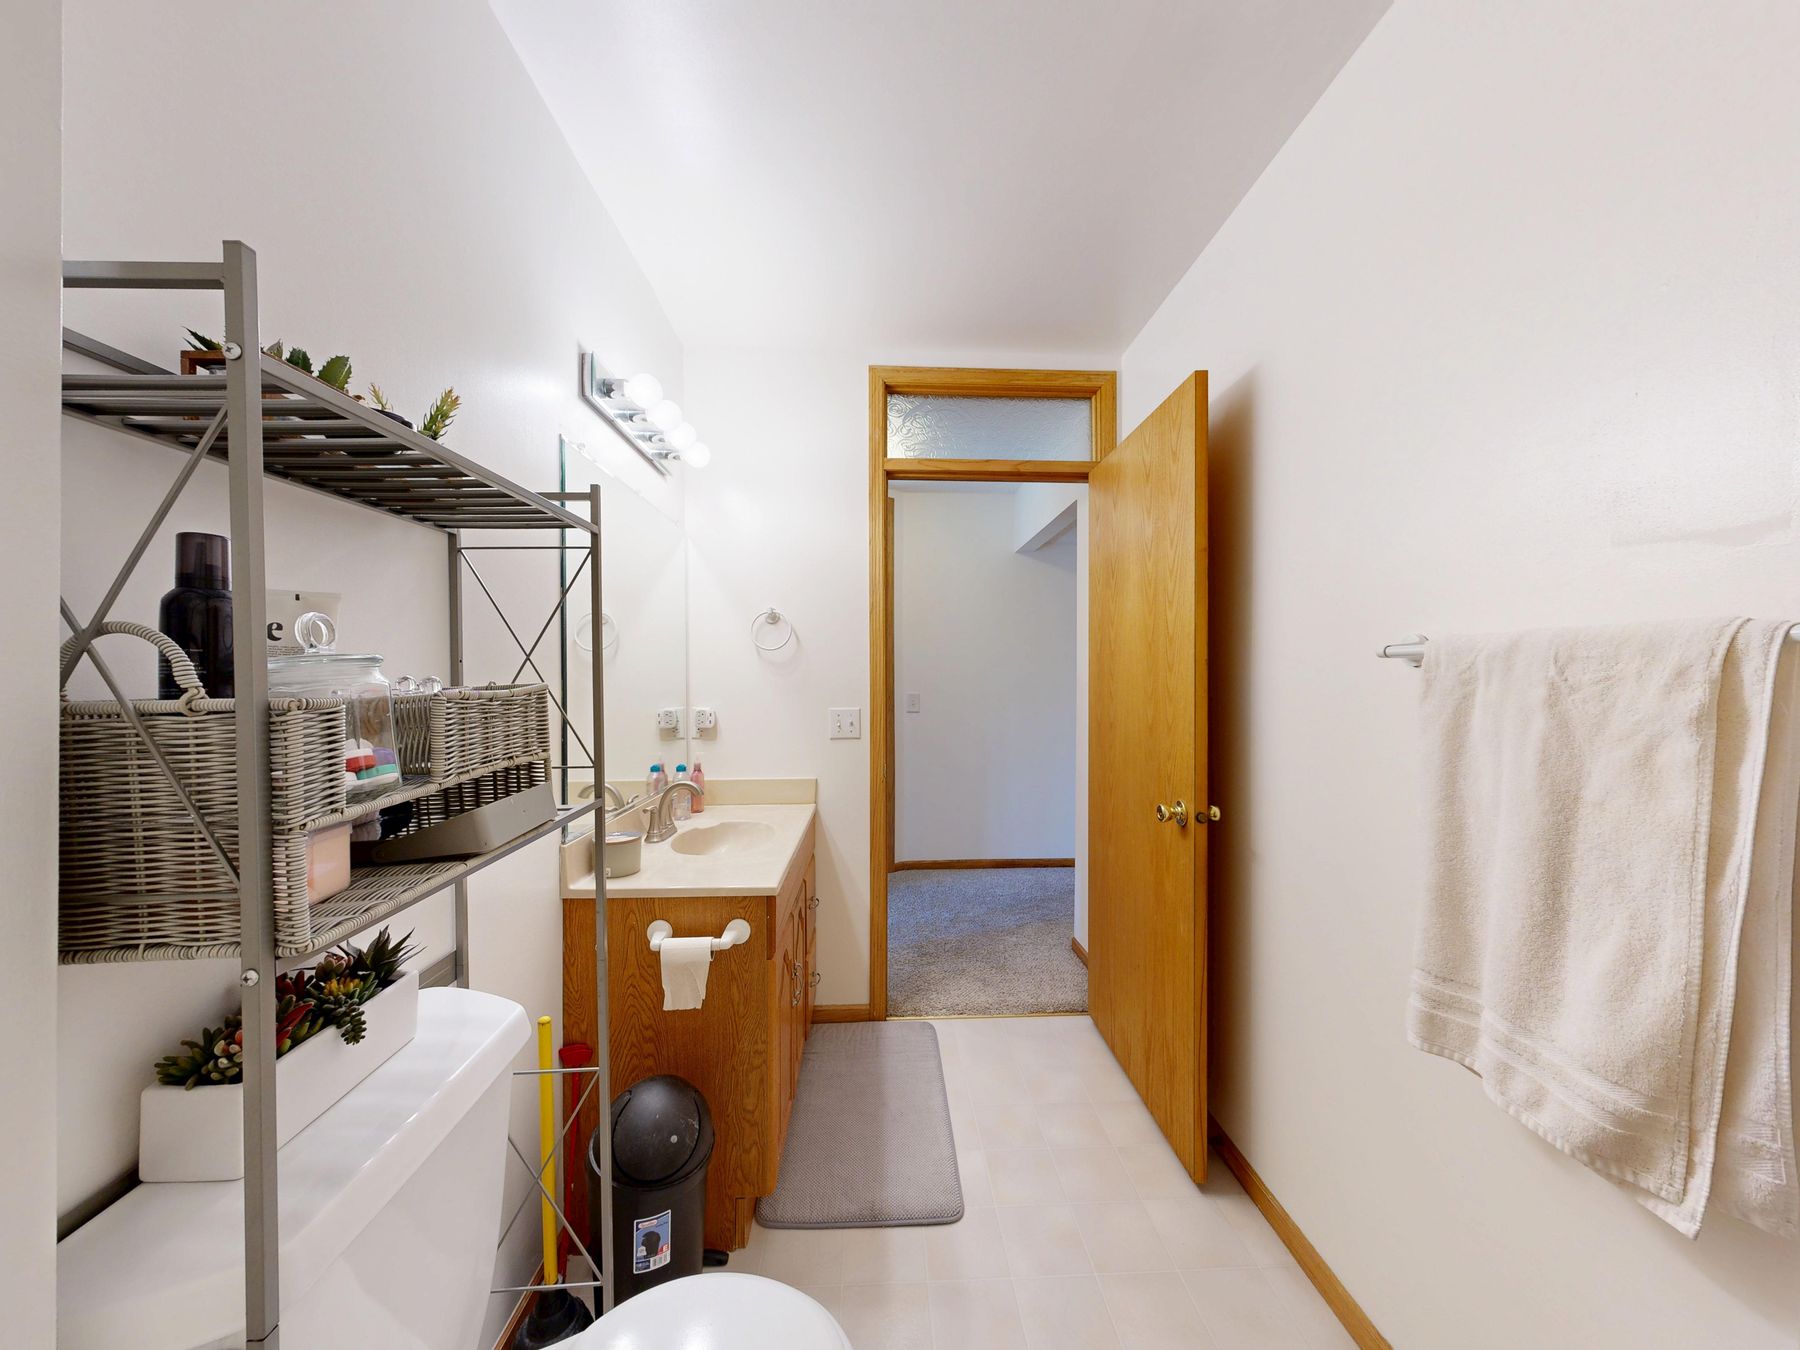
A modular plan should repeat useful clearances, not merely squeeze fixtures into a transportable box. Check the door swing, toilet approach, vanity use, shower entry, towel reach and cleaning space as a sequence. A few millimeters repeated across many units can become a persistent usability problem. Use the [bathroom layout guide](/ideas/bathroom-layout-ideas/) to test circulation, then lock a dimension only after it works for the likely users and fixtures.
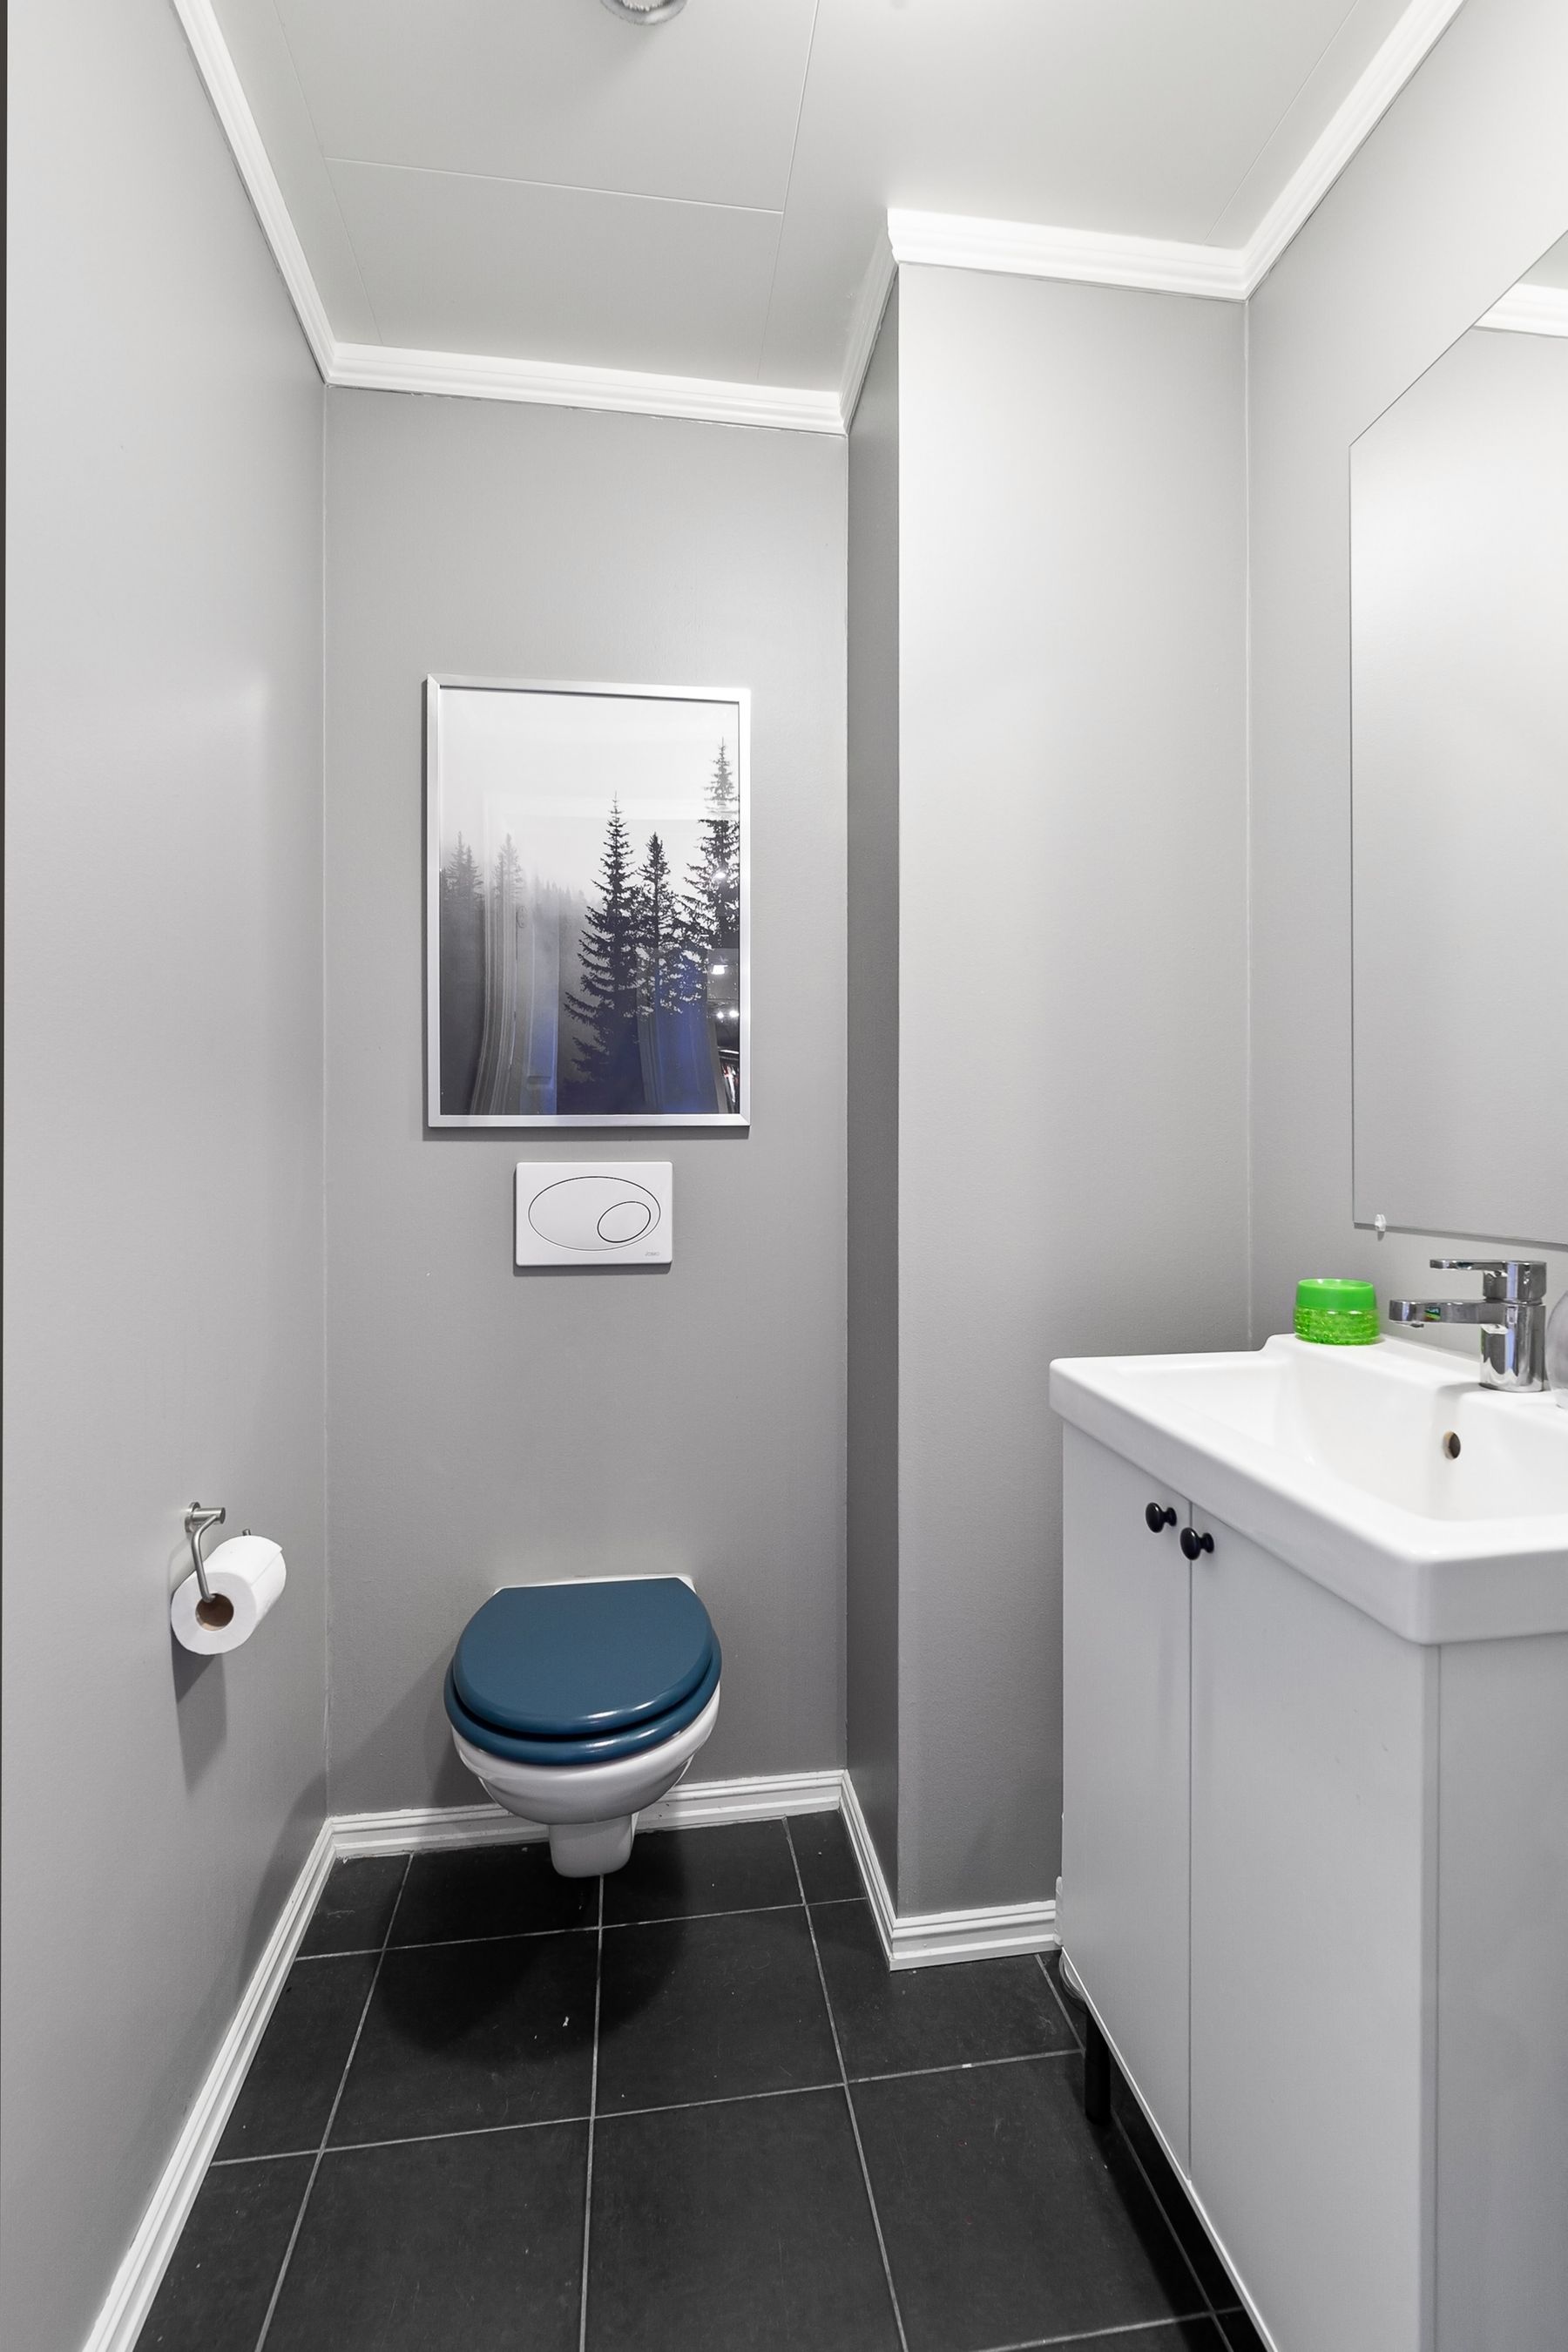
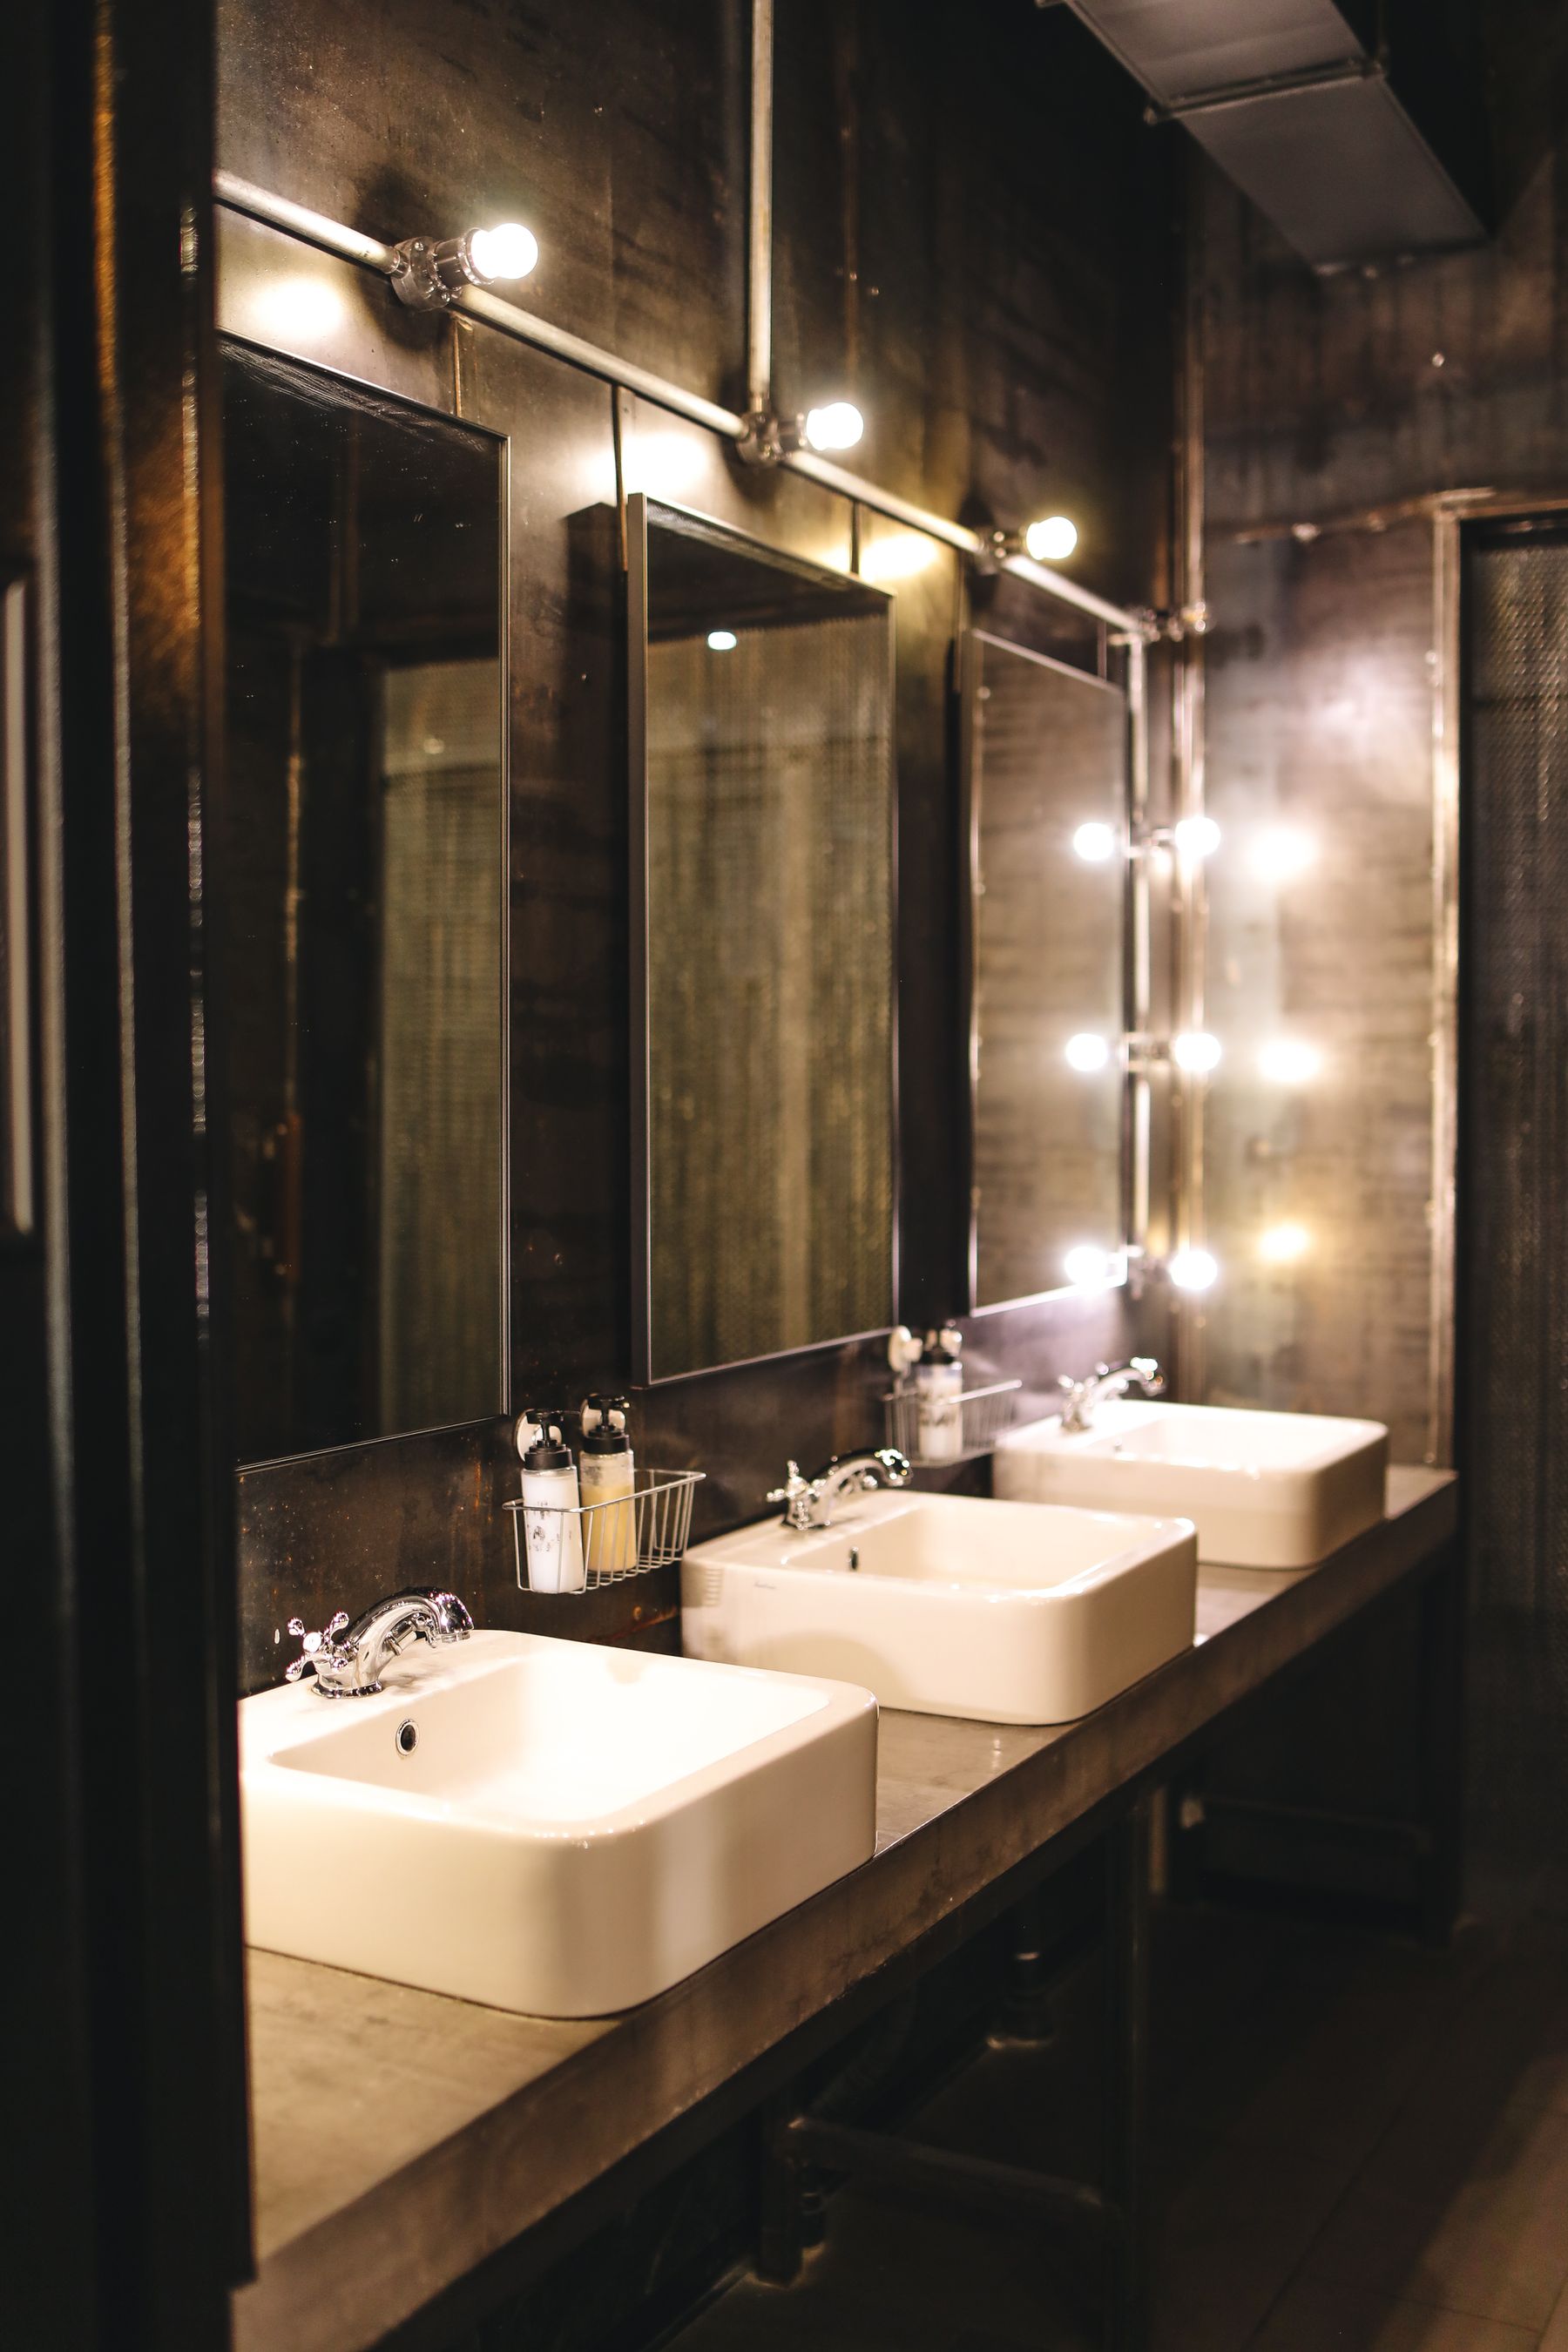
Concentrate Services Without Compromising Use
A shared wet or service wall can simplify supply, waste and vent coordination, especially across repeated bathrooms. It should not force the toilet into the entrance view or make the shower awkward. Compare the shortest service route with the best daily layout, then resolve access to valves and traps. In attached or stacked modules, align connection zones deliberately so the building services meet the bathroom rather than being improvised around it.
Confirm Drainage and Venting Before Dimensions Are Fixed
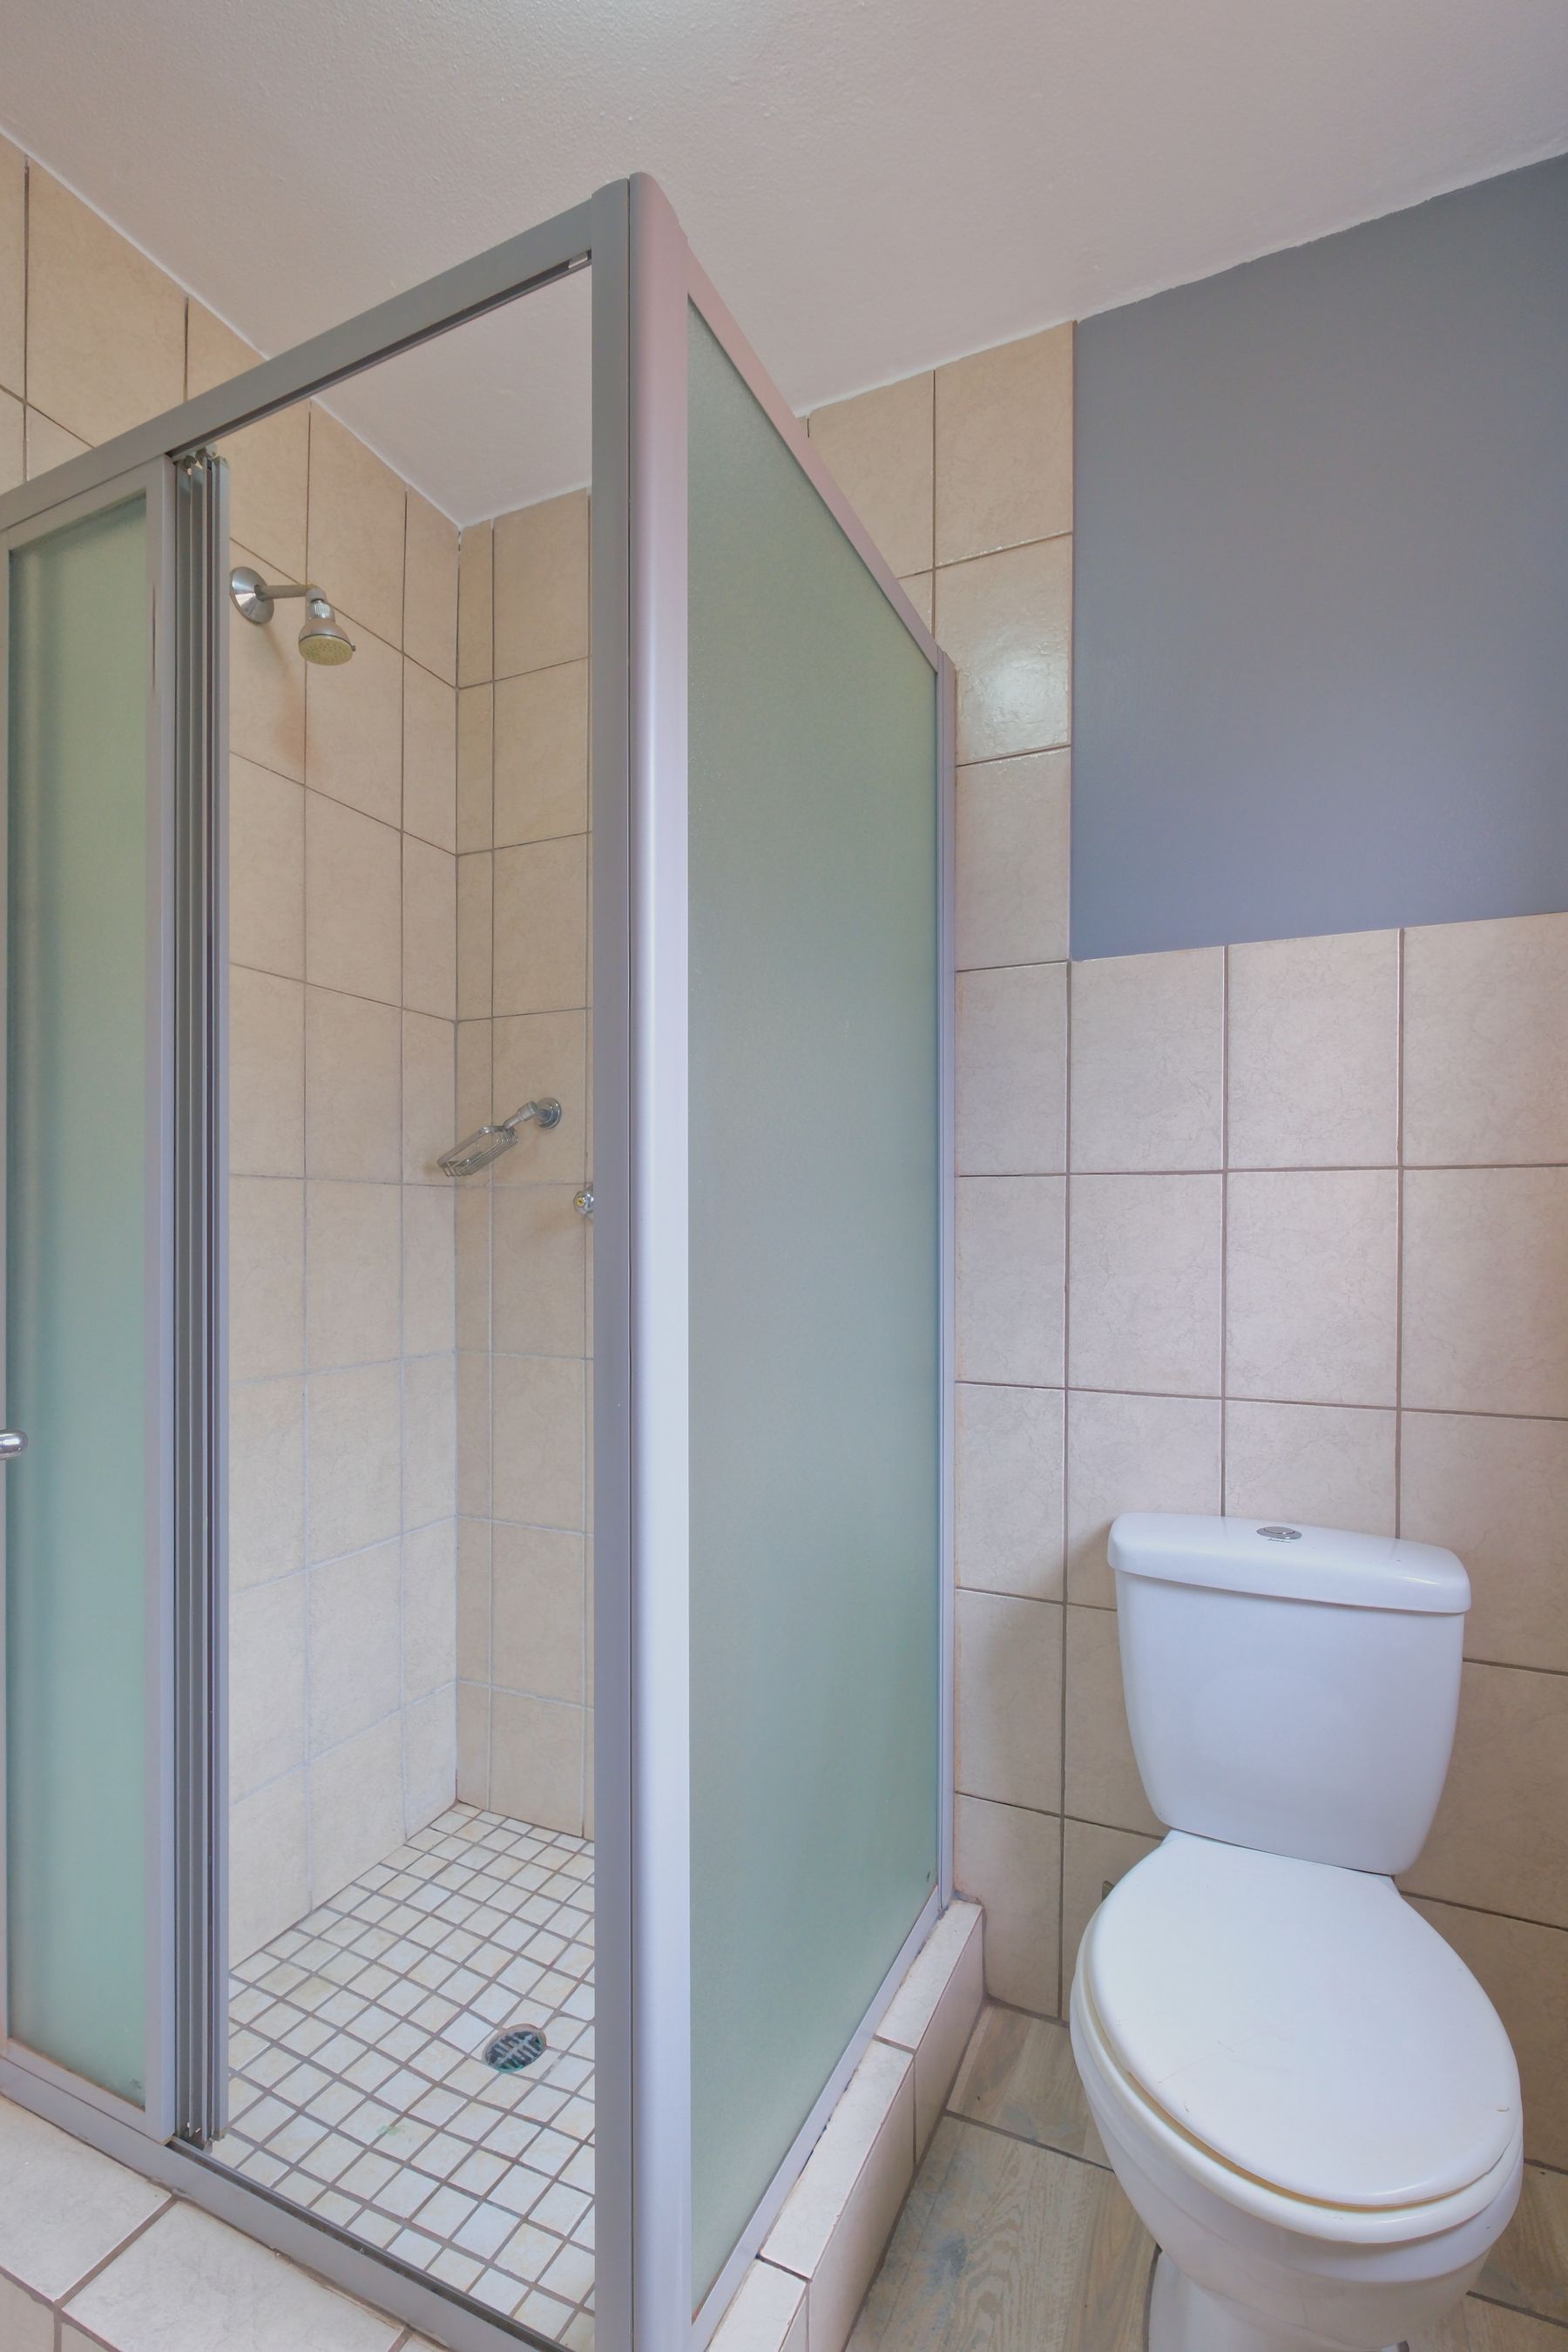
Waste falls, trap depths, vent routes and connection heights can control the floor build-up and module position. A visually simple layout can still fail if the drain cannot reach the stack or the pod outlet misses the building connection. Coordinate the bathroom supplier, structural designer and plumbing professional around dimensioned interface drawings. For renovations, open enough of the existing construction to verify assumptions before ordering a non-returnable system.
Design Every Factory-to-Site Connection
The module ends where the building begins, and that boundary is where risk concentrates. Define who supplies and connects water, waste, power, ventilation, fire stopping, acoustic seals and waterproof transitions. Connections need physical access, workable tolerances and a test procedure after installation. Concealed couplings may look tidy on drawings but create a service problem if they cannot be reached without damaging the finished room.
Prove the Delivery Route for a Complete Pod
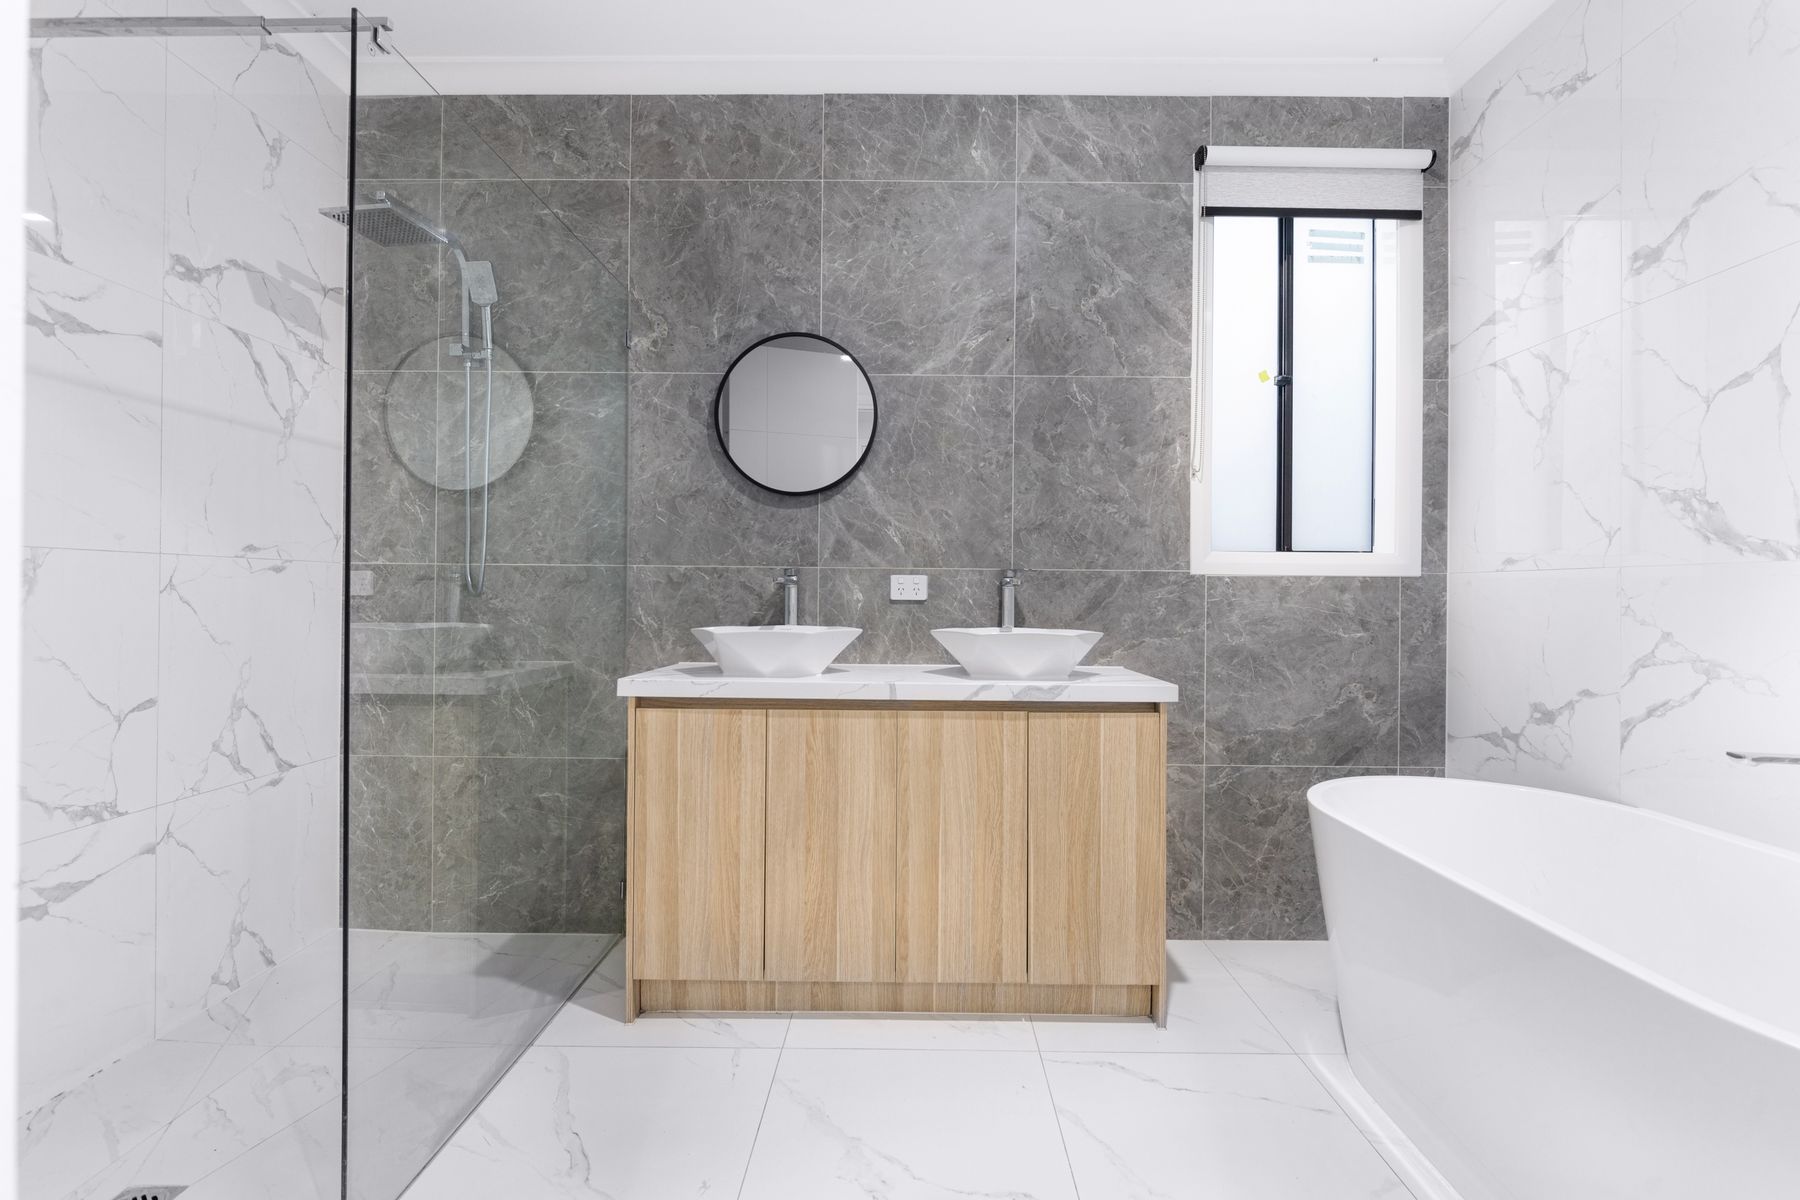
A finished pod must travel from factory to truck, across the site and into its final structural bay. Check external dimensions, weight, lifting points, crane radius, weather protection, slab or floor openings, temporary bracing and the sequence of surrounding walls. In an existing house, stairs and normal doorways usually make a full pod impractical. A kit of panels and fixtures may preserve system benefits without requiring the building to be assembled around the bathroom.
Coordinate Weight, Support and Tolerances
A pod concentrates structure, finishes, fixtures and sometimes a filled bath into one unit. Its base needs continuous or specified support, while the host structure must accommodate point loads, deflection and installation tolerances. Too little tolerance prevents placement; too much can leave difficult gaps at corridors, façades or service risers. A structural professional and the manufacturer should agree datum points, support conditions and permissible movement before production.
Keep Installation and Future Removal Possible
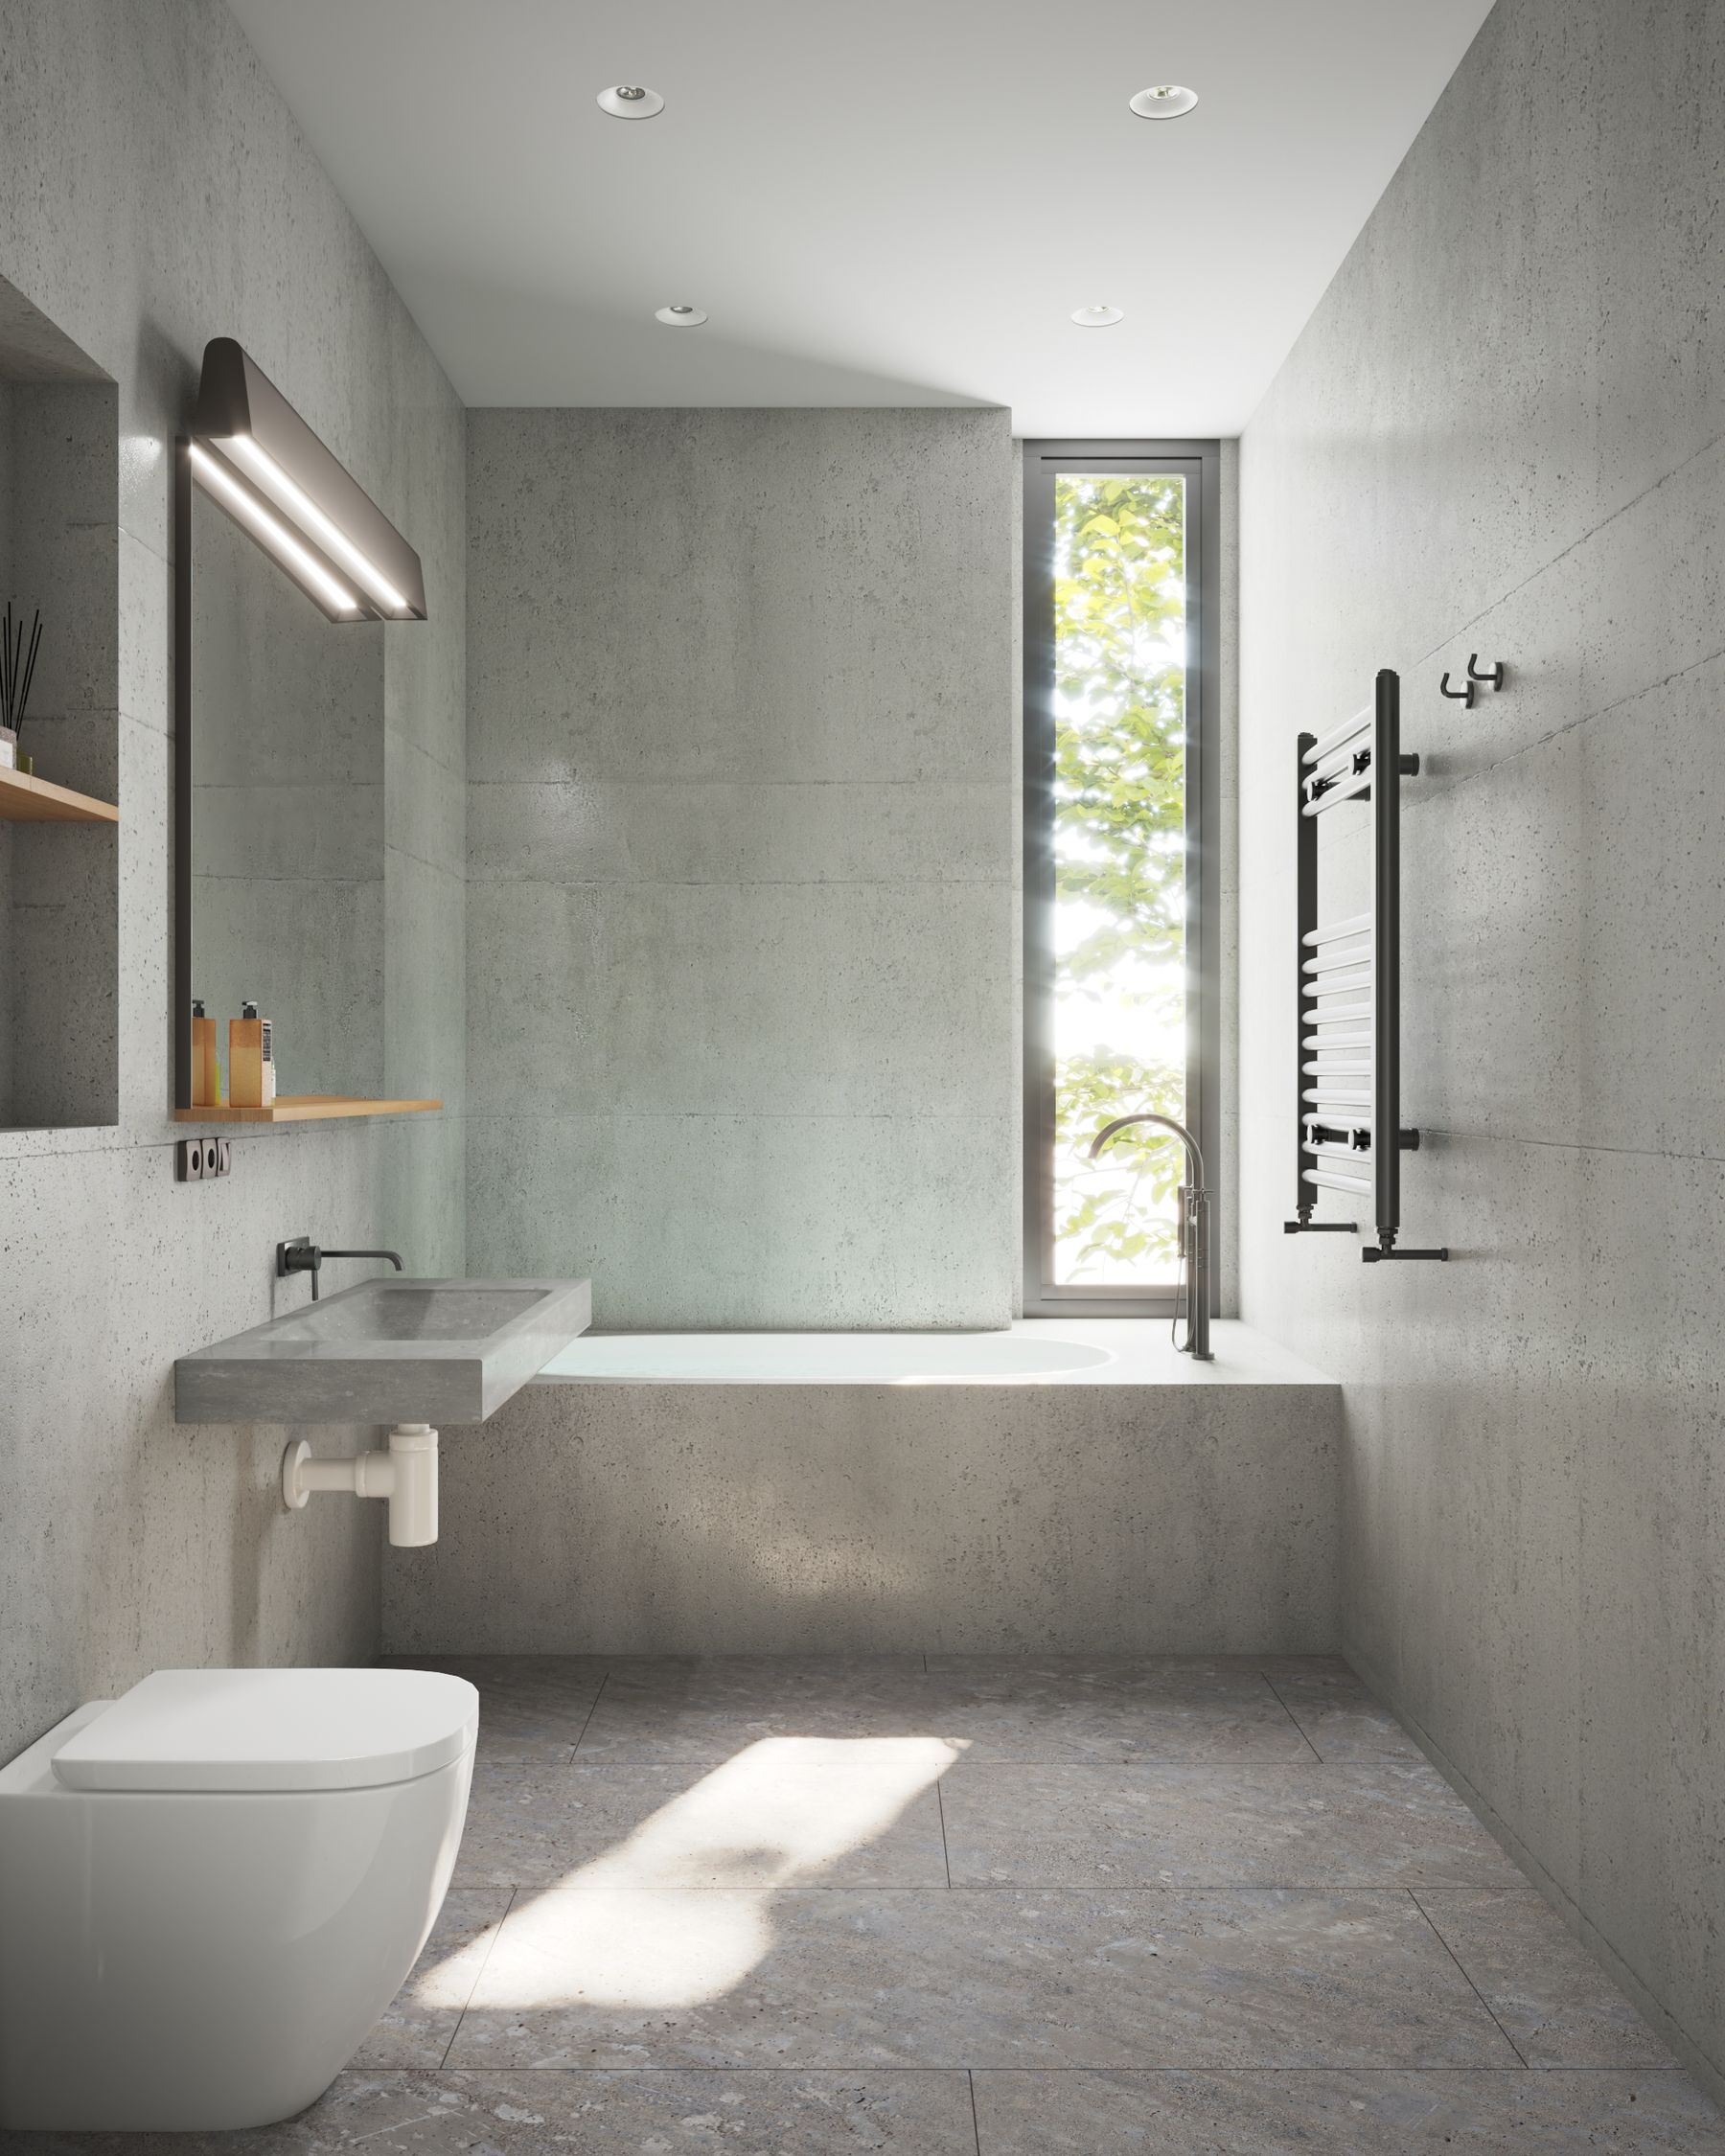
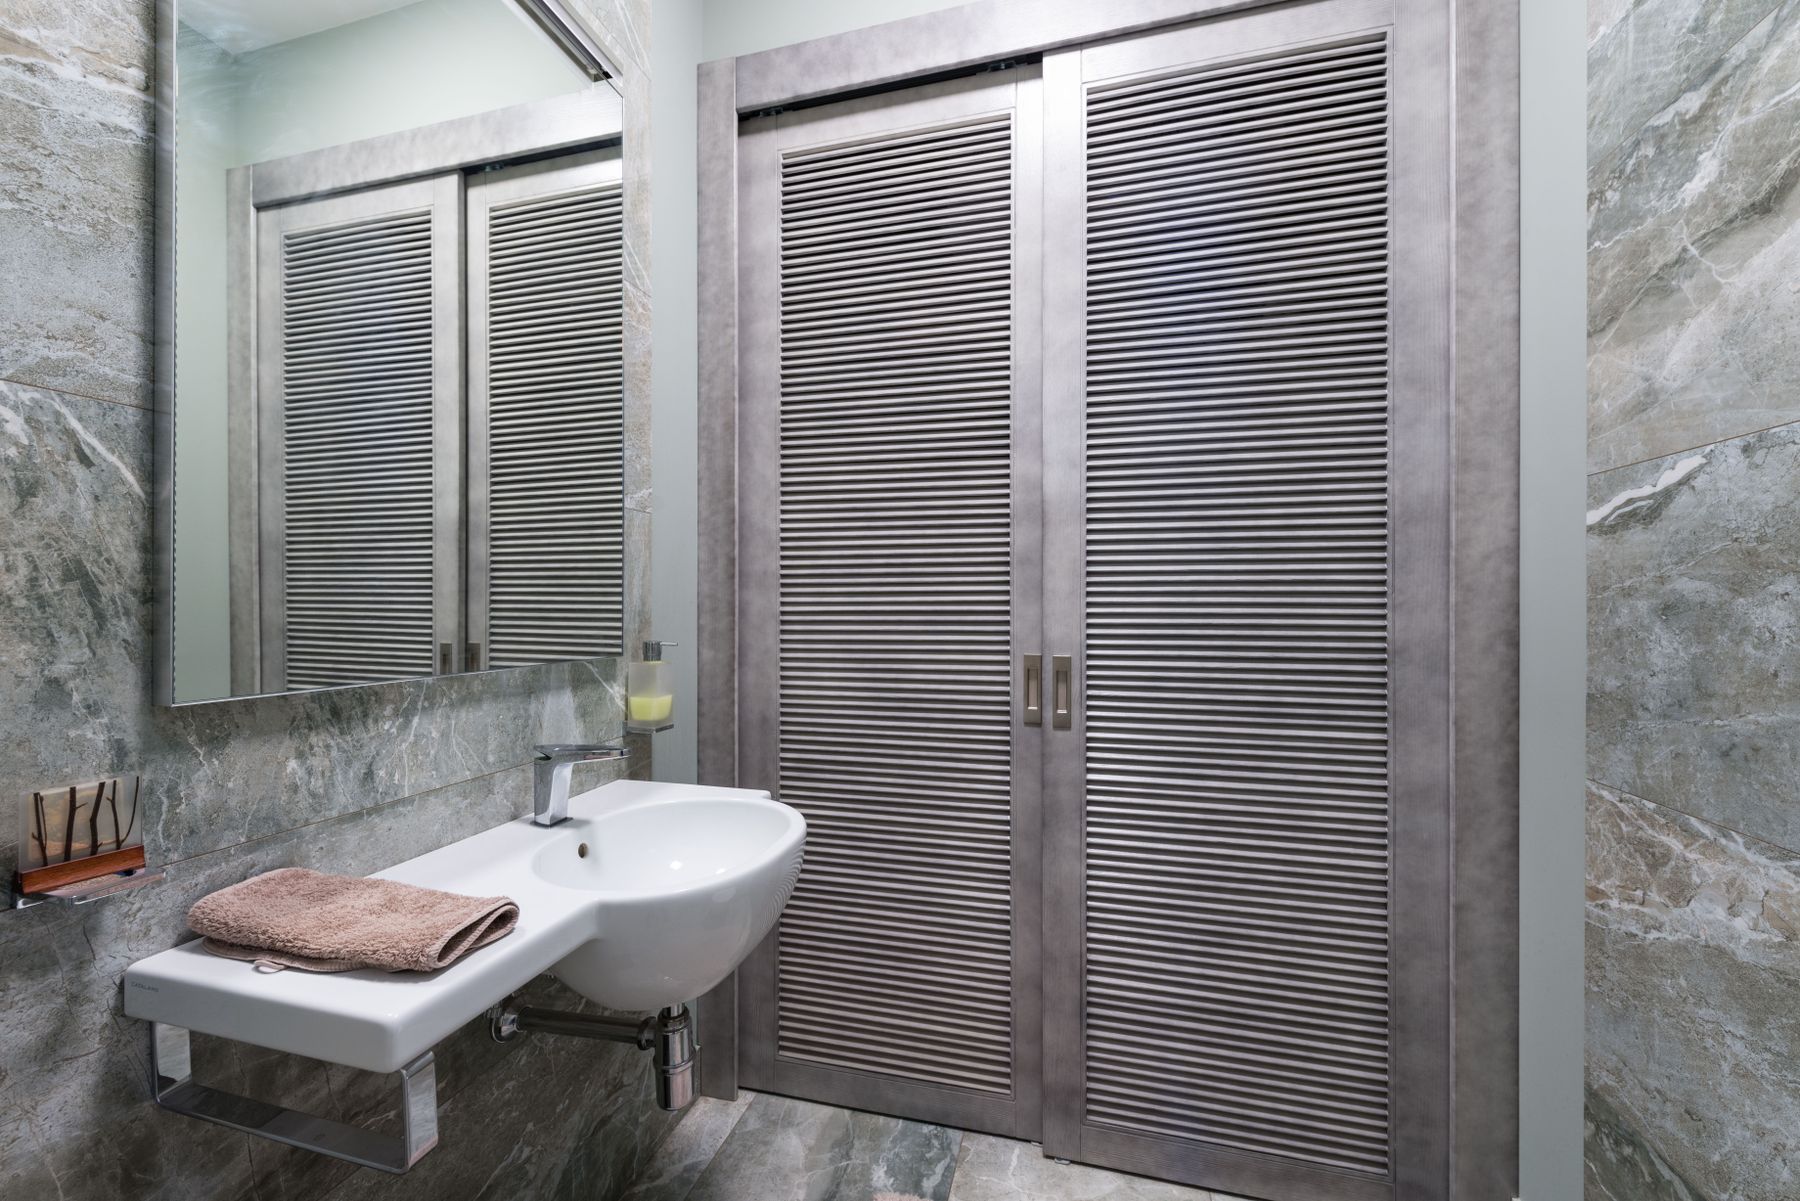
The route used to install a pod may disappear once façades, roofs or partitions close. Decide whether the bathroom is expected to remain for the building's life or whether major components should be replaceable individually. A component-based room can be less dramatic to install but easier to renew. Document access panels, removable trims and the sequence for replacing pumps, fans, cistern parts, mirrors and large shower components.
Specify the Wet Zone as One Tested Assembly
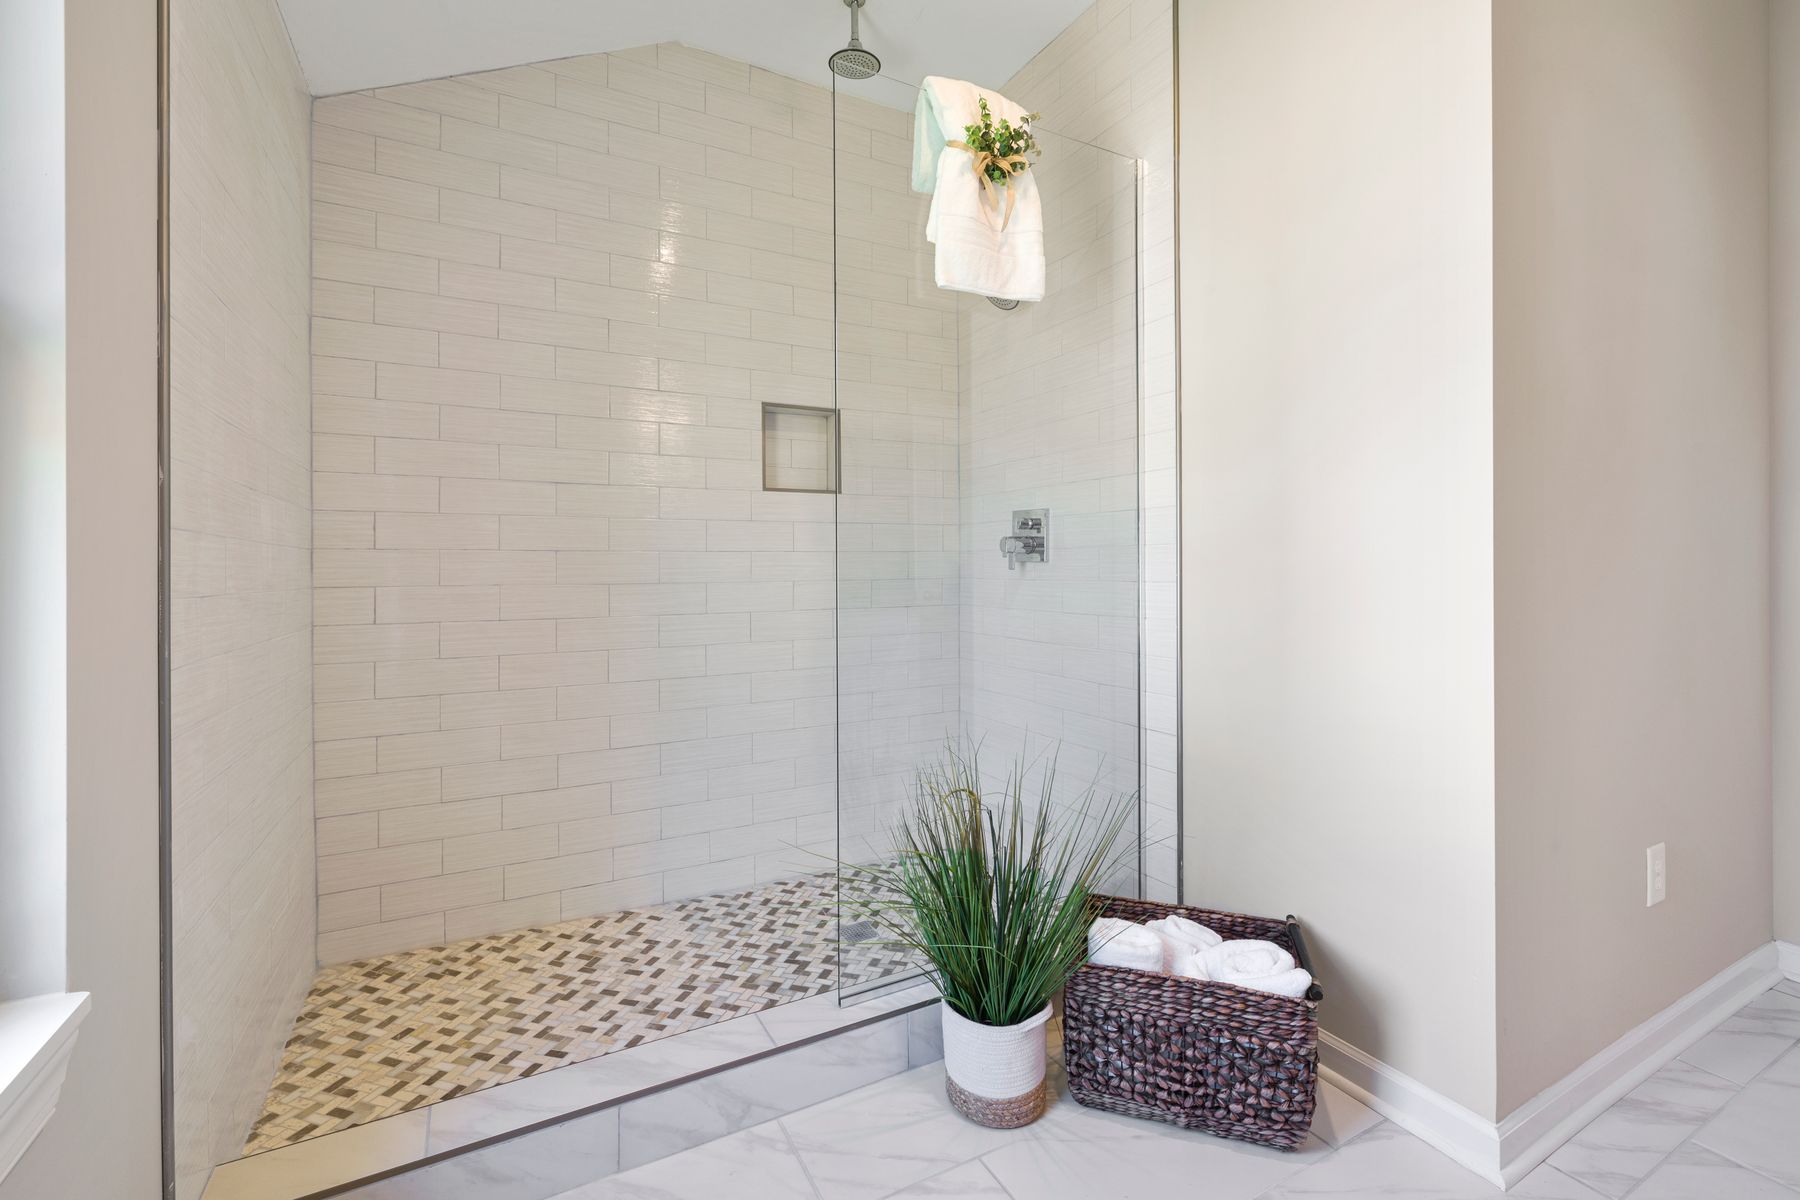
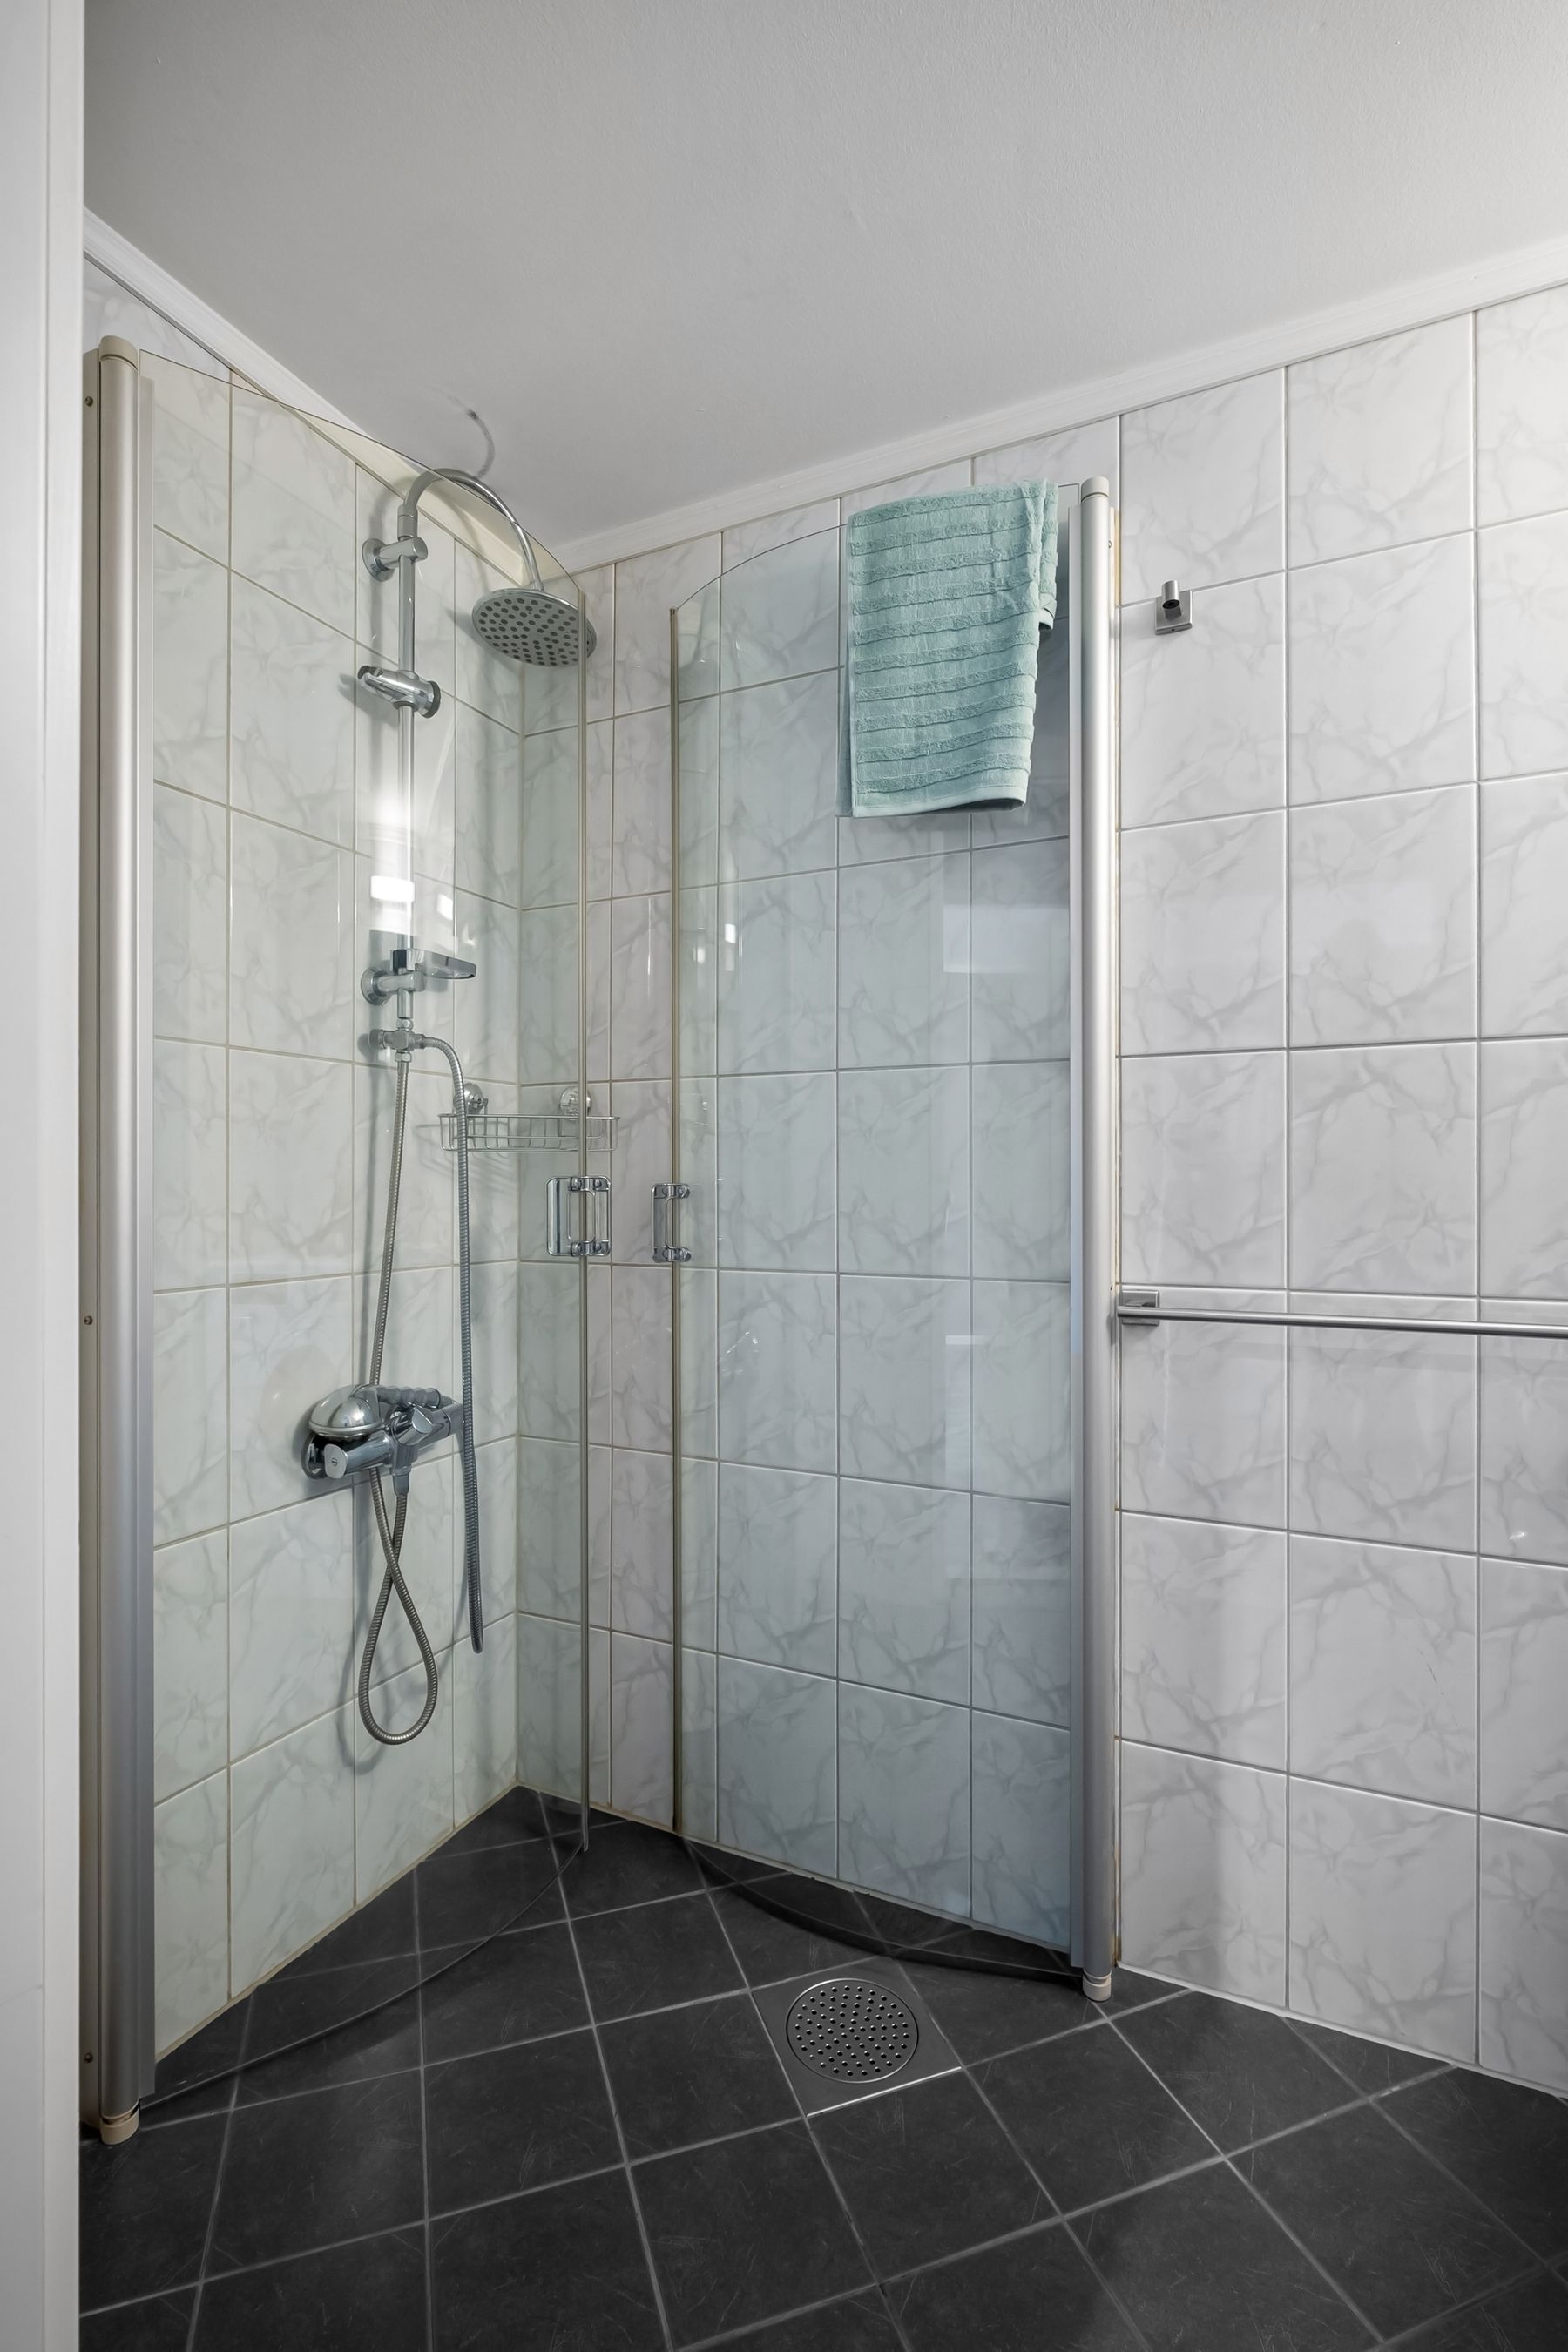
Shower base, falls, drain, waterproofing, wall system, penetrations and enclosure must work as one wet-zone assembly. Factory conditions can improve consistency, but transport and connection can still stress joints. Establish inspection points before finishes conceal the membrane and define water testing after the module is set. For site-assembled systems, preserve compatibility between products instead of mixing convenient parts with no clear responsibility for the completed assembly.
Compare Wall Panels With Tile Honestly
Large panels can reduce joints and speed a repeatable installation; tile offers broader repair, pattern and local sourcing options. Compare substrate requirements, corner details, expansion, penetrations, surface repair, cleaning and the availability of matching replacements. A proprietary panel is not automatically low maintenance if one damaged sheet requires dismantling adjacent fittings. Use the [bathroom tile guide](/ideas/bathroom-tile-ideas/) to weigh a conventional finish against the full system rather than comparing appearance alone.
Make Vanity Modules Fit the Wall, Not Almost Fit
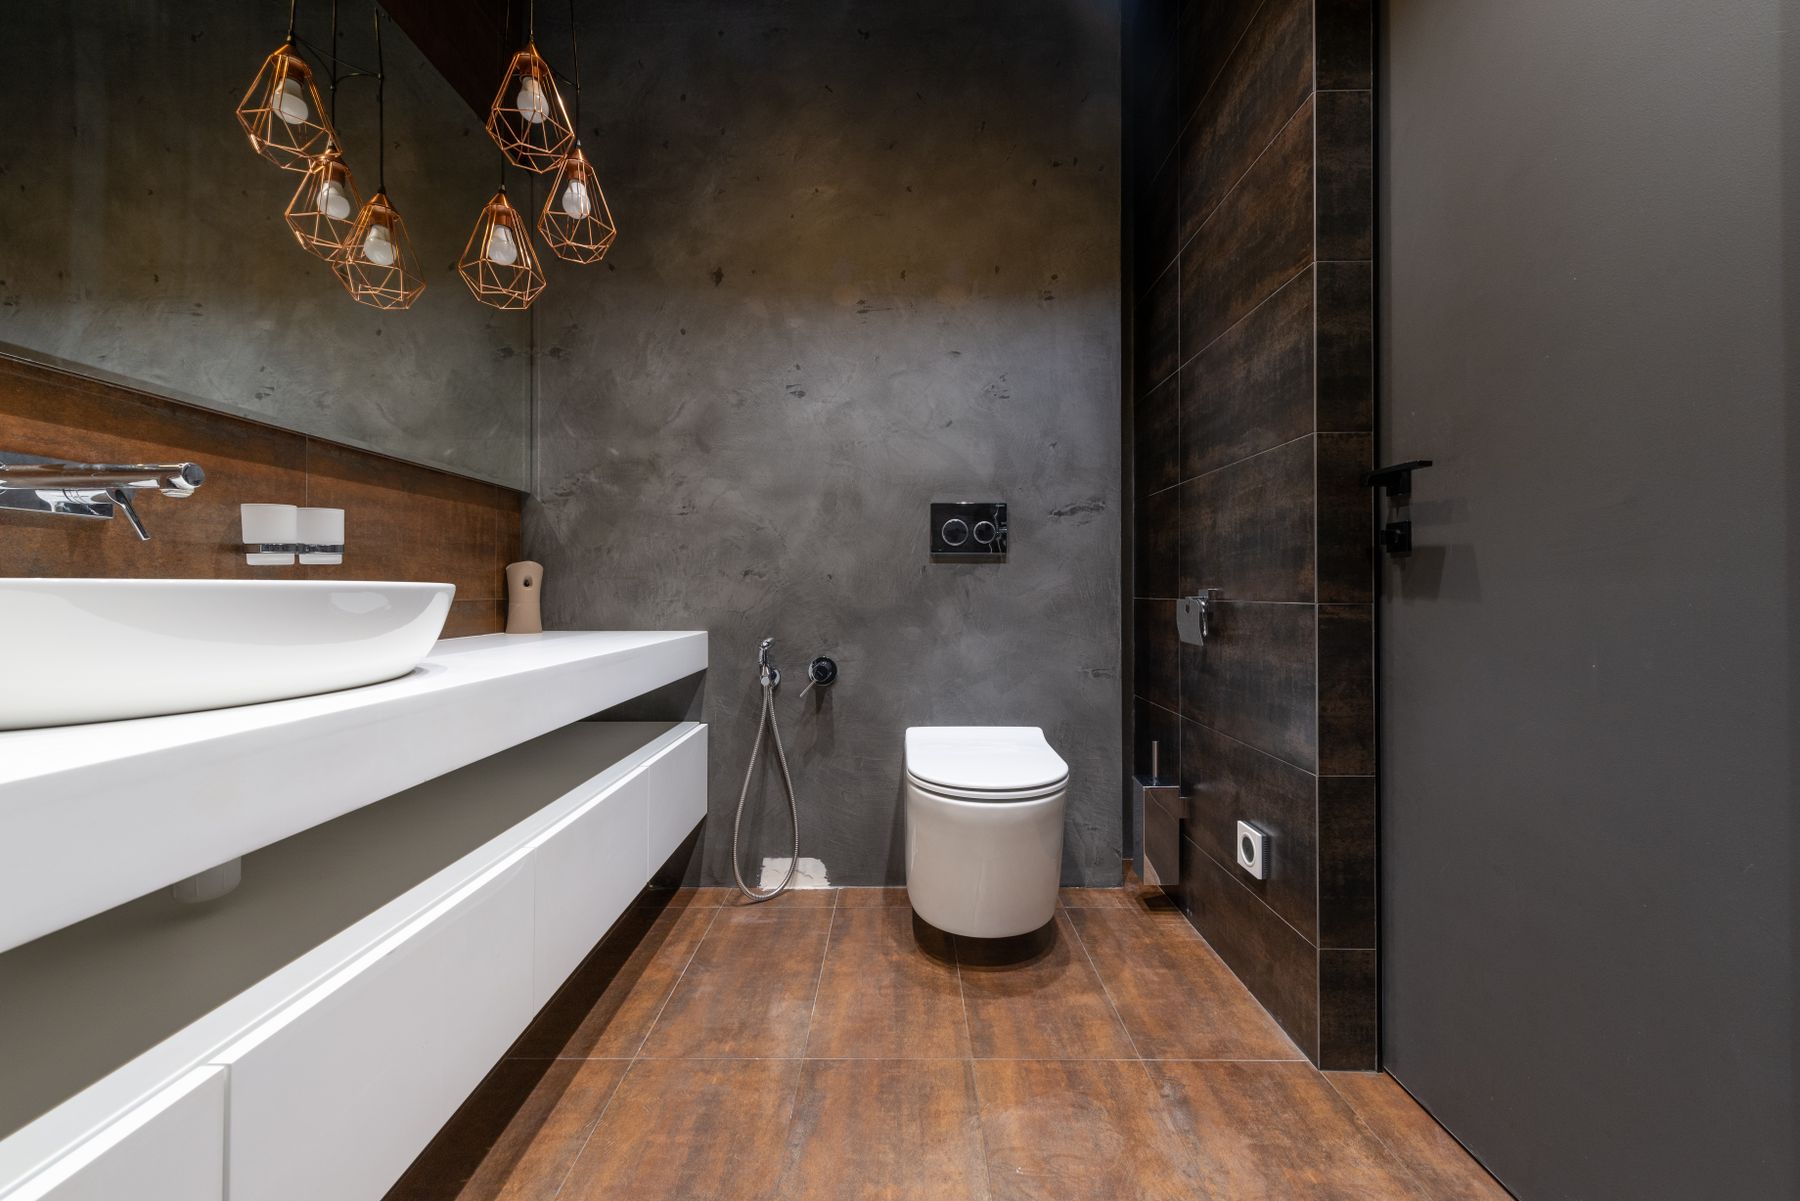
Standard cabinet widths rarely divide every wall perfectly. Choose the basin and useful drawer modules first, then place fillers, shadow gaps or open towel space deliberately. A narrow accidental sliver traps dust and makes an otherwise precise system look unfinished. Check trap, supply and outlet positions against drawer boxes, and allow doors or drawers to clear adjacent walls and shower screens. The [bathroom vanity guide](/ideas/bathroom-vanity-ideas/) helps match configuration to daily routines.
Standardize Storage by Routine
Modular storage works when it repeats categories people actually use: daily grooming, towels, cleaning products, toilet supplies and occasional stock. Give the vanity shallow drawers for small items, one tall or deep zone for bottles and a separate place for damp textiles. Avoid repeating a beautiful open shelf that every household must fill with packaging. The [bathroom storage guide](/ideas/bathroom-storage-ideas/) offers more ways to balance concealed and visible storage.
Freeze Lighting and Electrical Locations Early
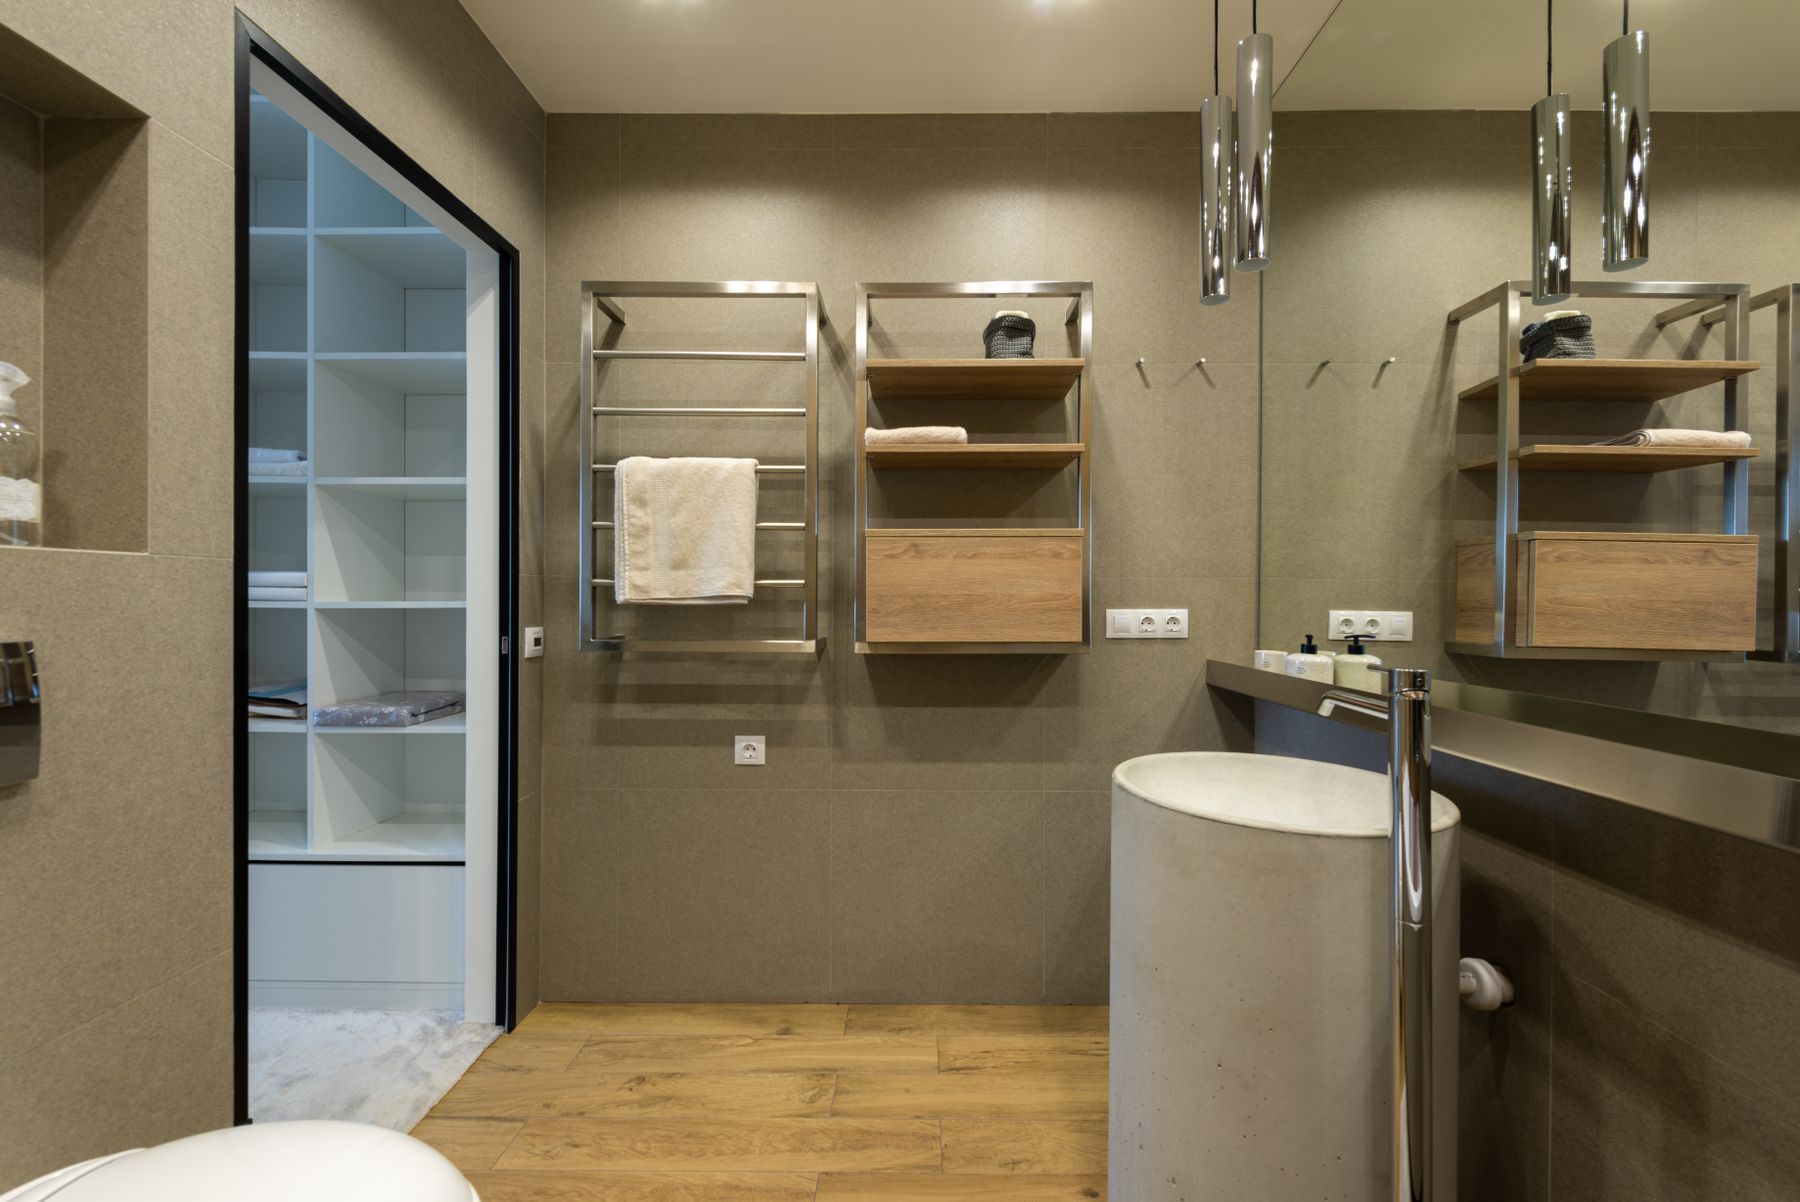
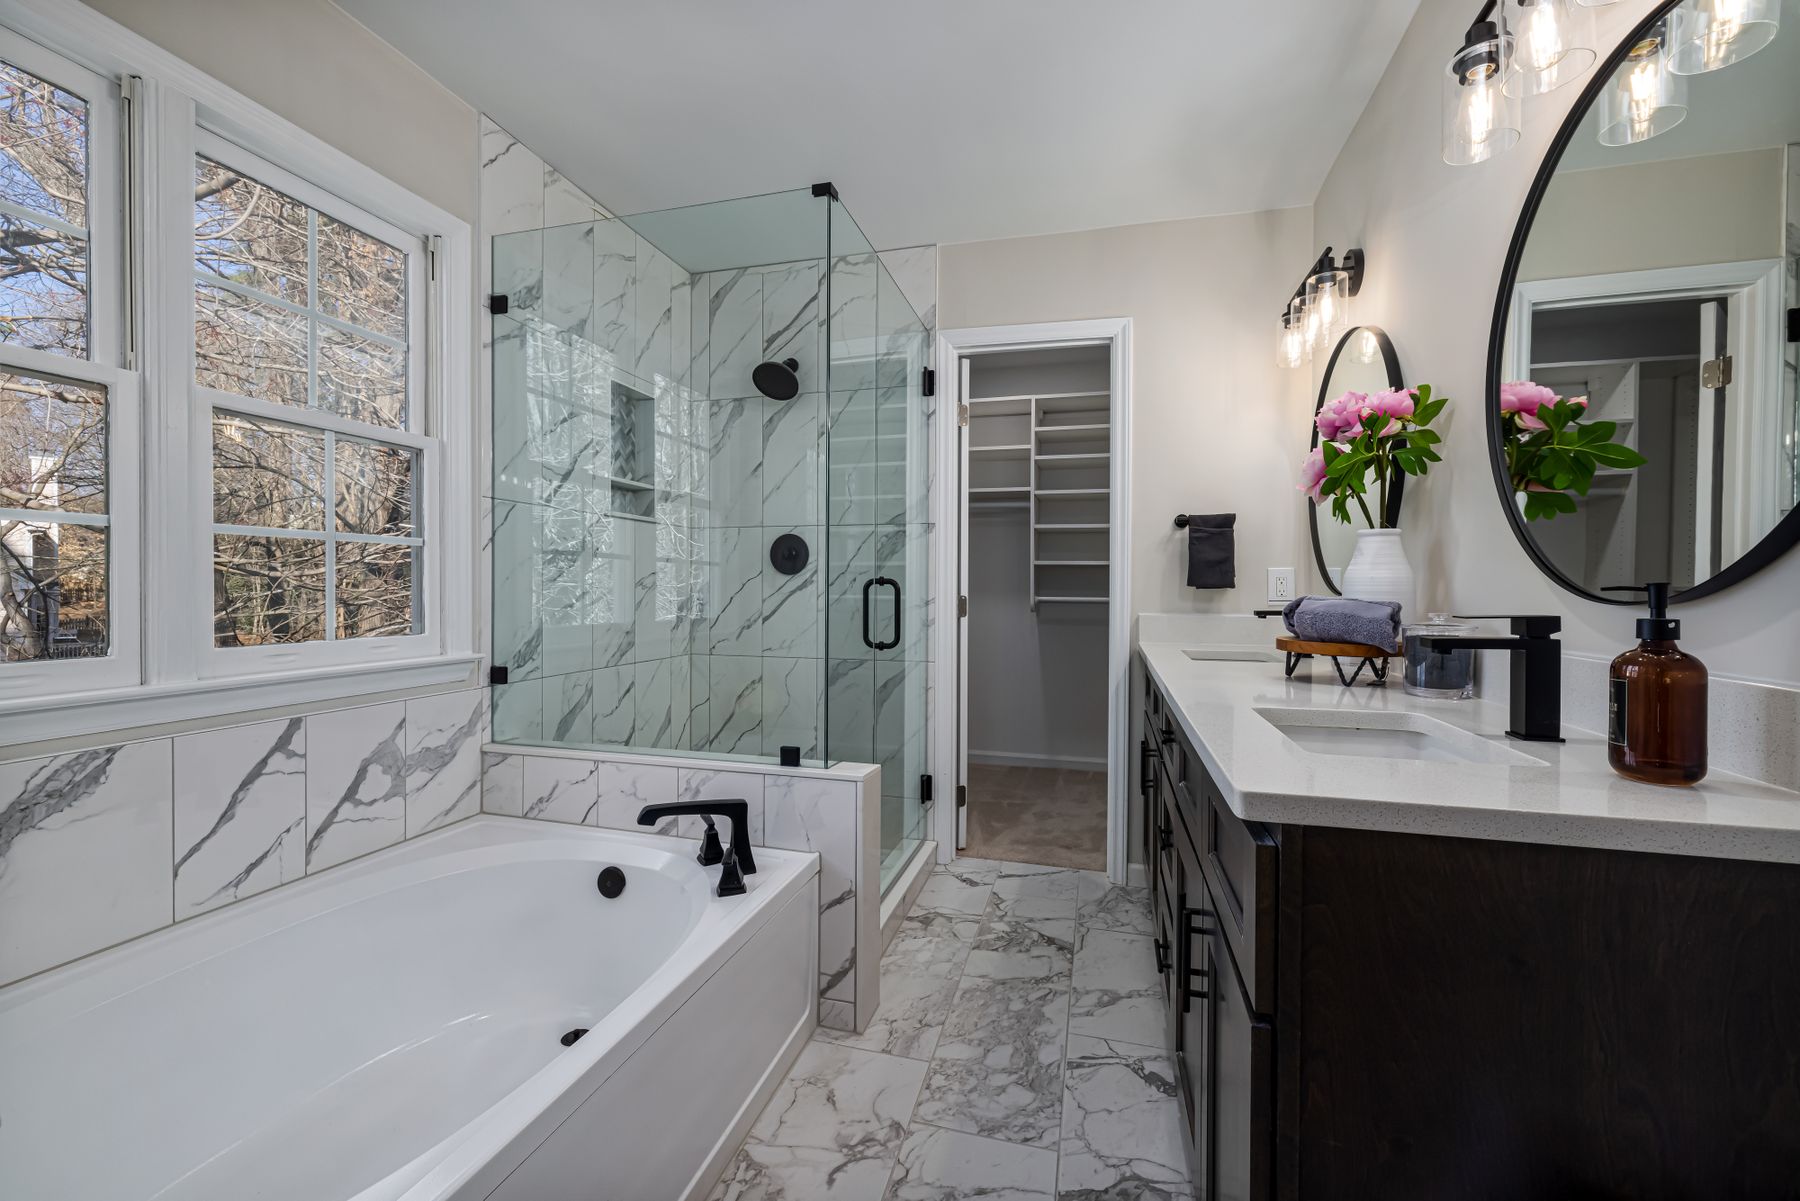
Prefabricated walls and ceilings leave less tolerance for moving a light or outlet after manufacture. Coordinate mirror size, face lighting, general illumination, shower-rated fittings, controls and permitted electrical zones on the same elevation. Provide an accessible junction strategy between factory wiring and the building. Color temperature and decorative fittings may remain selectable later only if the mounting, load and connection have already been defined.
Commission Ventilation After Installation
A specified fan does not guarantee the installed airflow. Long ducts, crushed flexible sections, external grilles and poorly sealed connections can reduce performance after the module meets the building. Define the duct interface, make the fan serviceable and test actual operation when construction is complete. In an attached bedroom or tightly built ADU, also consider sound and replacement access rather than selecting equipment by nominal capacity alone.
Design Accessibility Into the Repeated Module
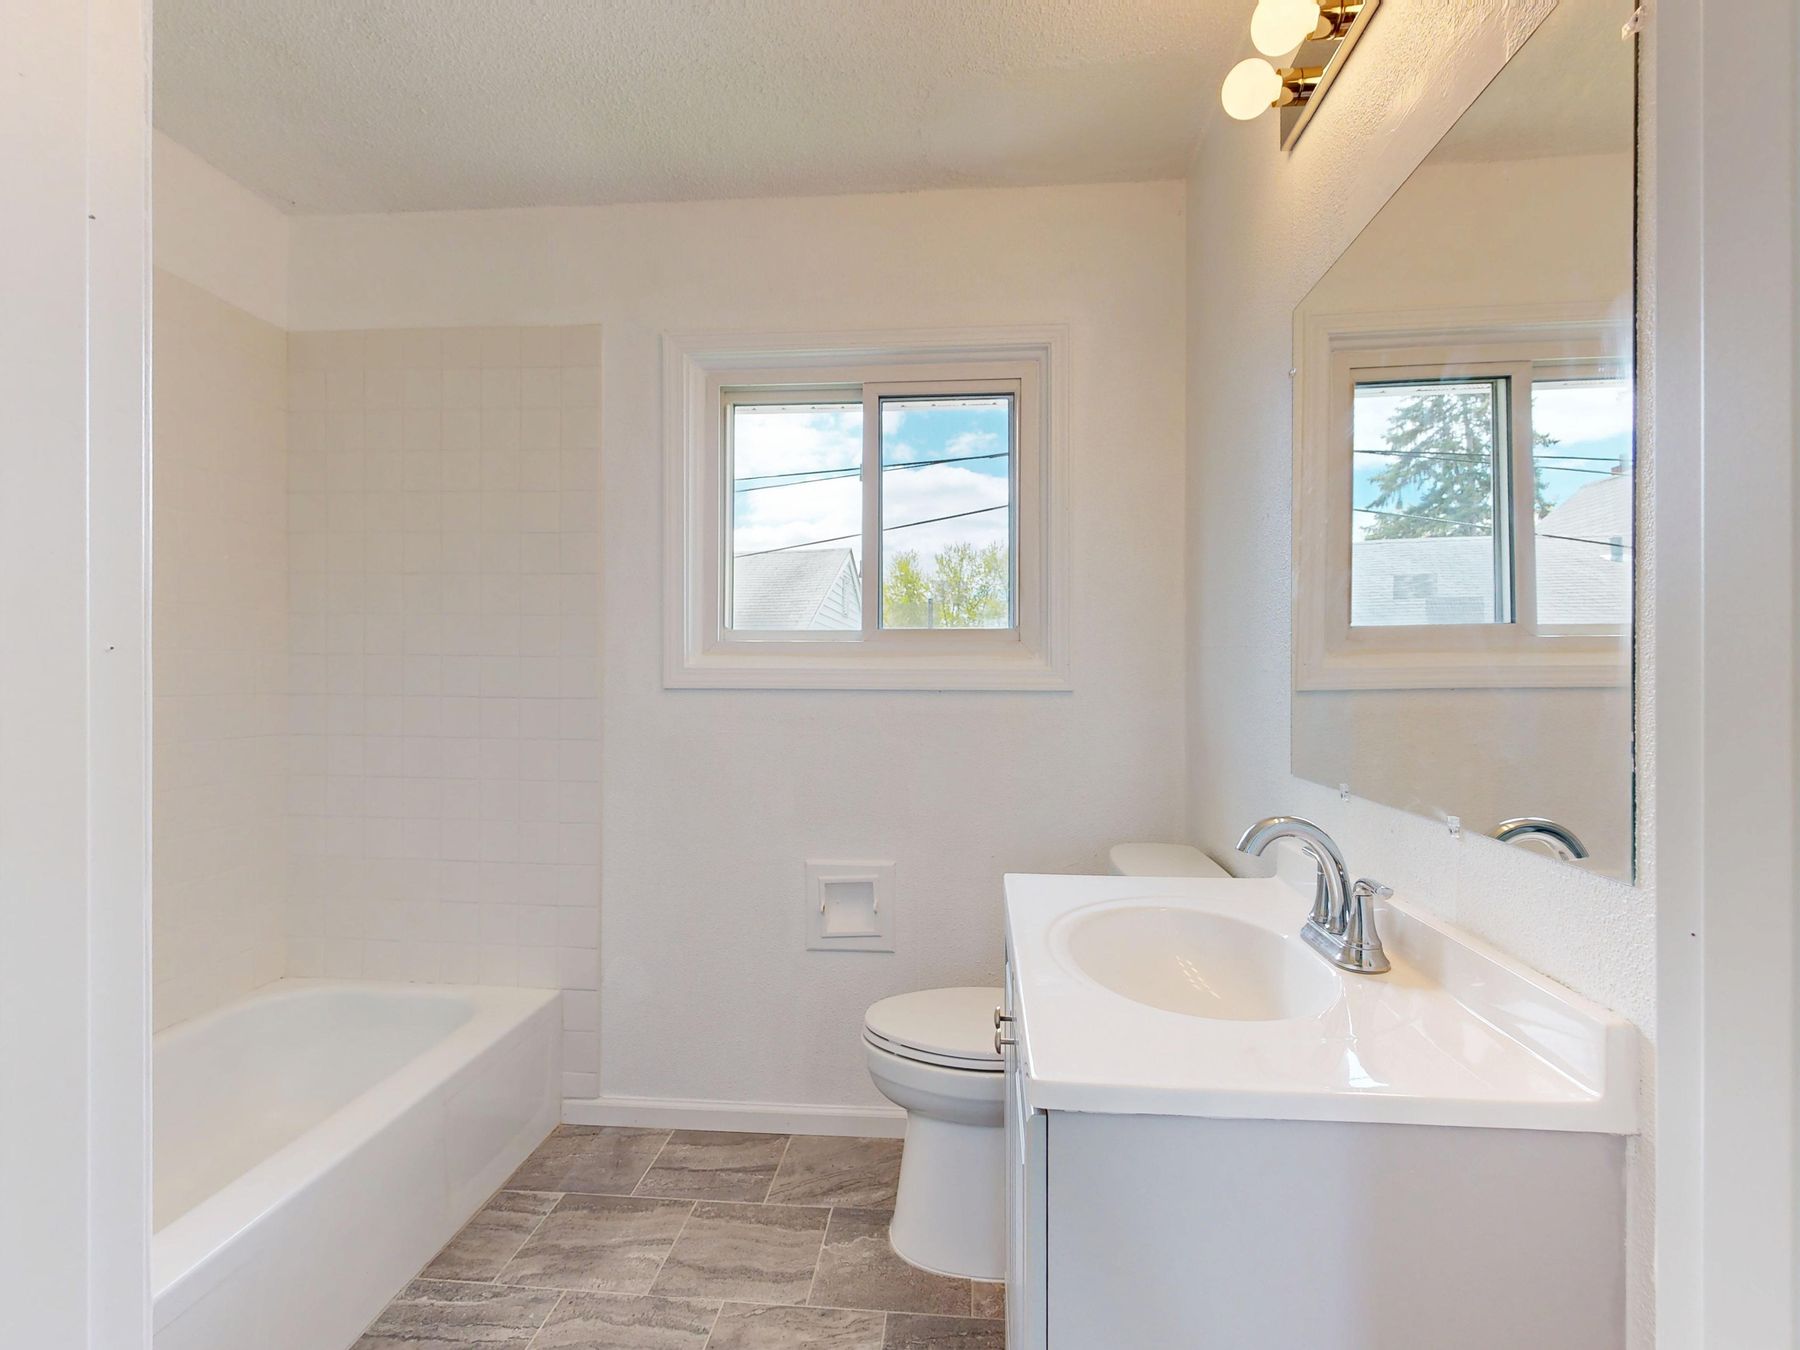
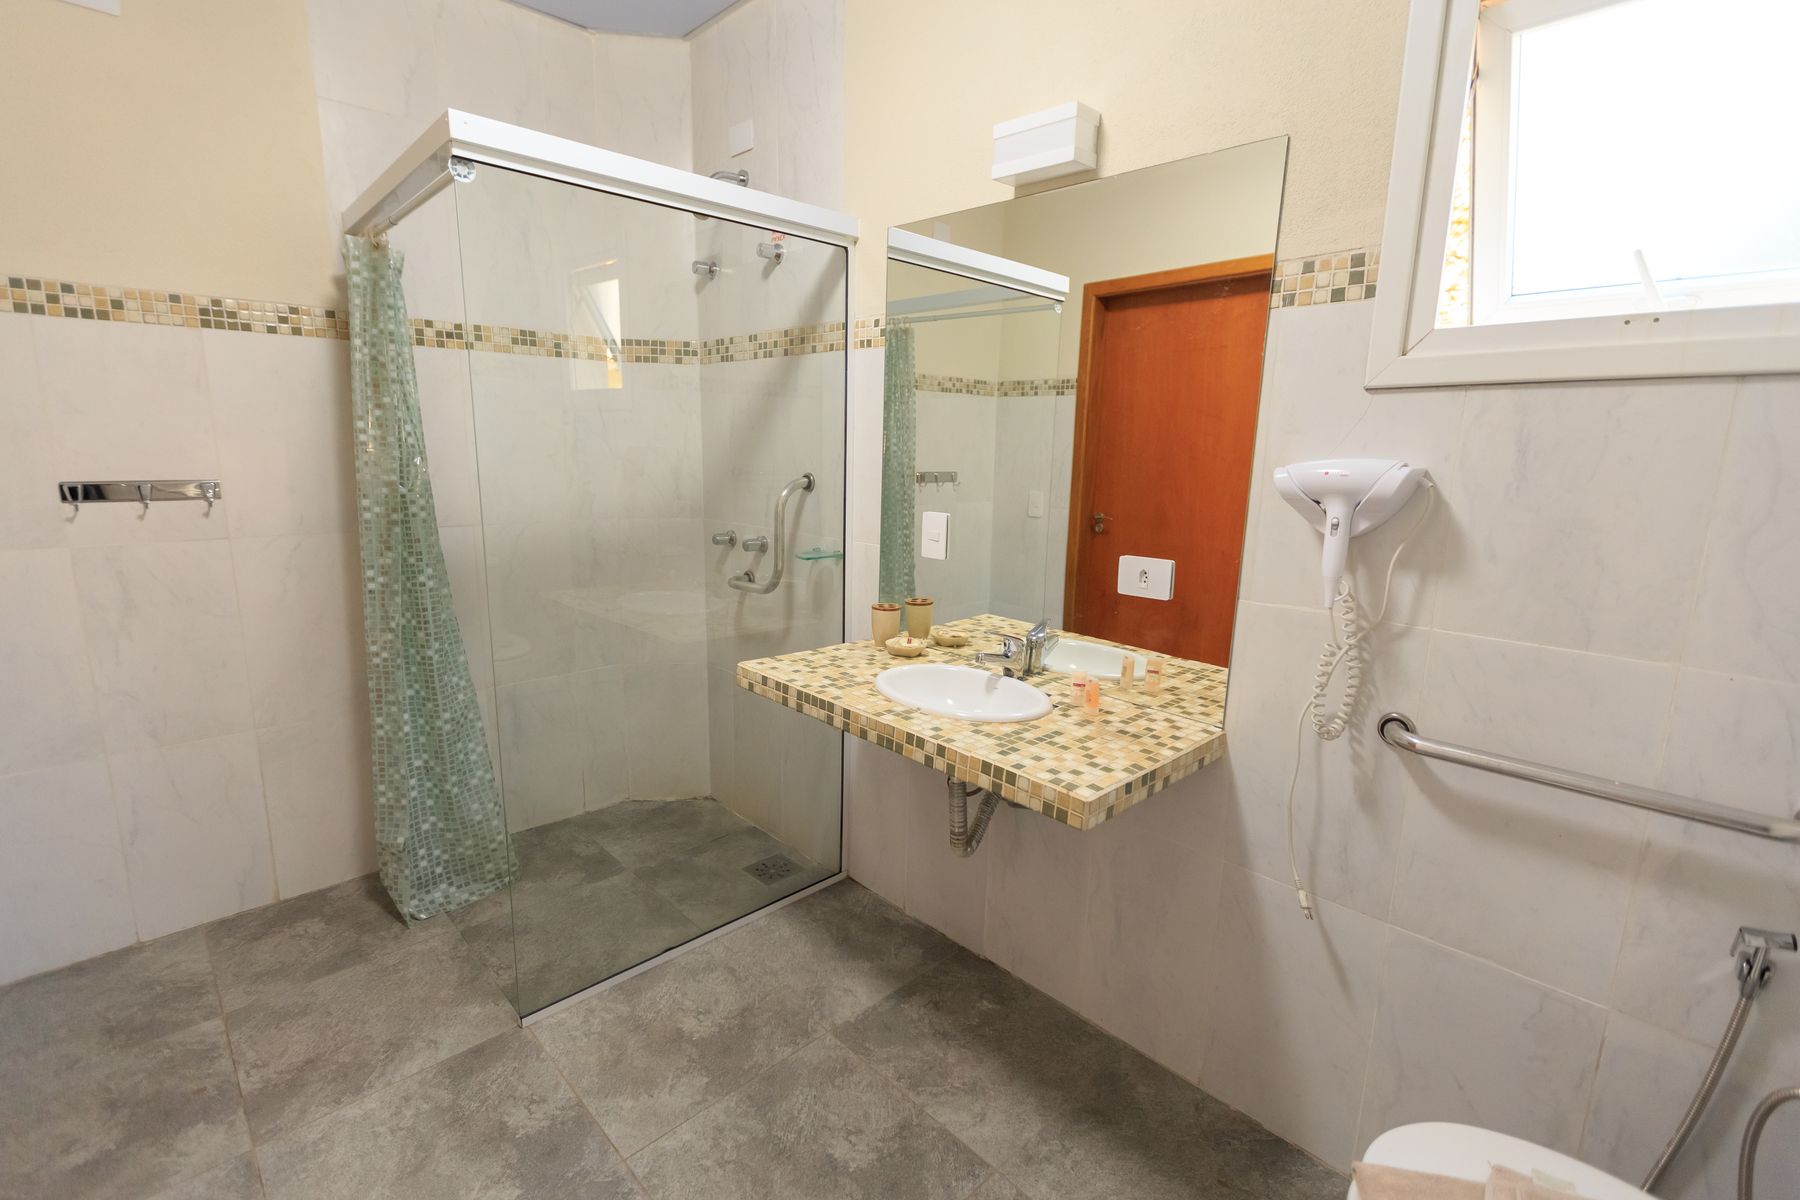
A repeated bathroom magnifies both good and bad access decisions. Level entry, useful turning and transfer space, reachable controls, reinforced walls and a stable seat can be integrated more consistently when planned from the start. Do not treat a grab rail as the whole accessibility strategy or assume one standard meets every user's needs. Use the [aging-in-place bathroom guide](/ideas/aging-in-place-bathroom-ideas/) and confirm applicable requirements with qualified local professionals.
Control Sound Between Repeated Bathrooms
Back-to-back bathrooms may simplify services while concentrating flush, pipe and fan noise beside bedrooms. Isolate pipes from lightweight framing, seal penetrations, specify wall and floor build-ups deliberately and avoid rigid bridges where modules touch the host structure. Quiet fans and soft-close hardware address only part of the problem. Review the complete path from source to sleeping space, especially in compact apartments, hotels, ADUs or multigenerational homes.
Provide Real Maintenance Access
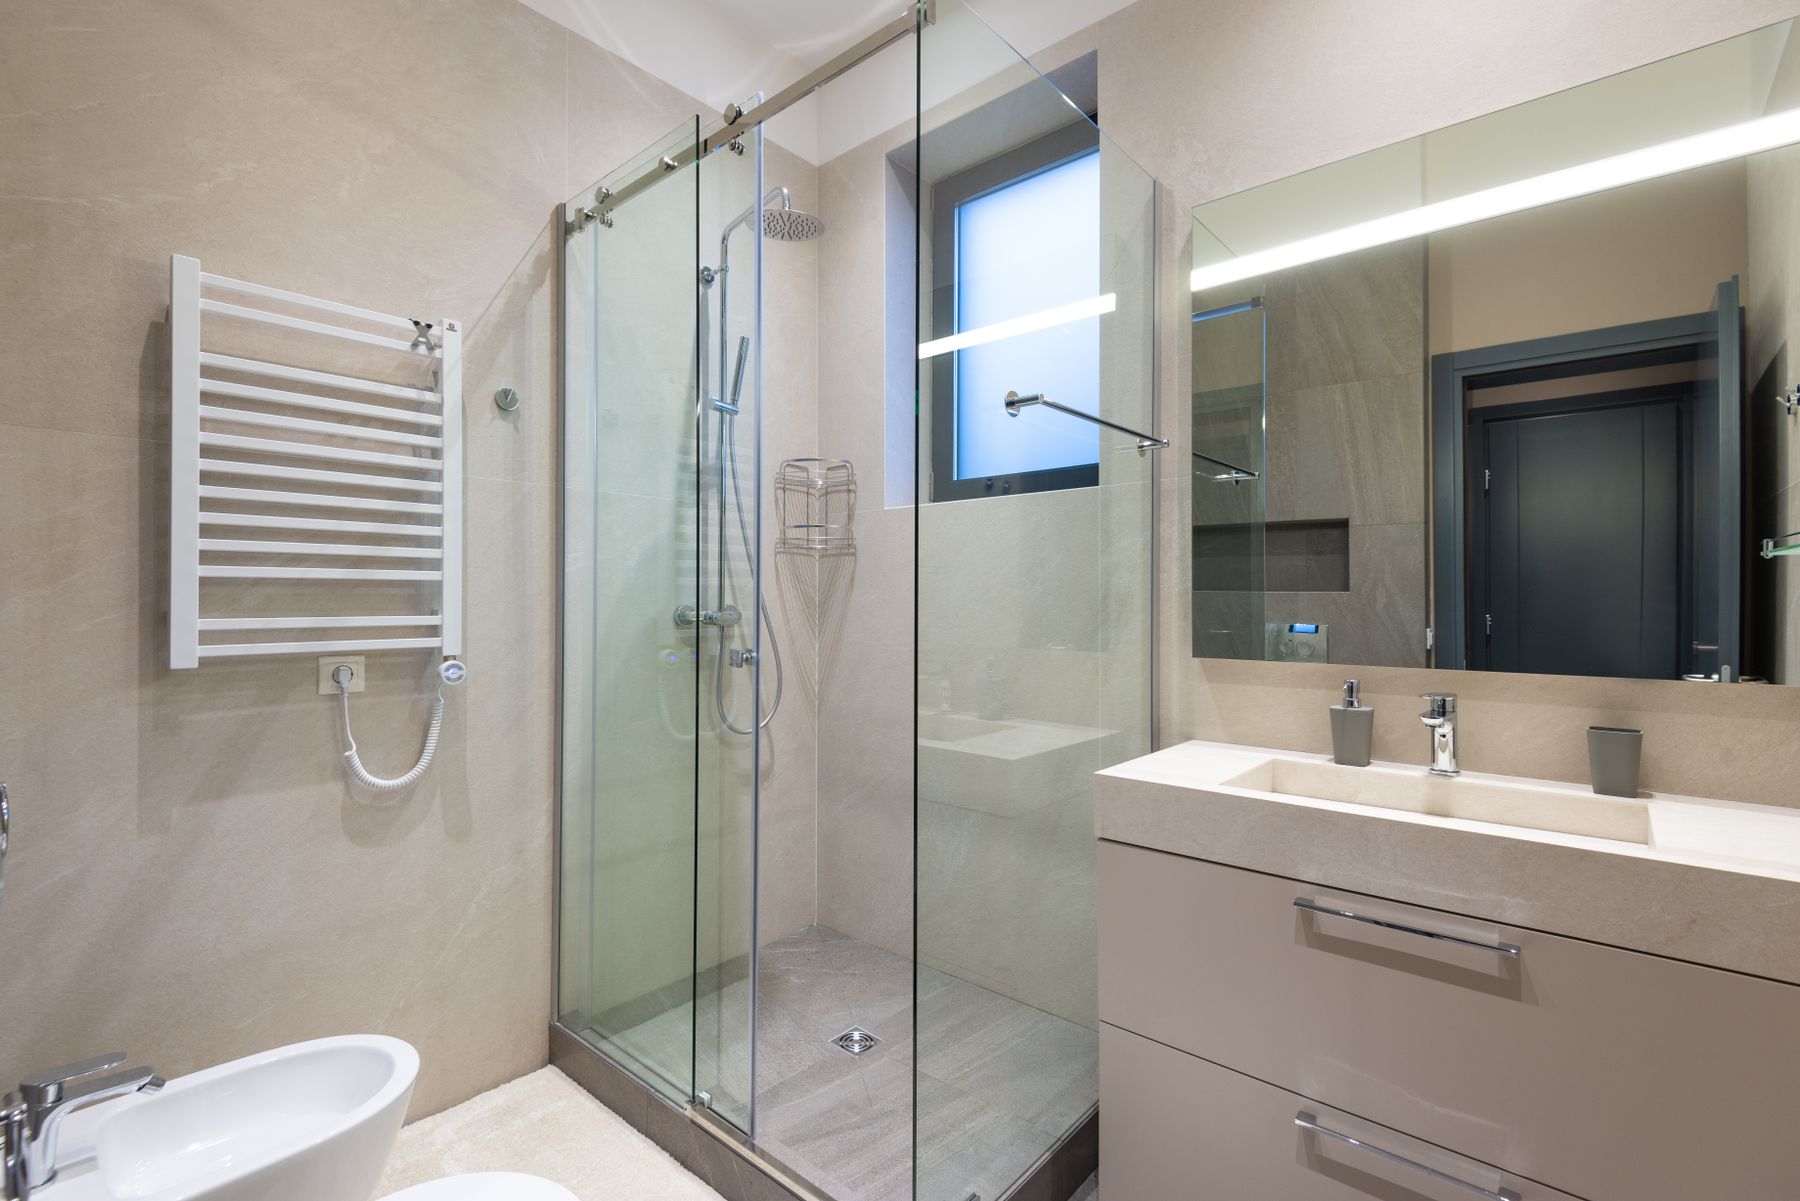
Concealed cisterns, valves, traps, fan motors and electrical connections need openings large enough for hands, tools and replacement parts. A tiny decorative hatch may technically reveal a component without making repair possible. Coordinate access with storage so panels are not blocked by fixed shelves or heavy counters. Label shutoffs and keep supplier drawings with the home; future owners should not have to reverse-engineer the module after a leak.
Avoid Lock-In With Replaceable Components
A proprietary connector or custom-shaped panel may simplify the first installation but become difficult to replace if the supplier changes its range. Prefer standard cartridges, traps, lamps, fans and commonly available fixtures where performance allows. Record exact part numbers and identify acceptable alternatives. Use special components where they solve a meaningful interface—not as a default across every layer of the room.
Personalize the Replaceable Finish Layer
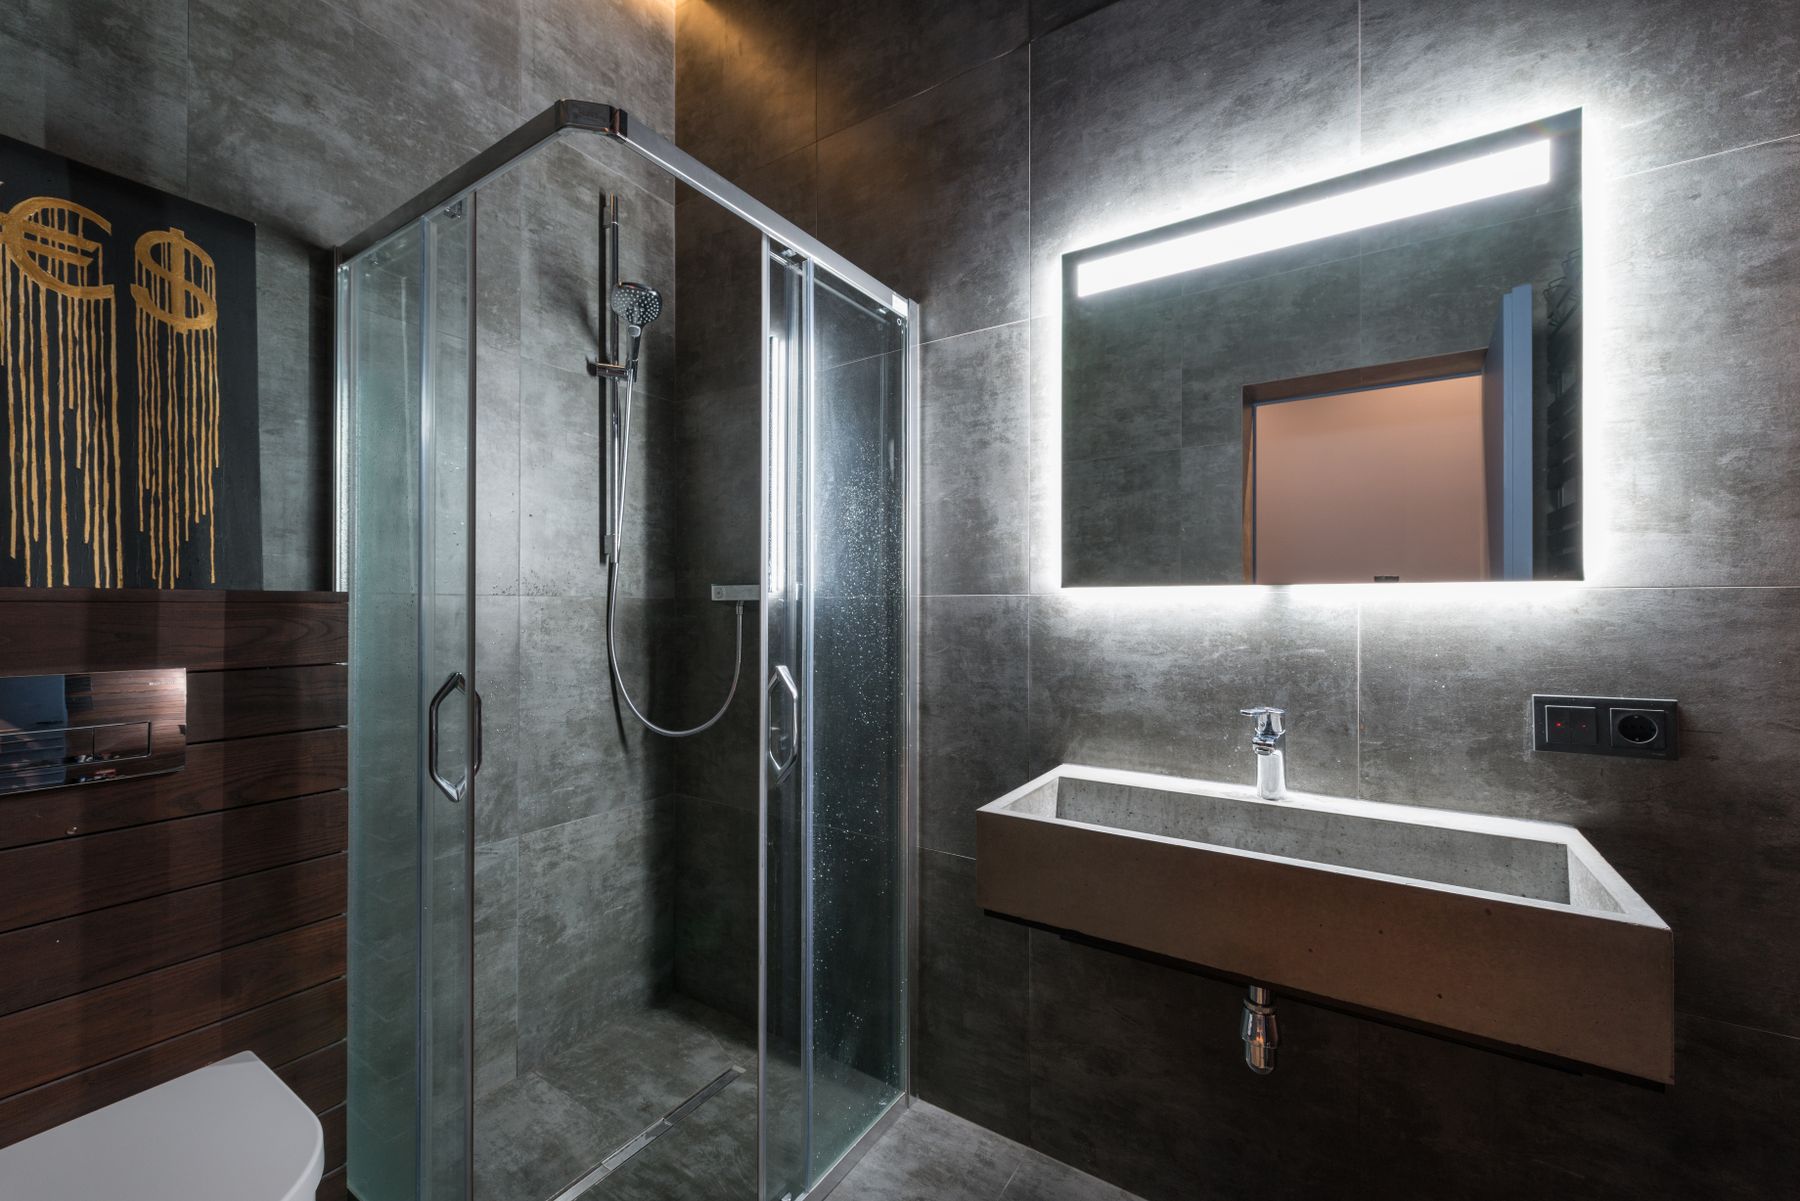
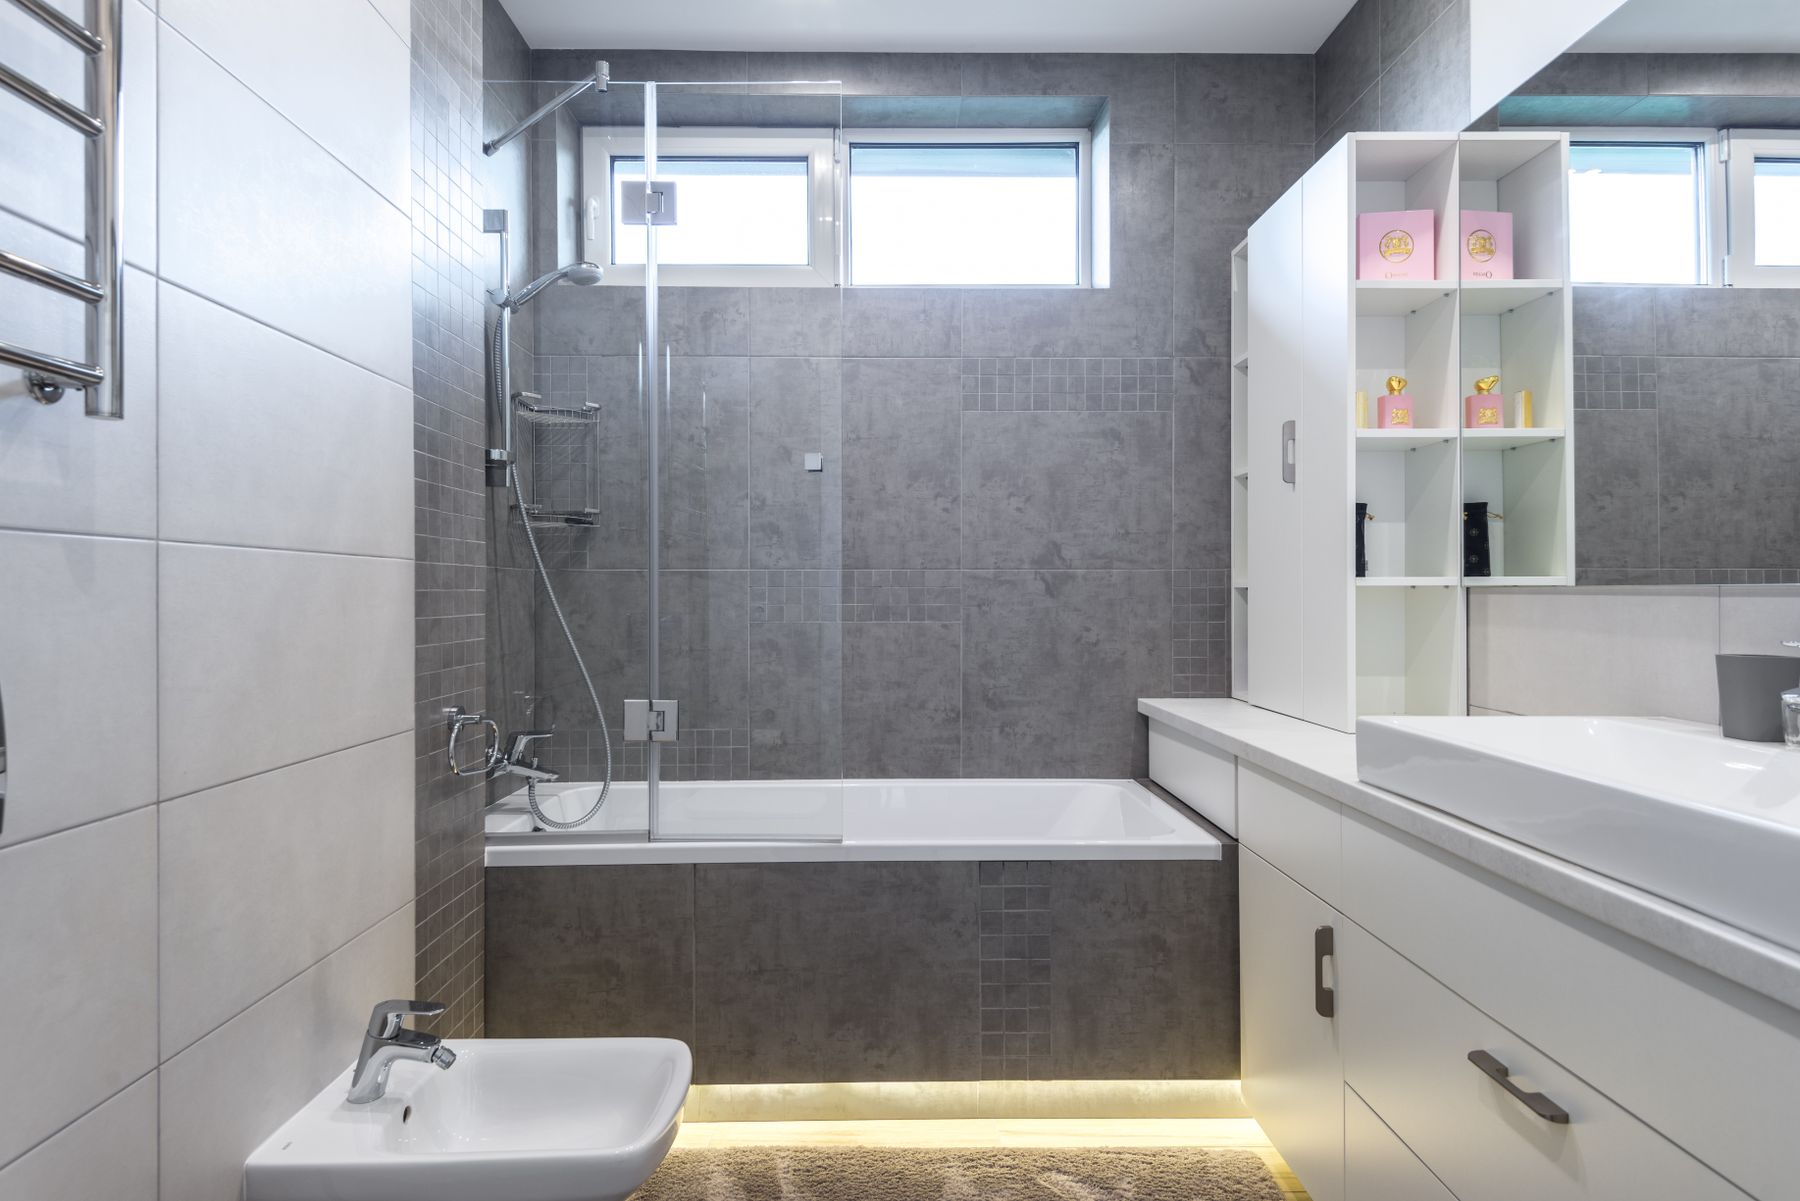
Standardized plumbing and geometry do not require identical-looking rooms. Vary cabinet fronts, mirror shape, hardware, paint outside wet zones, lighting temperature and textiles while keeping drains, supply points and waterproof penetrations fixed. Limit options to combinations that have already been checked for clearances and moisture exposure. This creates useful choice without sending every variation back through engineering and factory coordination.
Use Modular Laundry Integration Carefully
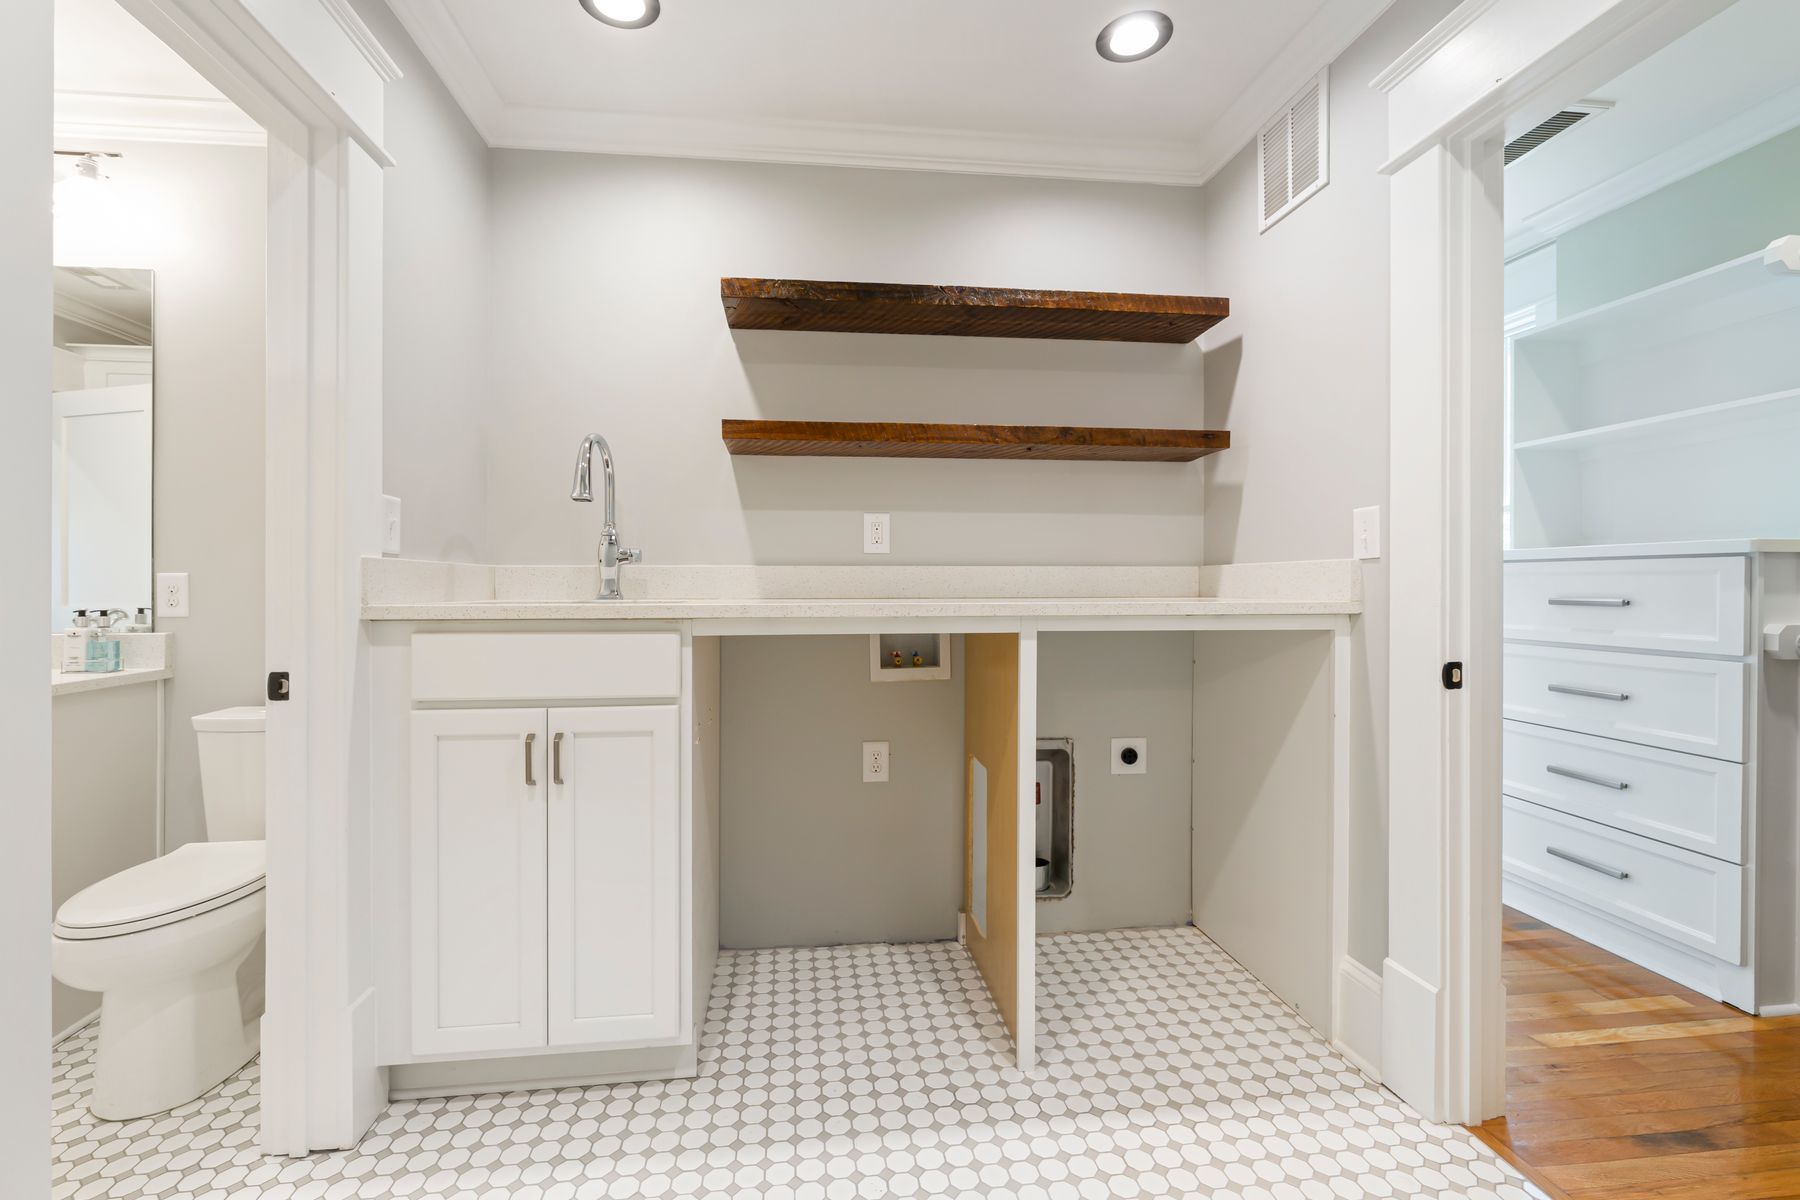
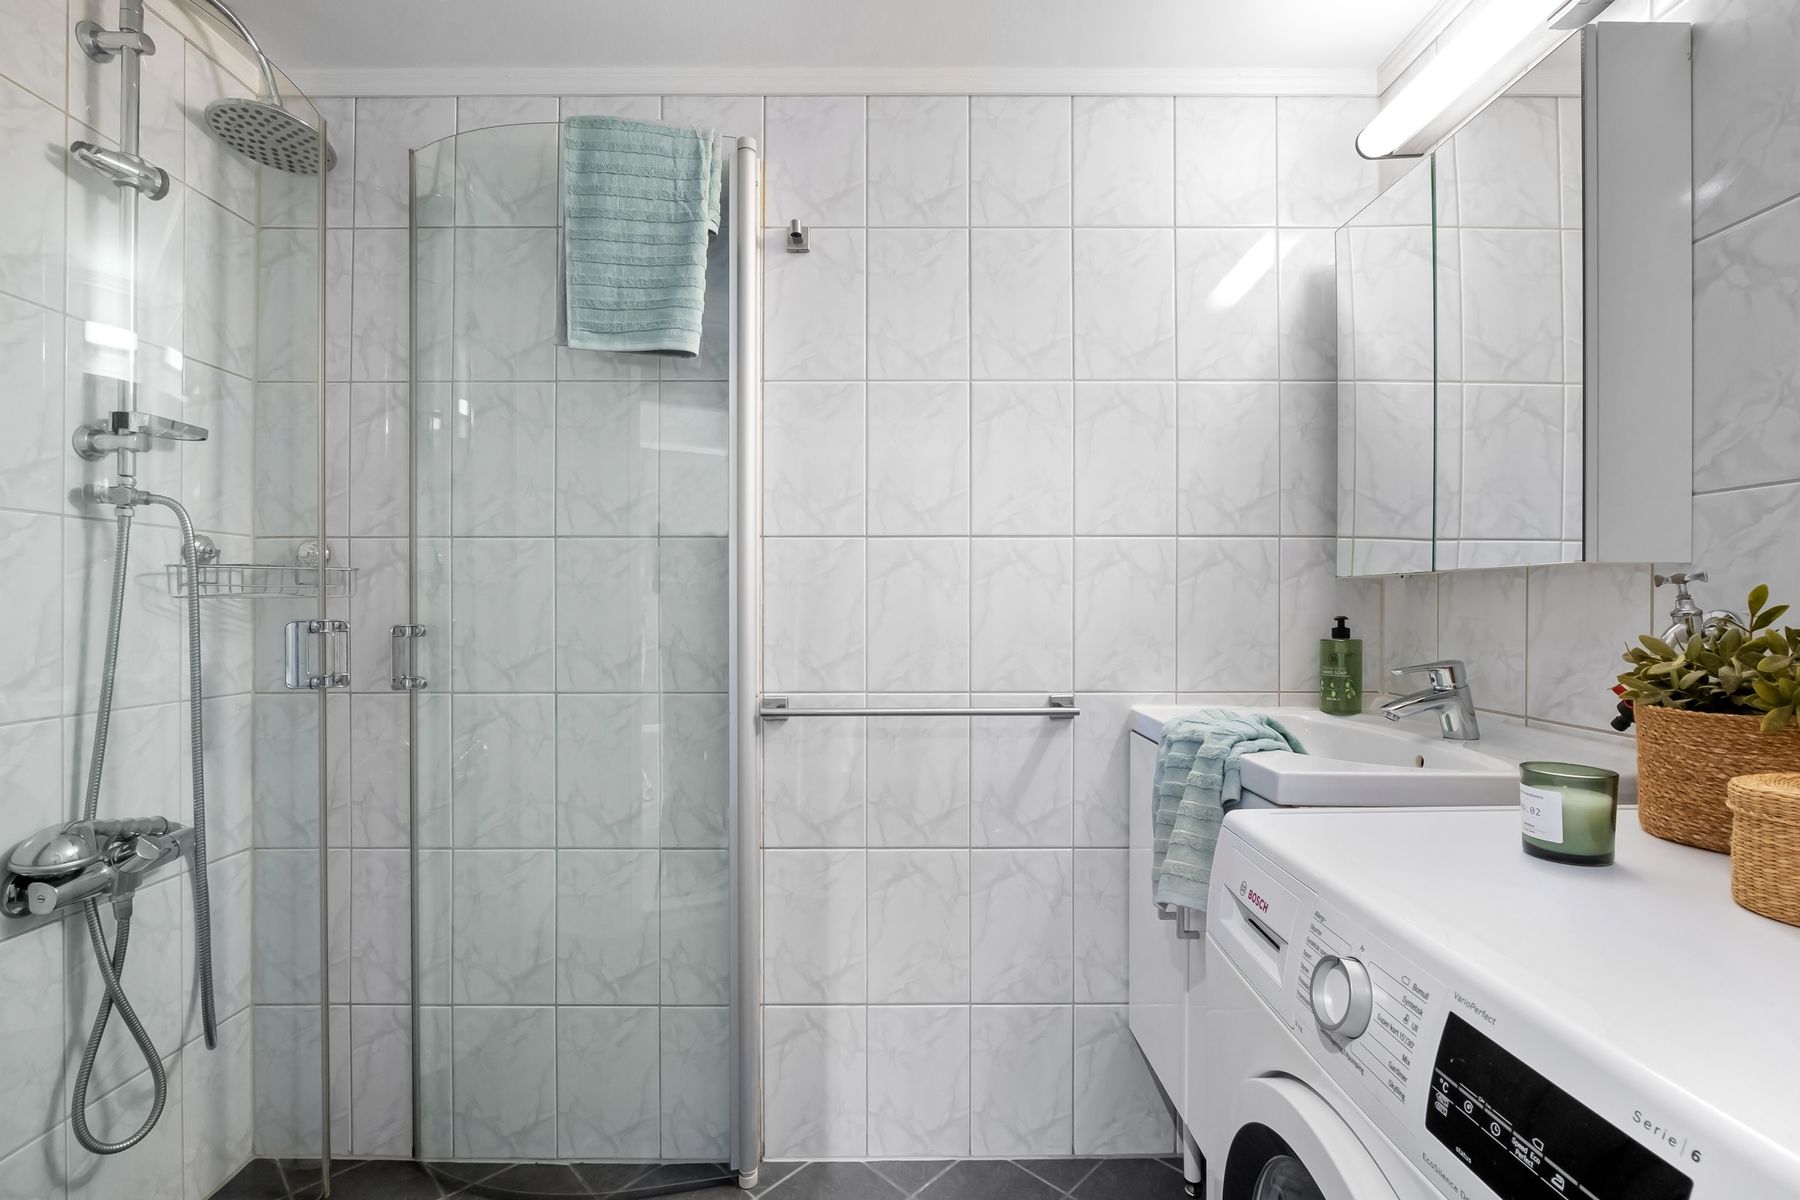
In a compact home, a bathroom module may share water, drainage and cabinetry with laundry equipment. The efficiency is real only if machine access, vibration, ventilation, hampers, drying and the dry circulation route are protected. Do not place electrical equipment inside a wet-zone logic simply because the services are nearby. A removable counter or door can visually calm the unit while preserving the clearances and connections required by the appliance manufacturer.
Evaluate Modular Systems for Renovations
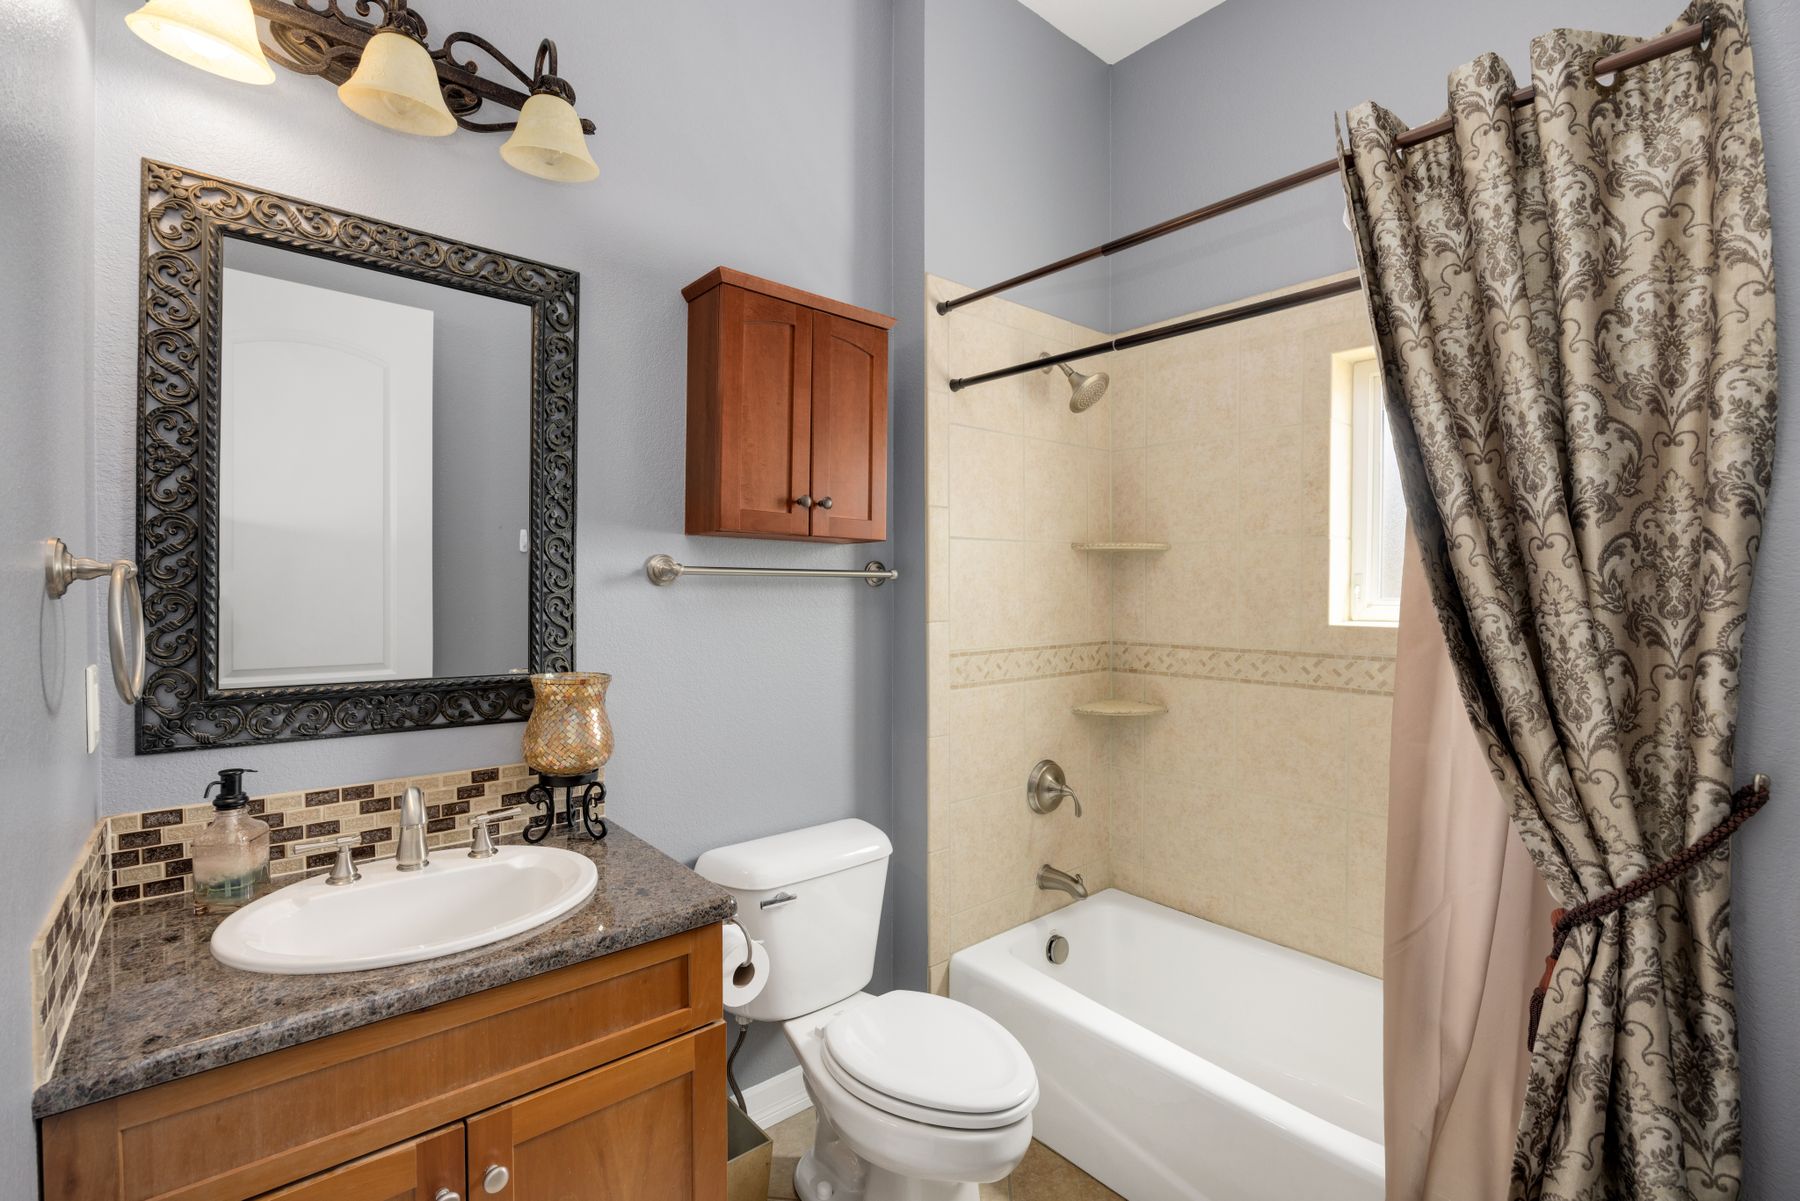
Existing walls, uneven floors, hidden pipes and narrow access make complete pods difficult, but component systems can still help. A prefabricated shower base, panel kit, service wall or modular vanity may reduce wet work while adapting to the retained shell. Survey the room accurately and distinguish dimensions that can be corrected from those the system must absorb. Renovation tolerances, not catalog dimensions, should determine the choice.
Check the Whole-Life Environmental Case
Factory cutting and repeatable ordering can reduce some site waste, but transport, packaging, material intensity and difficult future disassembly also matter. Ask for material quantities, recycled content where relevant, packaging plans, repair instructions and end-of-life separation. Durable, replaceable components can matter more than a broad sustainability claim. The best system is one whose technical core lasts while worn surfaces and fixtures can be renewed without discarding the entire room.
Use a Decision Gate Before Ordering
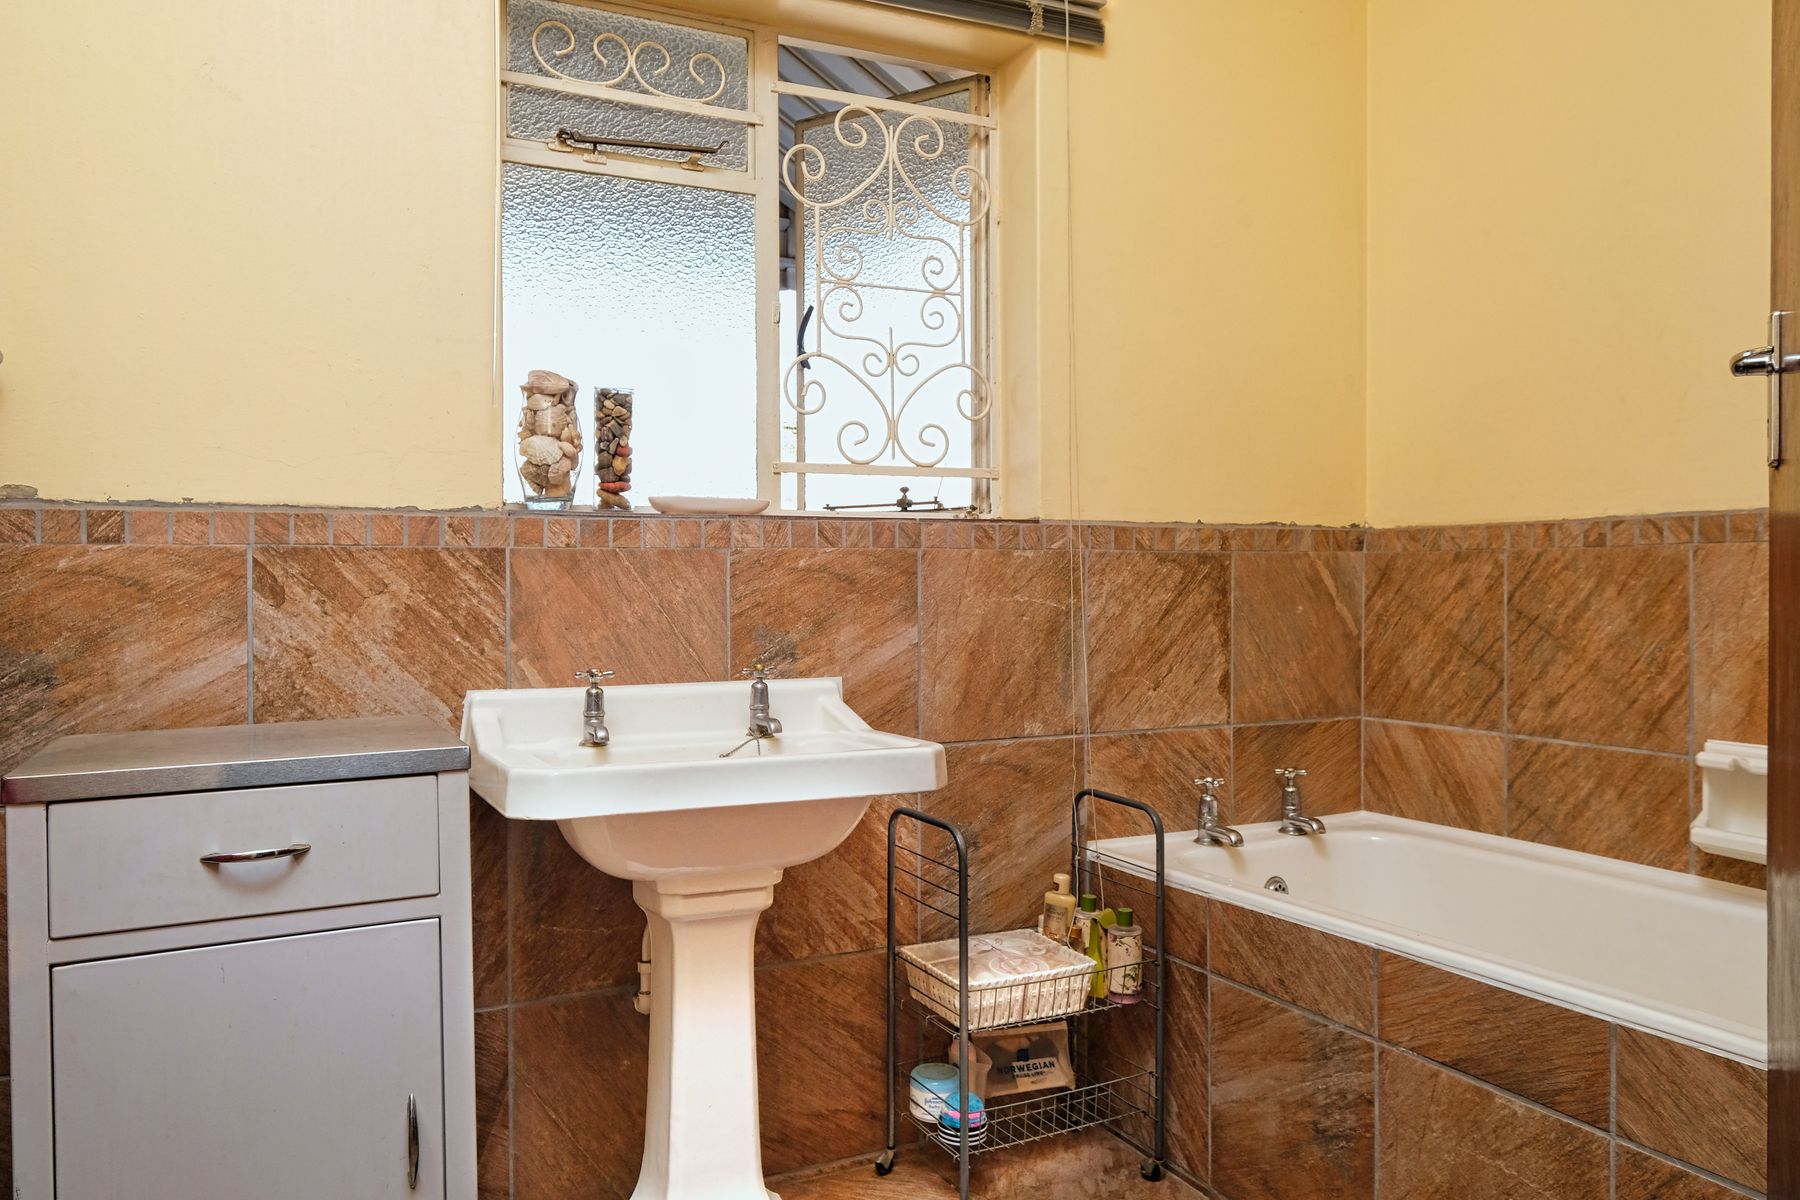
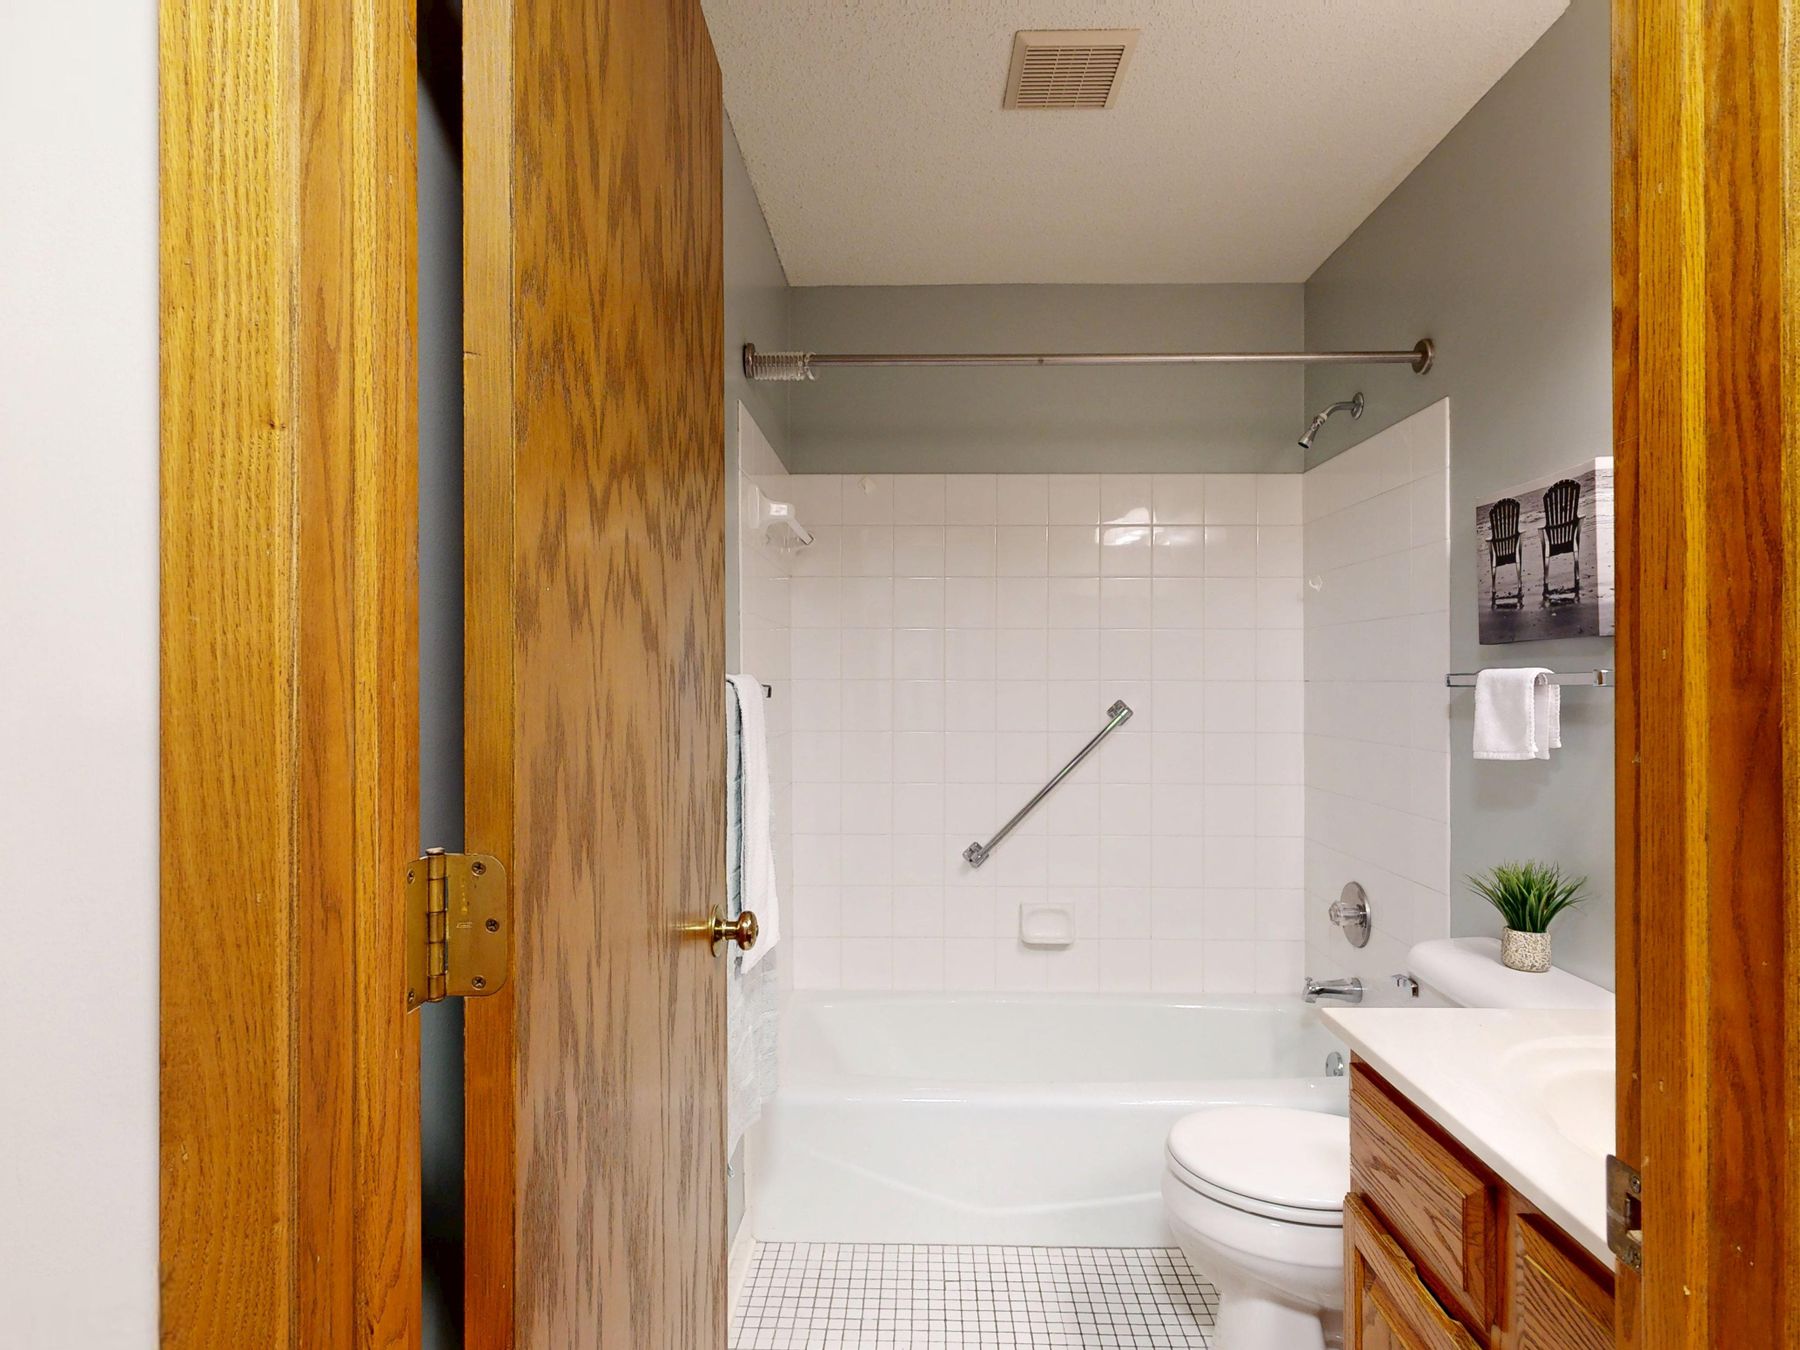
Proceed only when the bathroom type, quantity, approved plan, services, structure, delivery route, installation sequence, local approvals, warranty split and maintenance access are known. Ask the supplier what is excluded, which changes trigger redesign, how tolerances are verified and who attends commissioning. If several answers remain provisional, pause manufacture or step down to a less integrated component system. Modularity should remove uncertainty from construction, not conceal it inside a finished box.