
Write a Renovation Brief That Separates Friction From Taste
A kitchen can look dated while doing its job extremely well. Another may photograph beautifully yet force everyone to walk around an open dishwasher to reach the refrigerator. Those are not the same remodeling problem. Before commissioning drawings or choosing cabinet colors, list three kinds of evidence: physical issues such as damage or failing equipment; functional problems such as interrupted preparation or inaccessible storage; and cosmetic dislikes such as a tired door finish. They demand different intervention levels. A leak or concern about electrical safety belongs with an appropriately qualified professional, not beneath new decoration. Functional friction can be tested with a real meal preparation sequence. Cosmetic improvements may need much less disruption. The renovation scene pictured here is an illustration of how disruptive work can become; it does not document the decision-making behind an actual project. Write a short brief identifying what must work better after the project, what already works well enough to preserve, and what visual character is desired. Use that document to assess every proposed expenditure. A remodel without a hierarchy of problems can spend heavily on surfaces and leave the daily annoyances unchanged.
Test the Plan Before Moving Plumbing or Walls
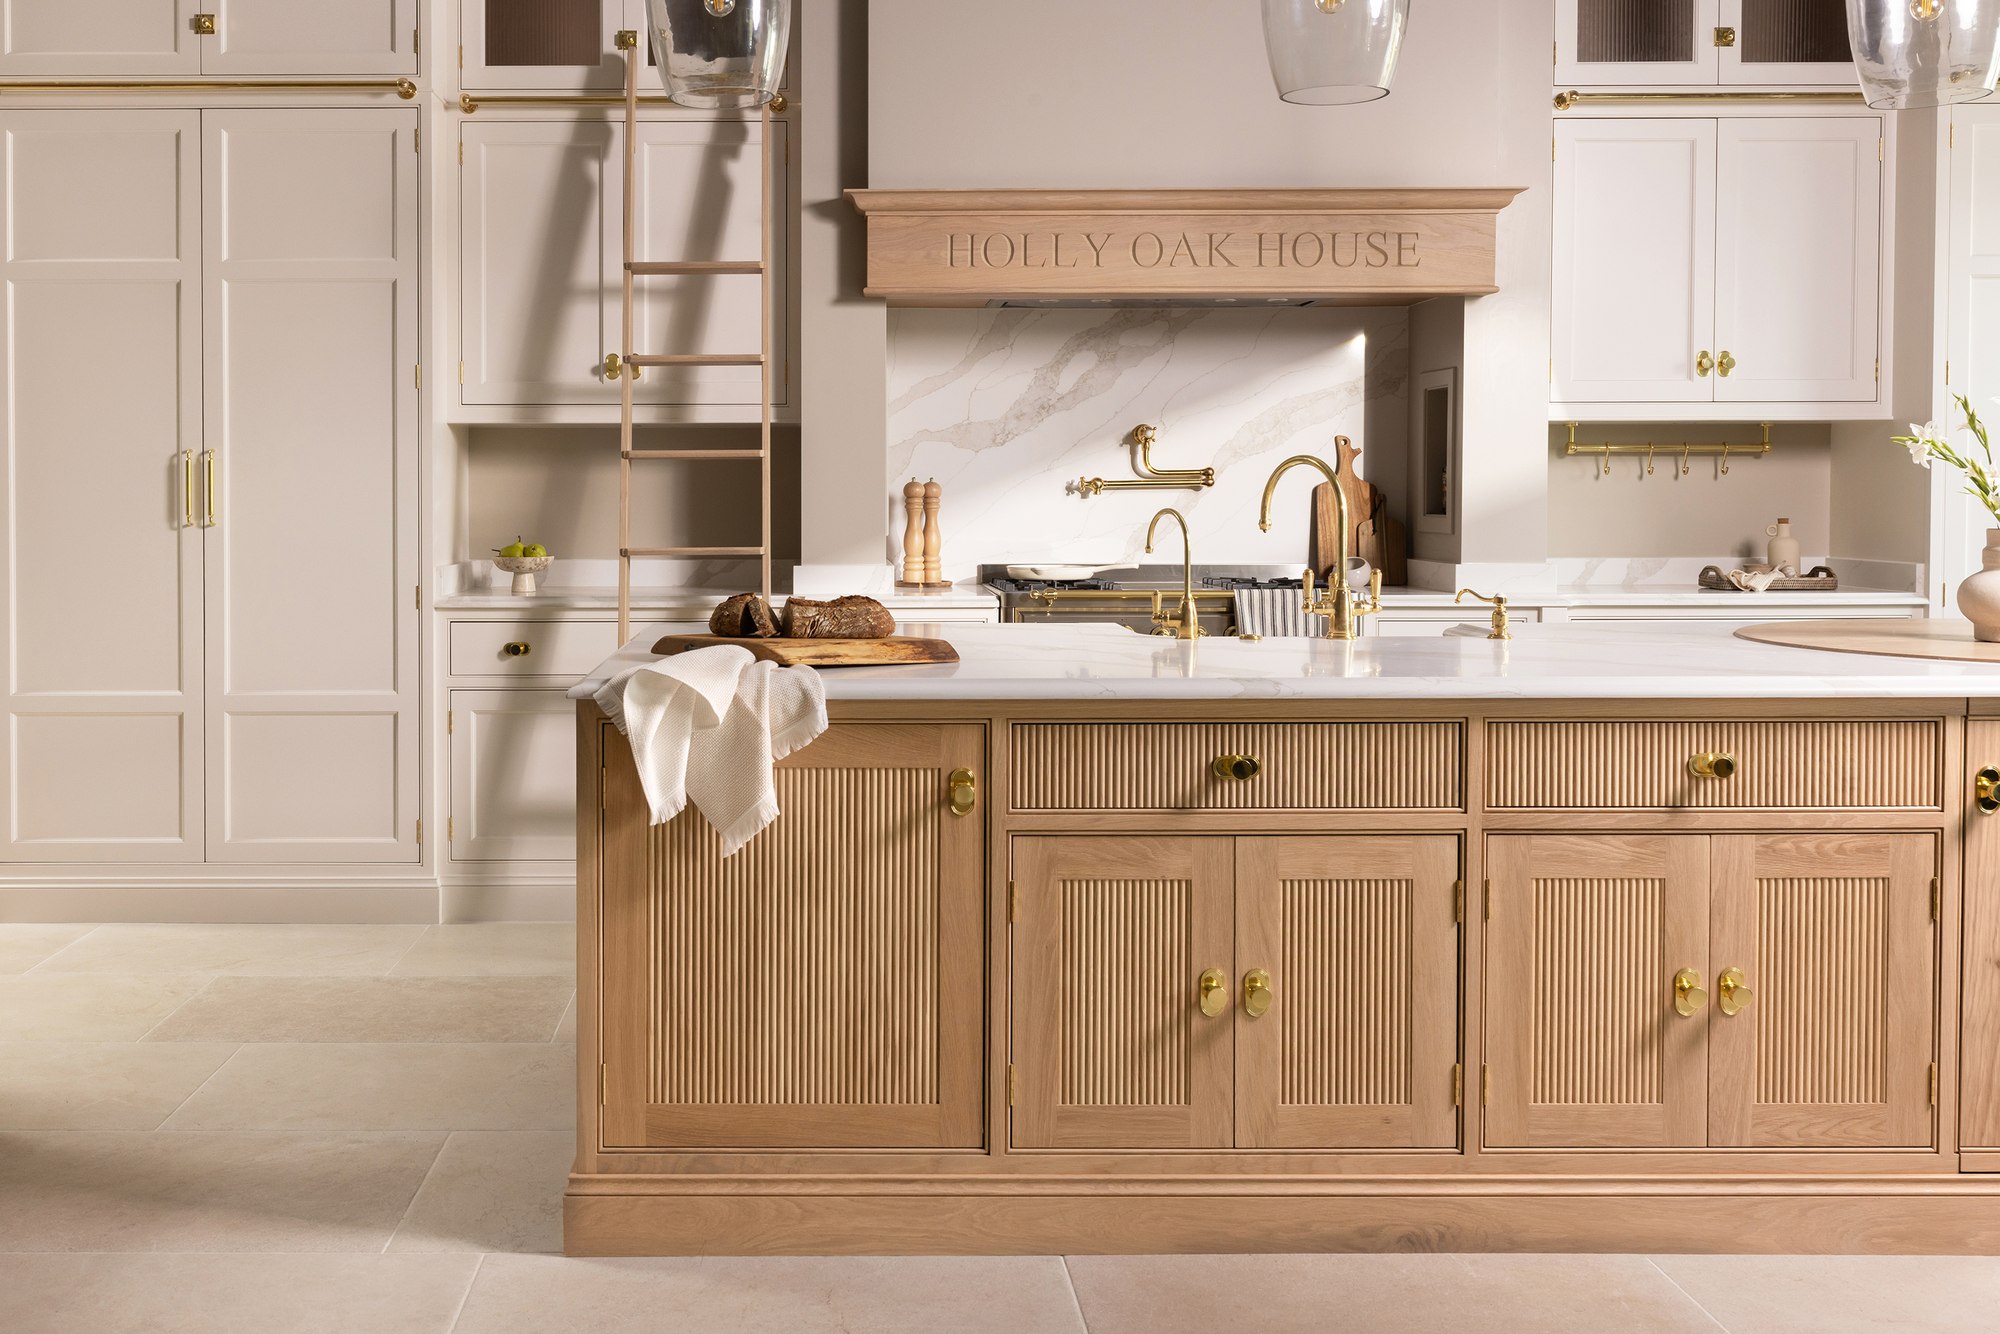
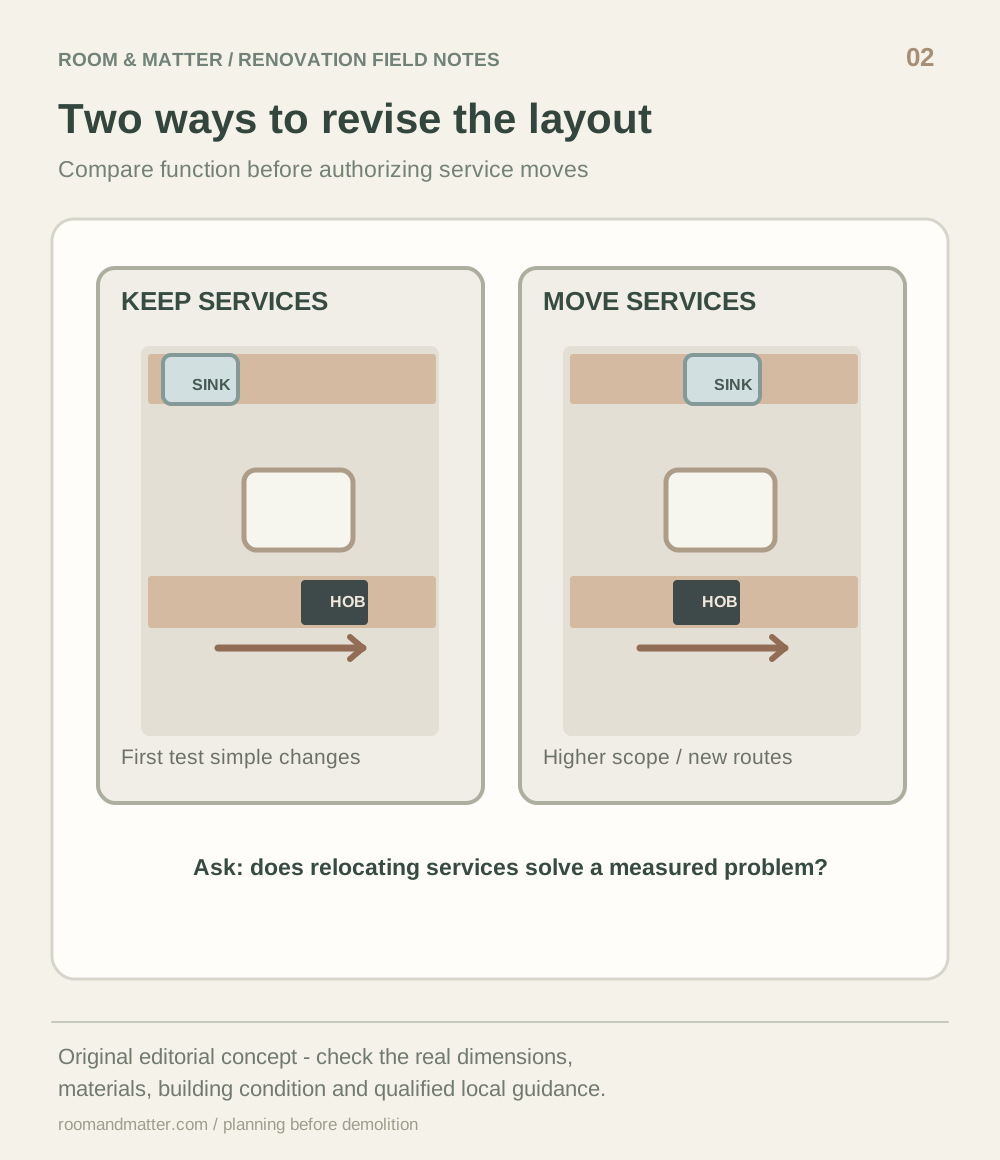
Moving a sink, cooker, ventilation route or structural wall may trigger implications far beyond the cabinet layout. It can involve concealed services, access issues, additional trades and local permissions or compliance. The visual appeal of a new island or open-plan view is not evidence that such work is needed. Ask first whether the existing room shape can support a better sequence for storage, washing, preparation and cooking. Could a relocated tall cupboard release a useful worktop without moving the sink? Could the way doors open be changed instead of enlarging the room? Develop one option preserving major service locations and another that moves them. State precisely what the second option improves, and obtain qualified local advice about its feasibility before relying on it. This photograph shows a continuous working run but is not a technical example of modified services. An existing shell is not sacred: genuine space or safety problems may justify significant work. The purpose of comparing options is to make the benefit of disruption explicit rather than treating demolition as the default first step.
Decide Which Cabinets Deserve to Stay
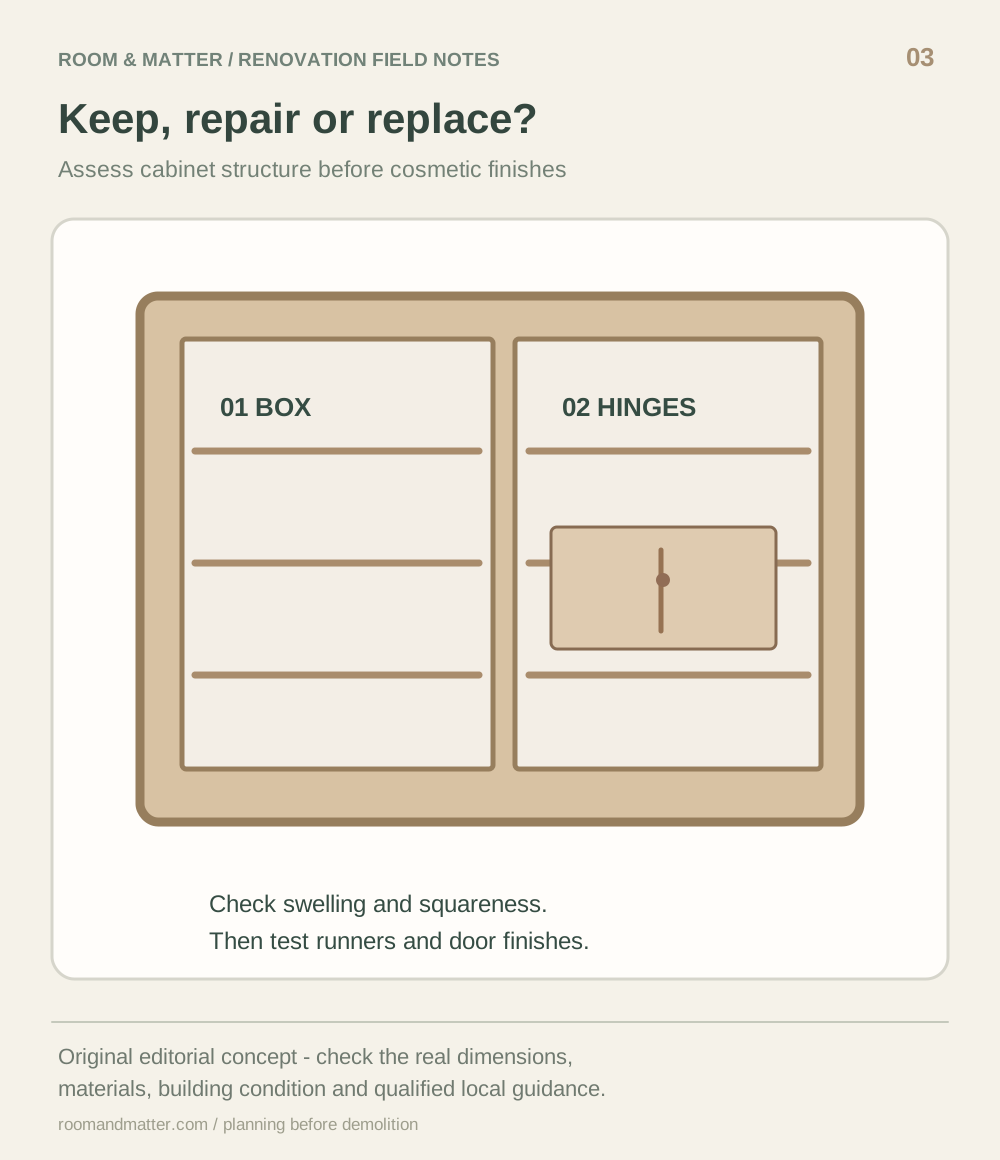
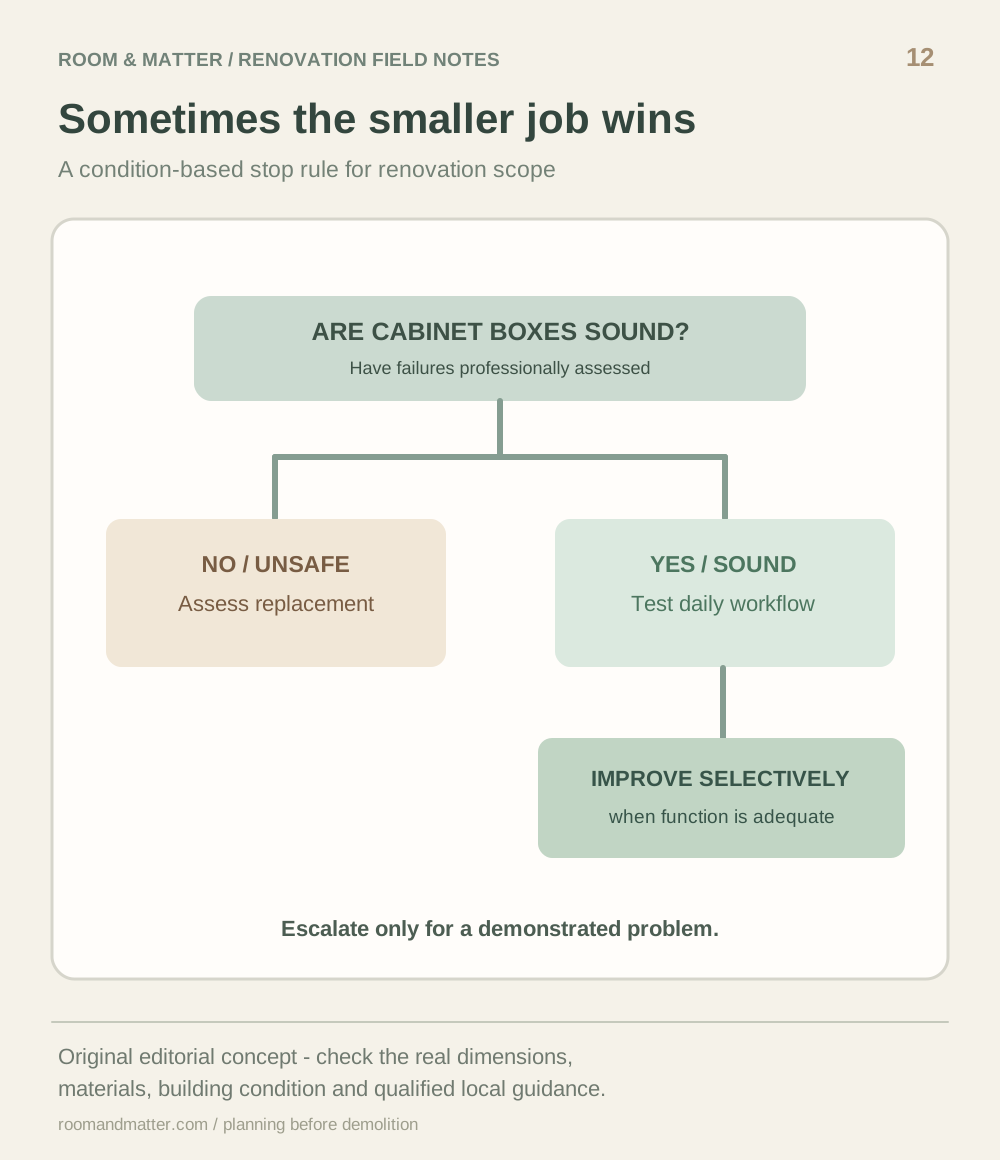
Renovation photographs tend to emphasize what is new, but the best decision may be to preserve sound cabinet boxes and adjust only their weak points. Open every drawer and door. Note damaged substrates, swelling around water-exposed areas, loose hinges, broken runners, inconsistent reveals and obstacles to adding useful internal fittings. Cabinet surfaces that simply look tired may offer more possibilities than cabinetry with active material failure. Painting, replacing doors, changing hardware and refacing are not equivalent solutions: they have different preparation and compatibility requirements. The image shows inspection, not proof that every cabinet can accept paint. If water damage or unsafe conditions are suspected, seek competent assessment rather than hiding them behind an attractive finish. Also consider the overall elevation. Keeping half the old fronts and buying incompatible replacements may produce a fractured visual rhythm. Decide what remains by condition, function and architectural coherence—not by sentiment or the novelty of a manufacturer's catalog. Saving functional components can reduce waste and unnecessary intervention, but damaged material must not be retained merely to make the budget look lean.
Freeze a Material Palette With Actual Samples
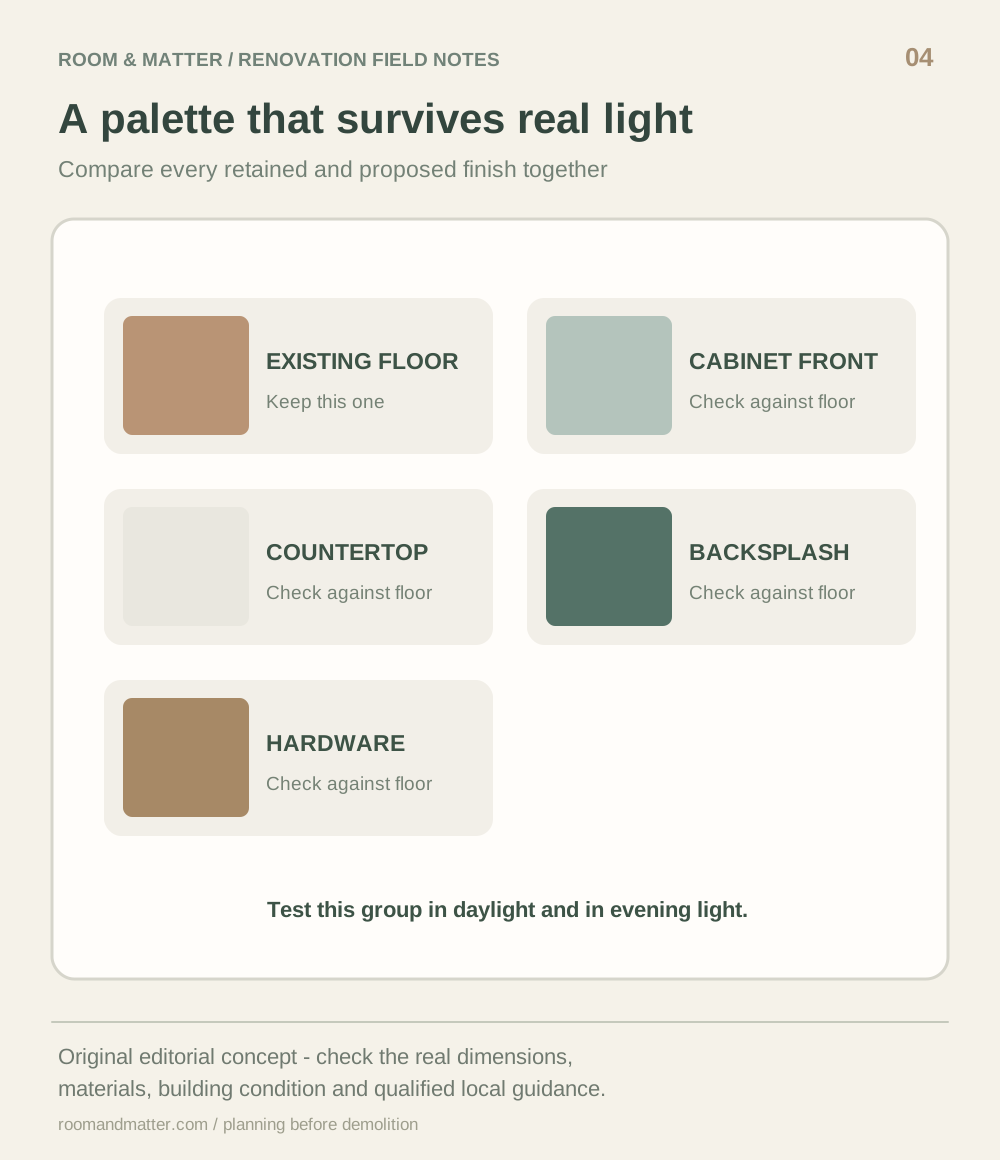
Kitchen finishes are interdependent. A light worktop can sharpen the green in a painted front. A busy backsplash can compete with a strongly grained floor. Metals that appear warm in a shop may turn distracting under your actual task lighting. Keep samples of elements that are staying—such as floor or appliances—beside the proposed cabinet, counter and backsplash choices. Examine them vertically and horizontally in the room, because a wall face and a horizontal worktop receive different light. The photographed samples illustrate the decision process, not an installed product specification. Aim for a small, coherent set of options rather than an ever-expanding mood board. A hand-size slab sample may not reveal the full movement in patterned stone or engineered surfacing, so view larger sections or the actual batch where appropriate. Before fixing a material, check product-specific cleaning, moisture, heat and repair requirements. Do not promise that visually similar surfaces behave alike. Once the leading materials have been tested and selected, record them in an agreed schedule. Changing one finish much later can alter every adjacent choice, so a well-documented palette is part of project control, not simply decoration.
Protect the Main Preparation Run
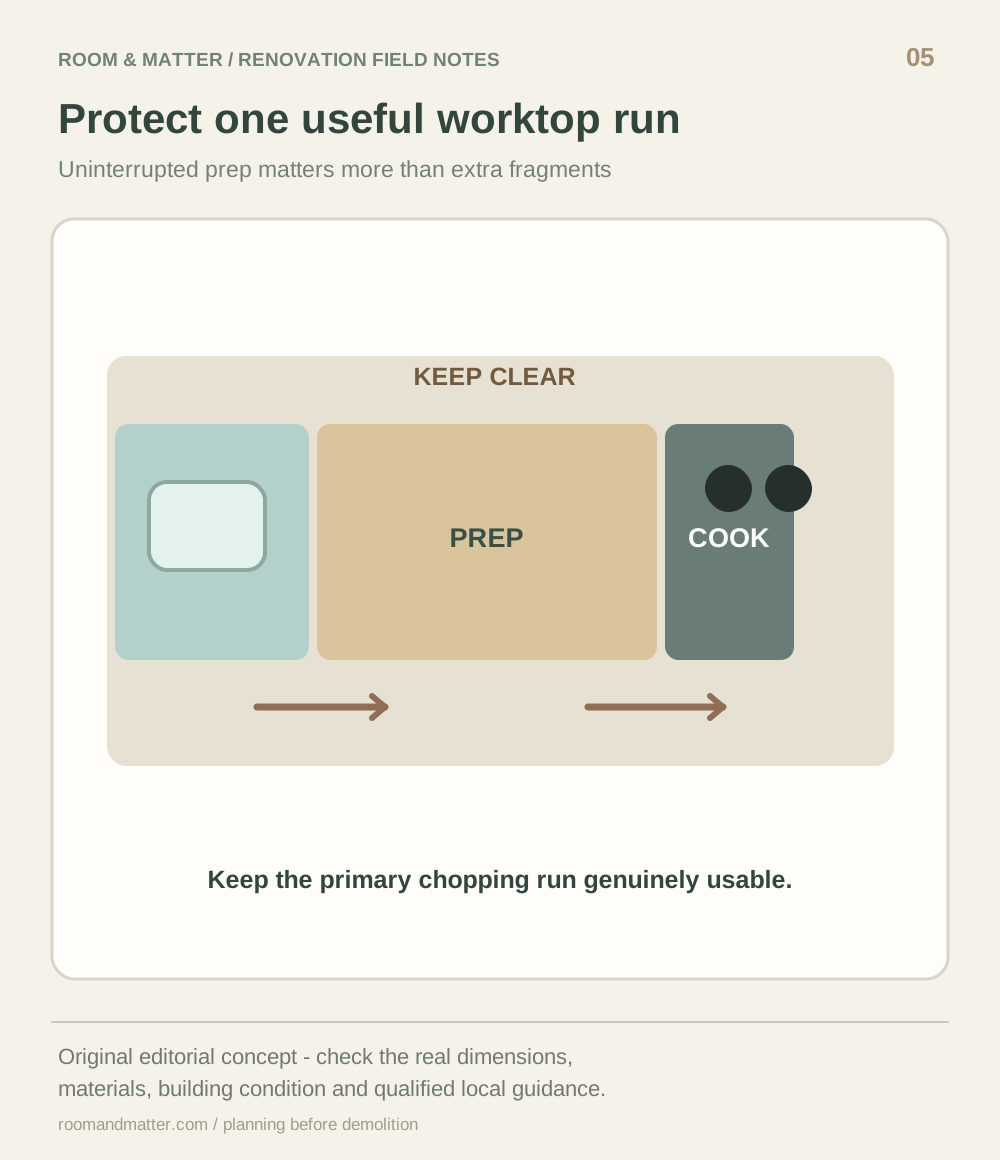
A kitchen can acquire an expensive island, a second sink and beautiful countertops while losing the one area where cooking can take place comfortably. Mark the working surface used to unpack groceries, prepare ingredients and handle hot or wet utensils. Then see what remains when the sink, small appliances, cooker and decorative objects occupy their planned positions. A longer usable preparation span may matter more than an additional short fragment divided by equipment. Decide whether an appliance garage actually improves the routine or merely relocates counter clutter into an inaccessible corner. Worktop care requirements should also suit real use: cutting, wiping, occasional spills, heat and repairs differ by product, and no material is perfect at all of them. The finished kitchen pictured here demonstrates a calm working plane rather than a particular countertop specification. Be willing to delete a design feature that consumes more preparation space than it supplies. In a compact remodel, improving one clear stretch often changes the cooking experience more than adding decorative finishes across several walls.
Design the Backsplash After Its Boundaries Exist
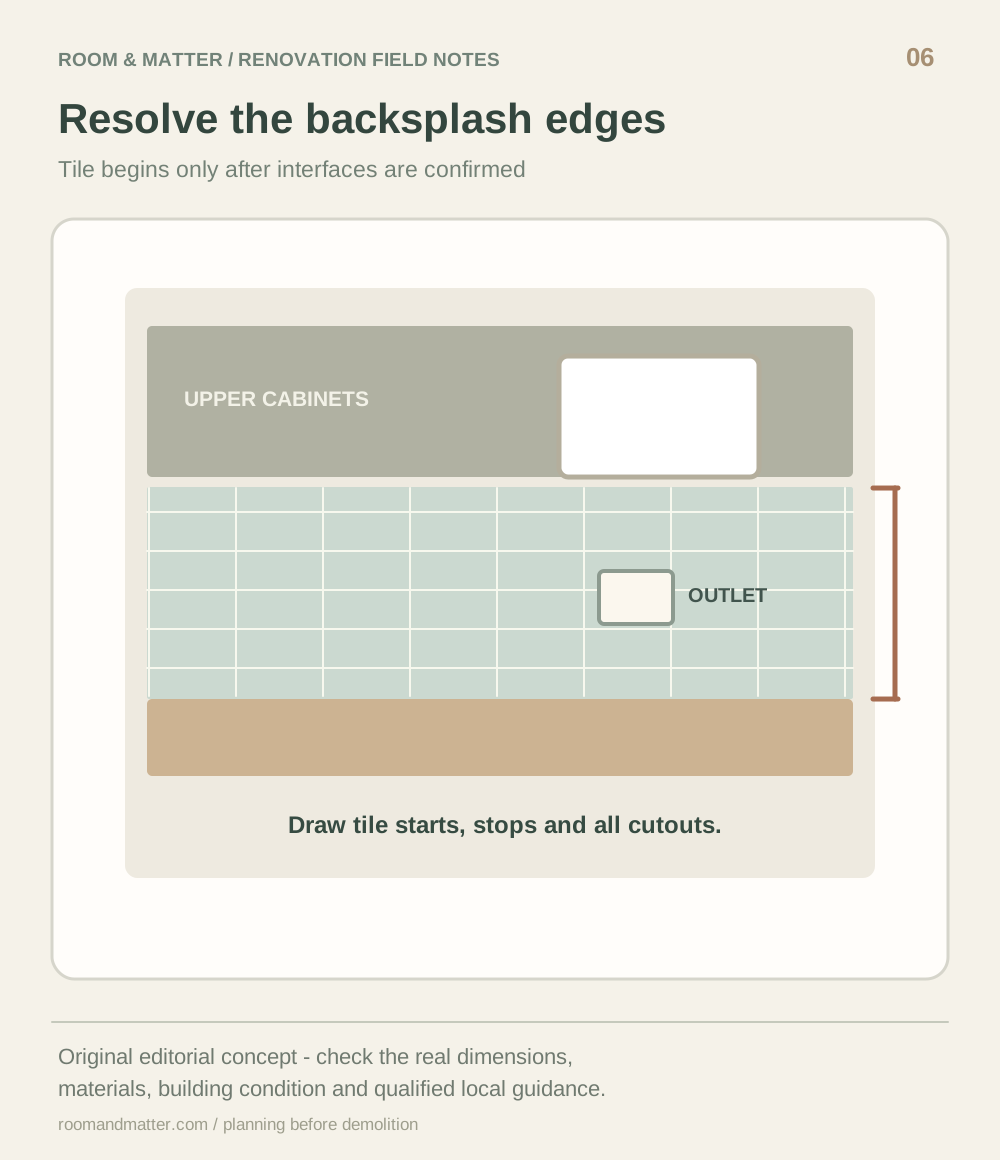
The backsplash is a relatively narrow surface but meets some of the kitchen's most consequential edges. Its finished height, exposed ends and transitions depend on the selected worktop, upper cupboards, windows, cooking zone and outlets. A tile pattern approved before those dimensions are settled may need awkward last-minute cuts. Establish where the backsplash starts and finishes, what areas need appropriate protection and how its color relates to adjoining surfaces. The green kitchen photograph is a reference for a coordinated wall-and-counter relationship, not a record of any installation sequence. Grout lines can change how a pattern reads at room scale, so judge more than one sample tile in isolation. Technical suitability, cleaning exposure and any local electrical or waterproofing requirements belong with qualified trades and product documentation. A dramatic backsplash may be unnecessary when cabinet fronts already provide strong visual texture; a quieter treatment can let the room breathe. In the workflow, backsplash specifications should be resolved before ordering and installation, but only after its adjoining surfaces and openings are sufficiently established to avoid guesswork.
Make Lighting a Design Dependency, Not a Late Accessory
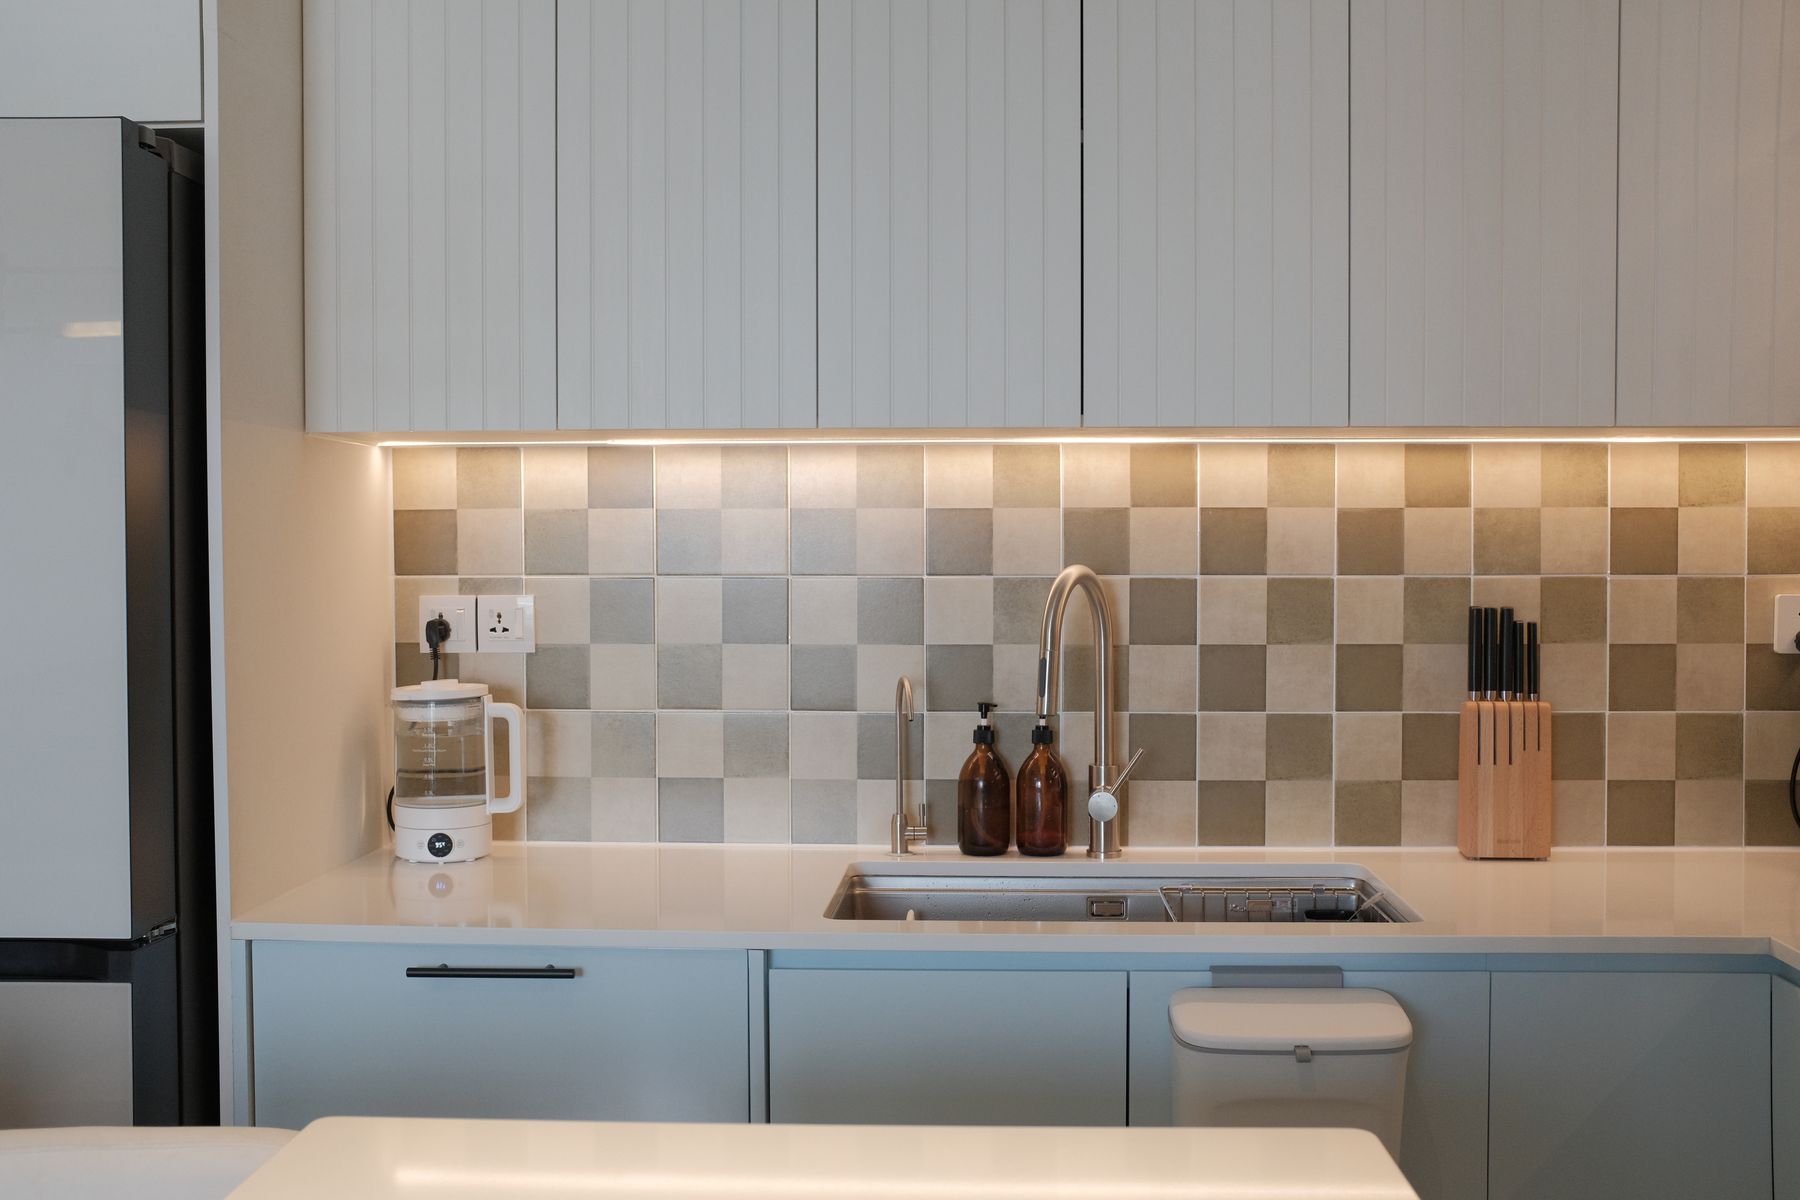
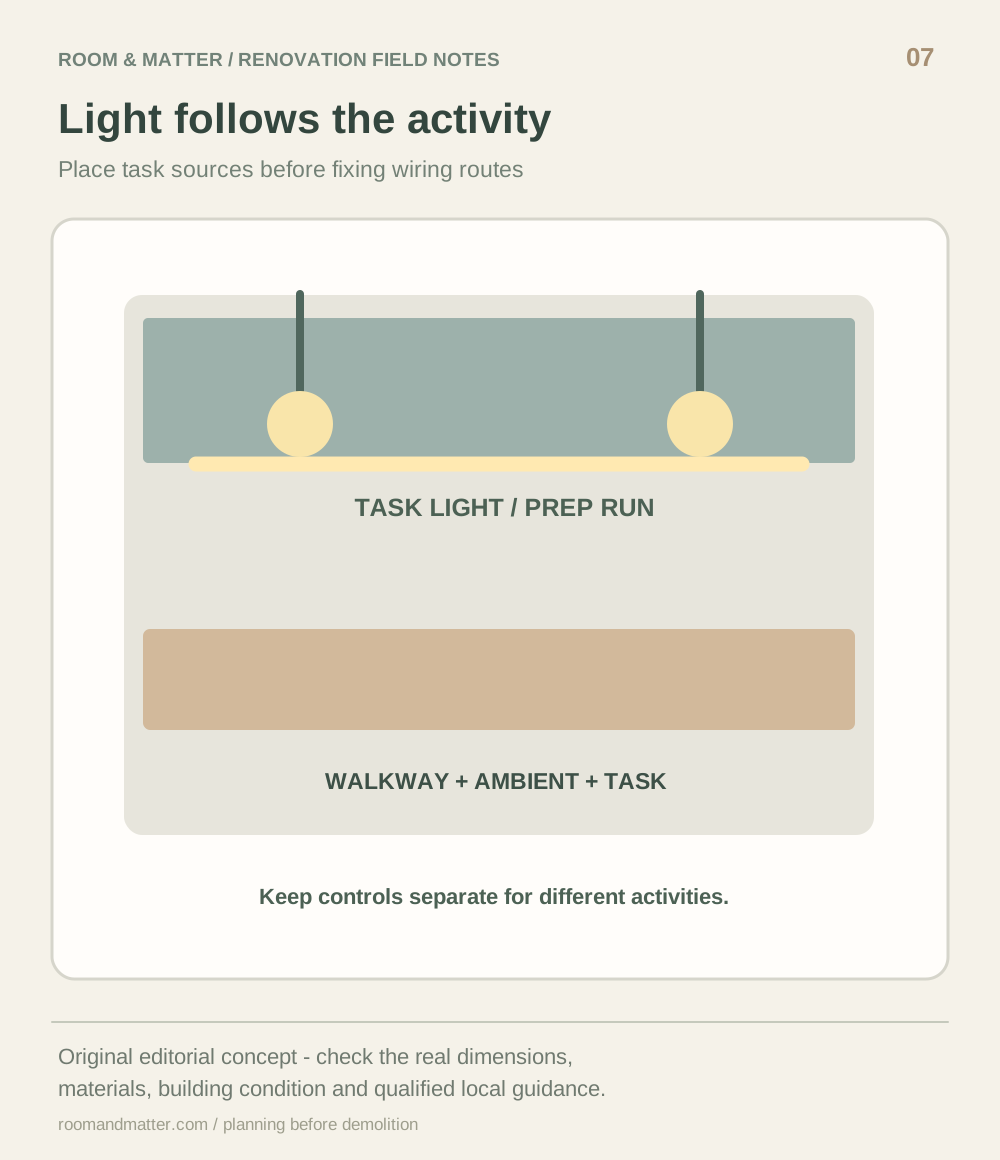
Lighting should influence cabinet and electrical plans early enough that wiring routes, switches and fixtures do not force finished surfaces to be reopened. Separate the needs of preparing food, moving through the room and eating or relaxing nearby. A pendant can anchor an island visually but may not provide useful light across the worktop. Under-cabinet illumination can be valuable where an upper cabinet blocks light from the ceiling, provided fixtures are specified and installed appropriately. The image demonstrates a lit task area rather than a do-it-yourself installation method. Test proposed cabinet finishes and countertop samples under the kind of light likely to be used: a glossy door and polished stone can create reflections that were absent from a daylight mood board. Consider maintenance access and the locations of drivers or controls during technical planning. Use qualified professionals for alterations to fixed electrical systems and follow applicable requirements. The most refined kitchen lighting is rarely a final collection of decorative fittings; it is a coordinated system that allows cooking to happen confidently and lets the room change mood in the evening.
Give the Cleanup Zone a Real Sequence
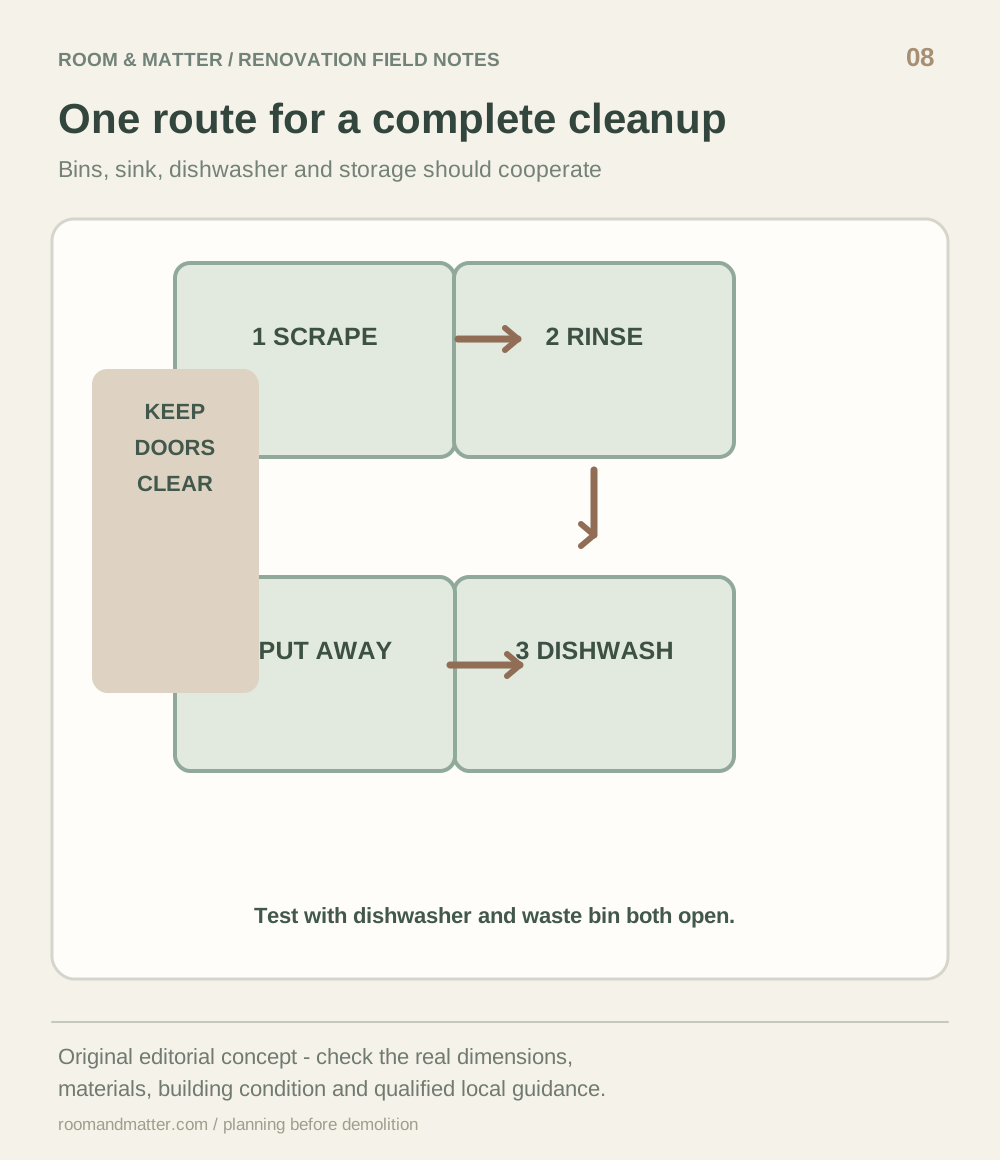
A dramatic sink can be attractive, but the kitchen still has to deal with dirty plates and wet cookware. Trace the cycle after a meal: where are scraps collected, where are dishes loaded, what is washed by hand and where are clean items returned? A dishwasher door that blocks a main route or a bin that cannot open during cleanup can undermine the finished plan. Coordinate sink-base storage, dishwasher position and adjacent cupboards before the cabinetry is finalized. The farmhouse sink pictured shows one visual treatment, not a universally correct installation choice. Its cabinet and worktop interfaces may differ from other sinks and must be checked against product guidance. Keeping the existing plumbing location may be sensible if the cleanup sequence already works. If moving it would materially improve that sequence, seek a proper scope and cost assessment instead of assuming relocation is a small styling change. Consider the people who share the kitchen and whether one person can prepare food while another unloads dishes. This practical scenario often reveals conflicts that a still rendering conceals.
Prove the Island Deserves Its Footprint
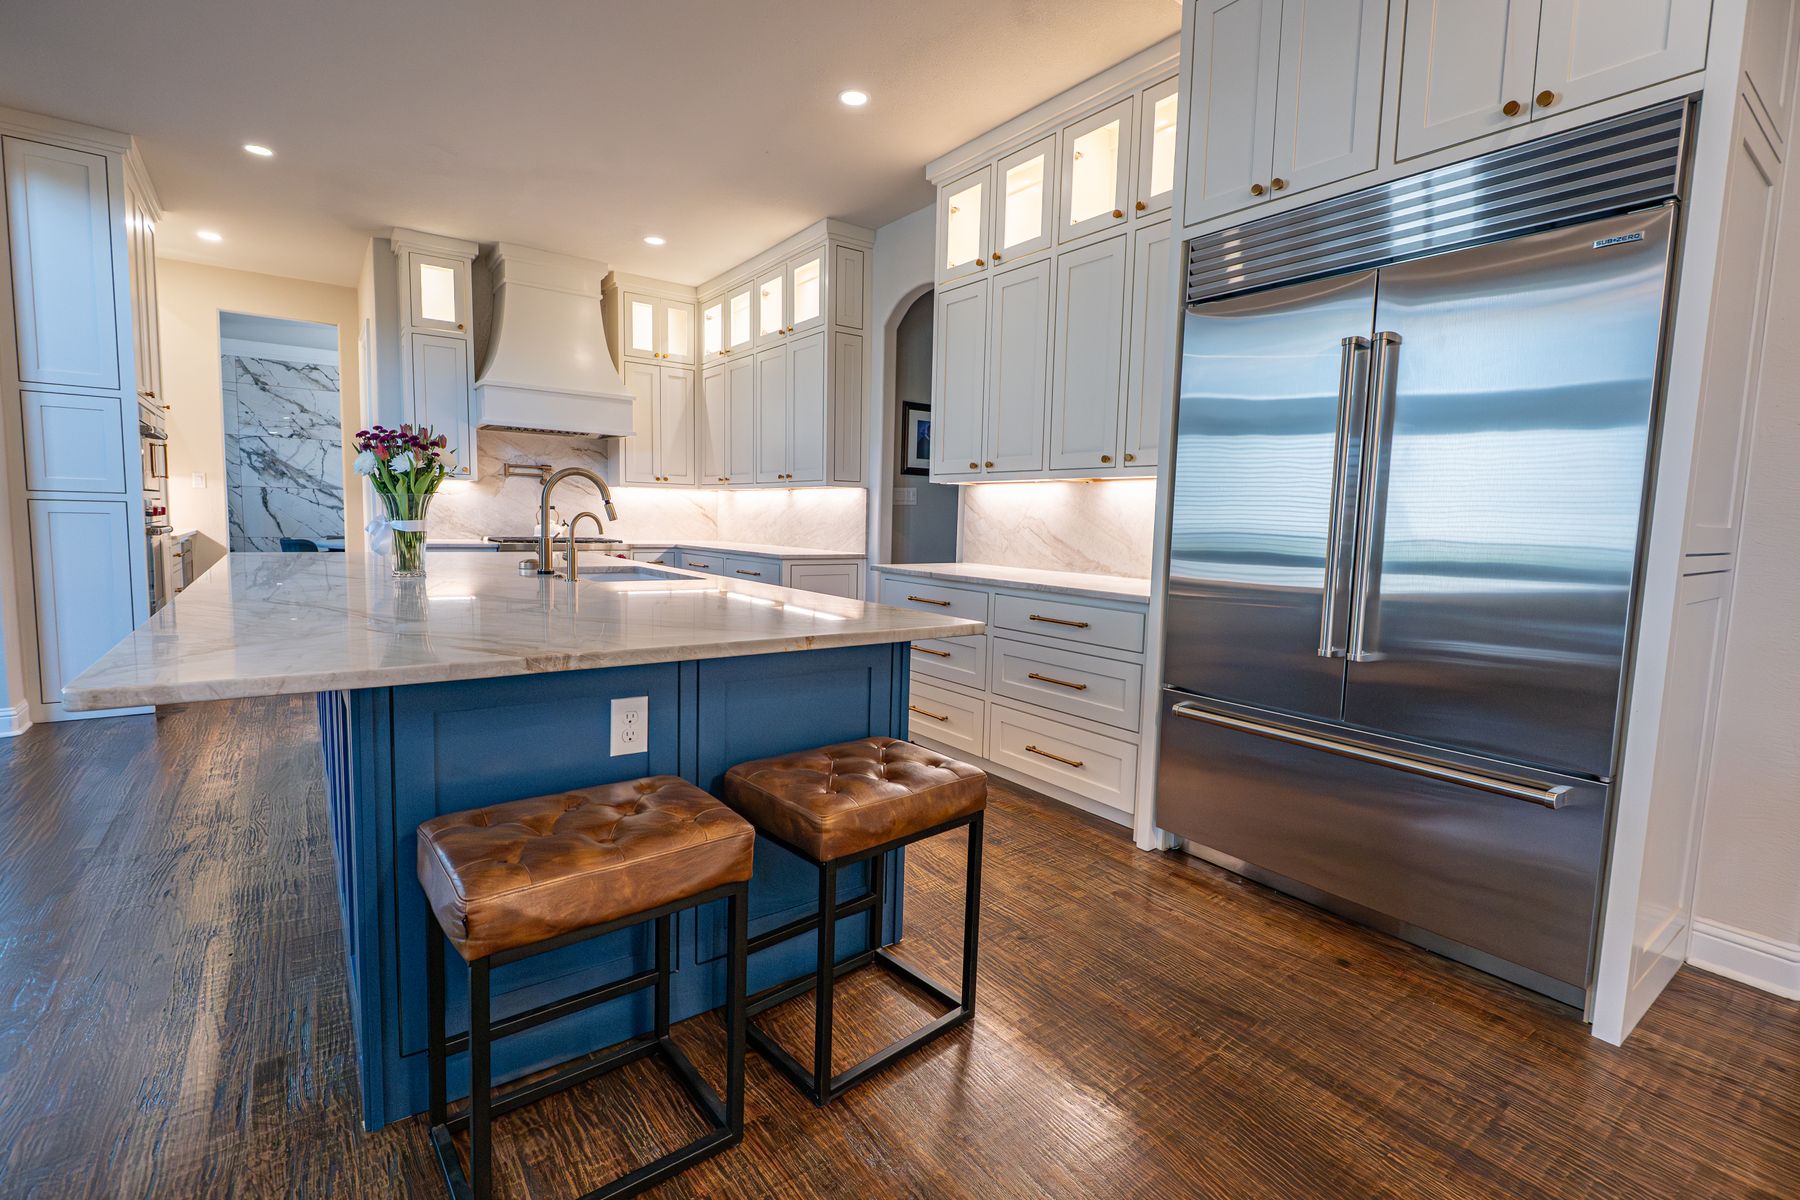
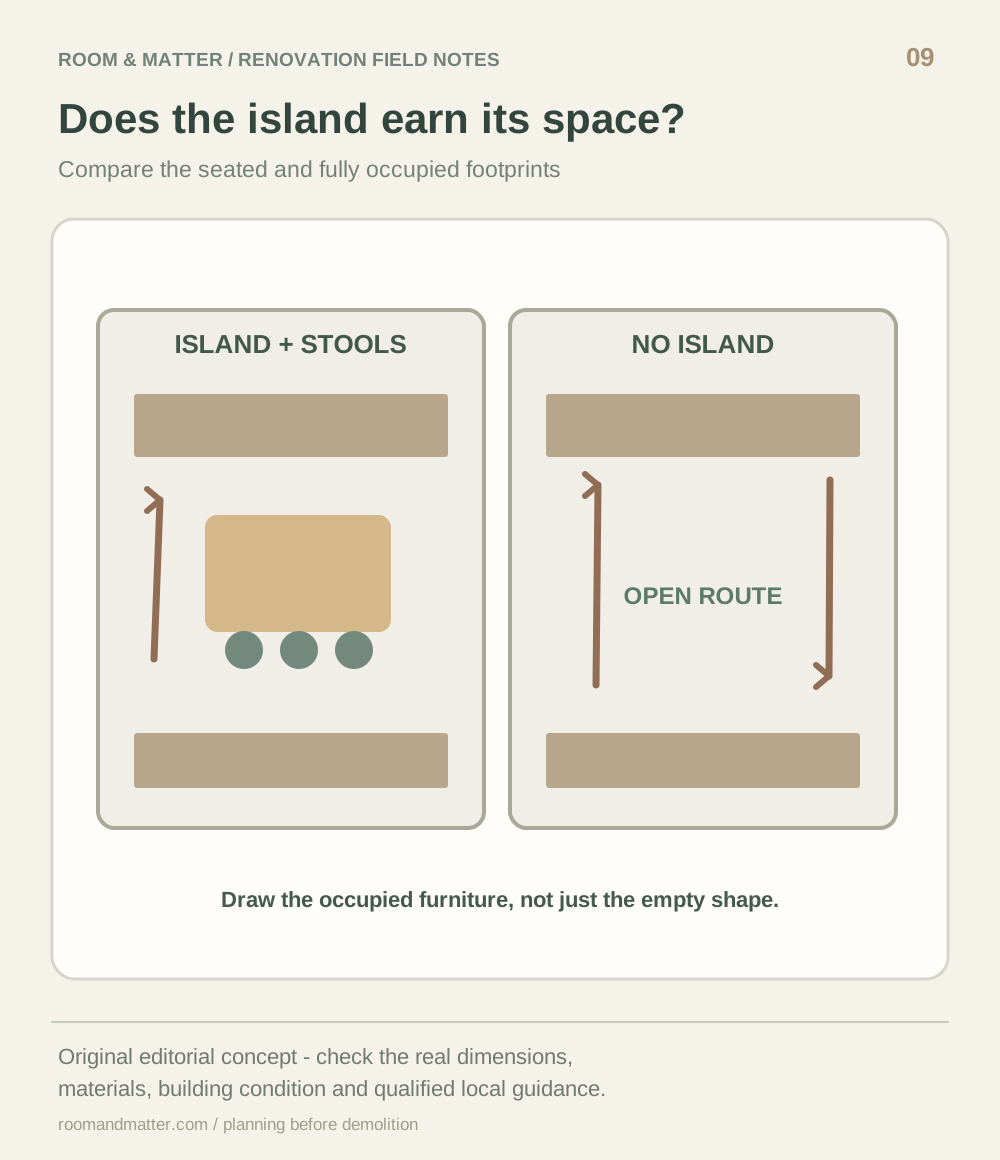
An island often appears in renovation inspiration as proof that the kitchen has become more generous. In practice it is another fixed object that needs a purpose and adequate circulation around every active side. Decide whether its primary function is preparation, seating, storage or a deliberately limited combination. Pull seats away from the counter in the plan and open the neighboring drawers. Where an island contains a sink or cooking equipment, the project may introduce service or ventilation complexity that must be assessed technically. The bright blue example shown here illustrates a strong visual centerpiece but does not reveal hidden clearances beyond the photographed frame. Compare the island to a peninsula, a movable worktable or a longer perimeter worktop. If the alternative delivers equal daily benefit with less obstruction, it may be the stronger design. Do not sacrifice a continuous route merely to include a feature that is fashionable on Pinterest. The brief should explain exactly what the island solves that the room otherwise cannot.
Schedule Trade Handoffs Instead of Trusting a Mood Board
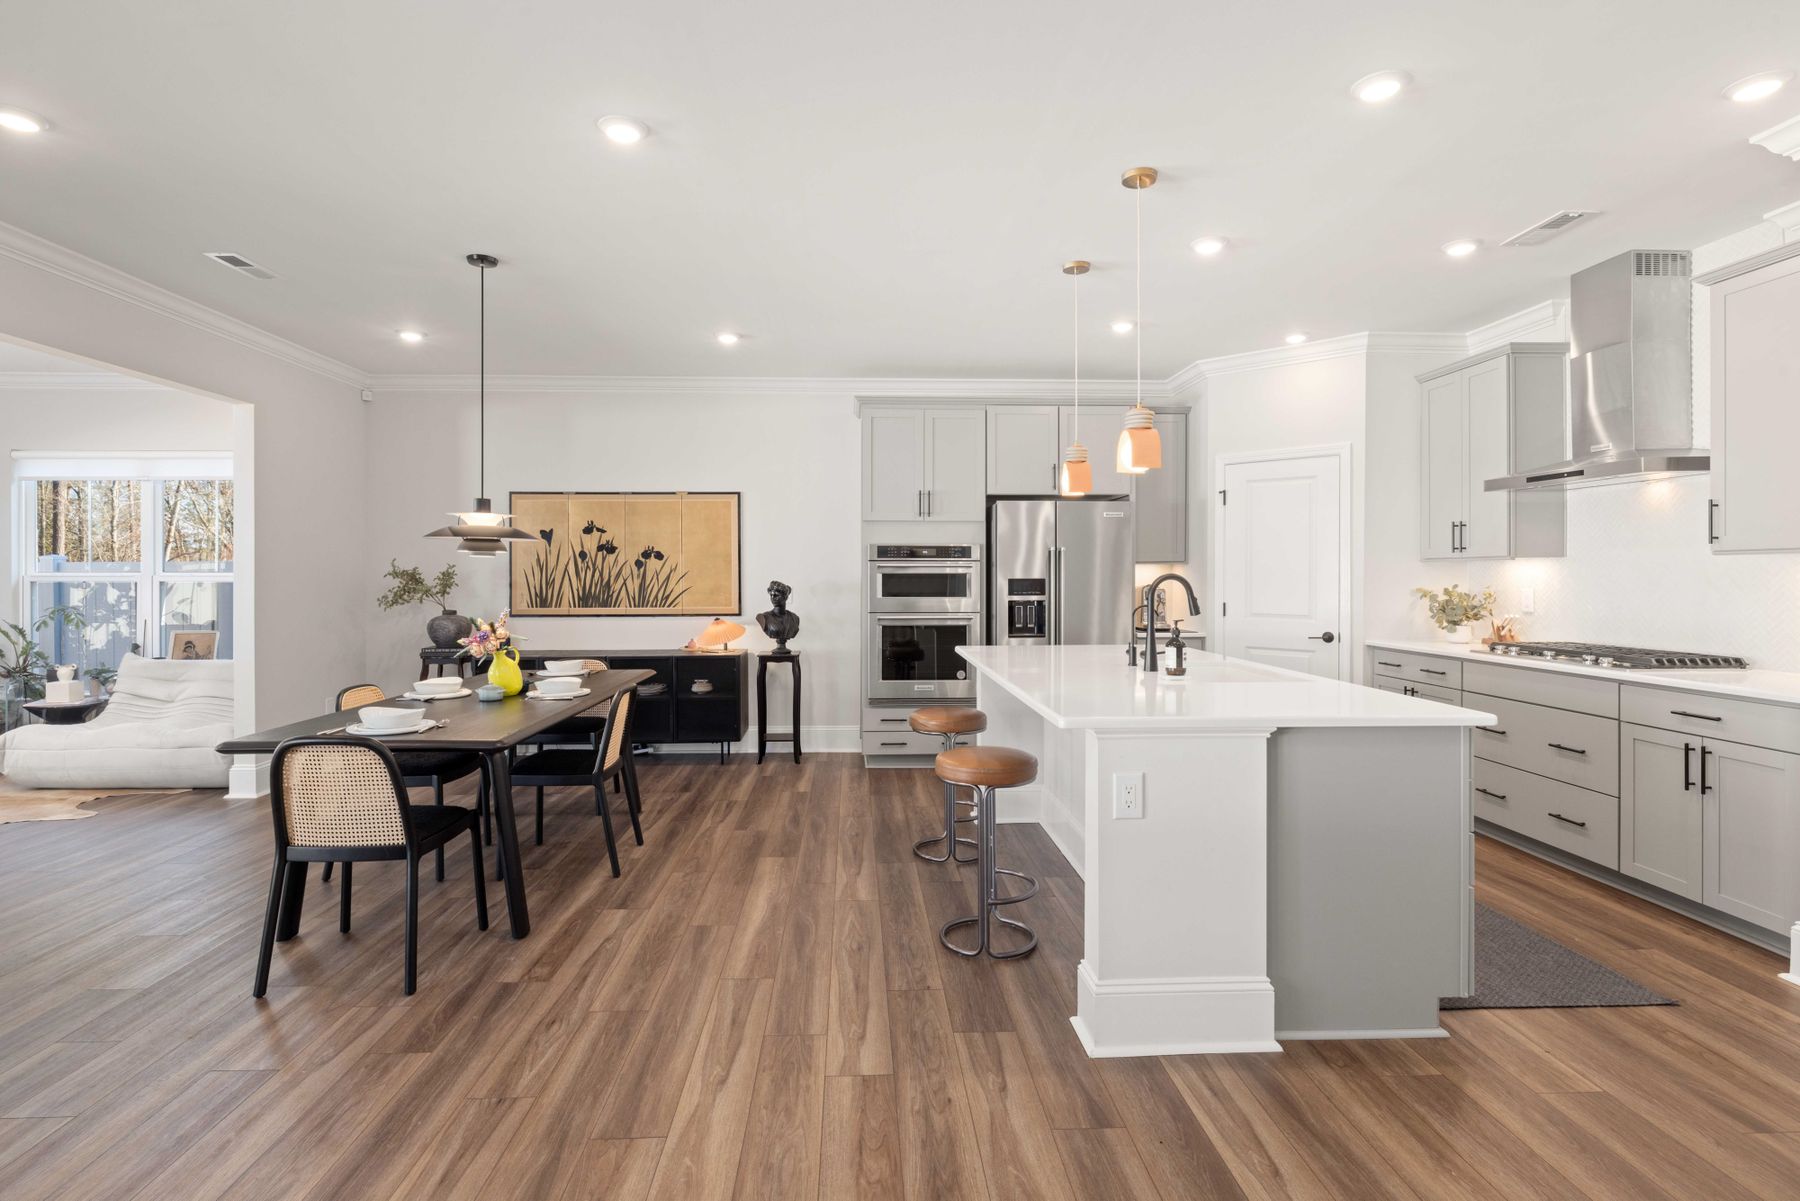
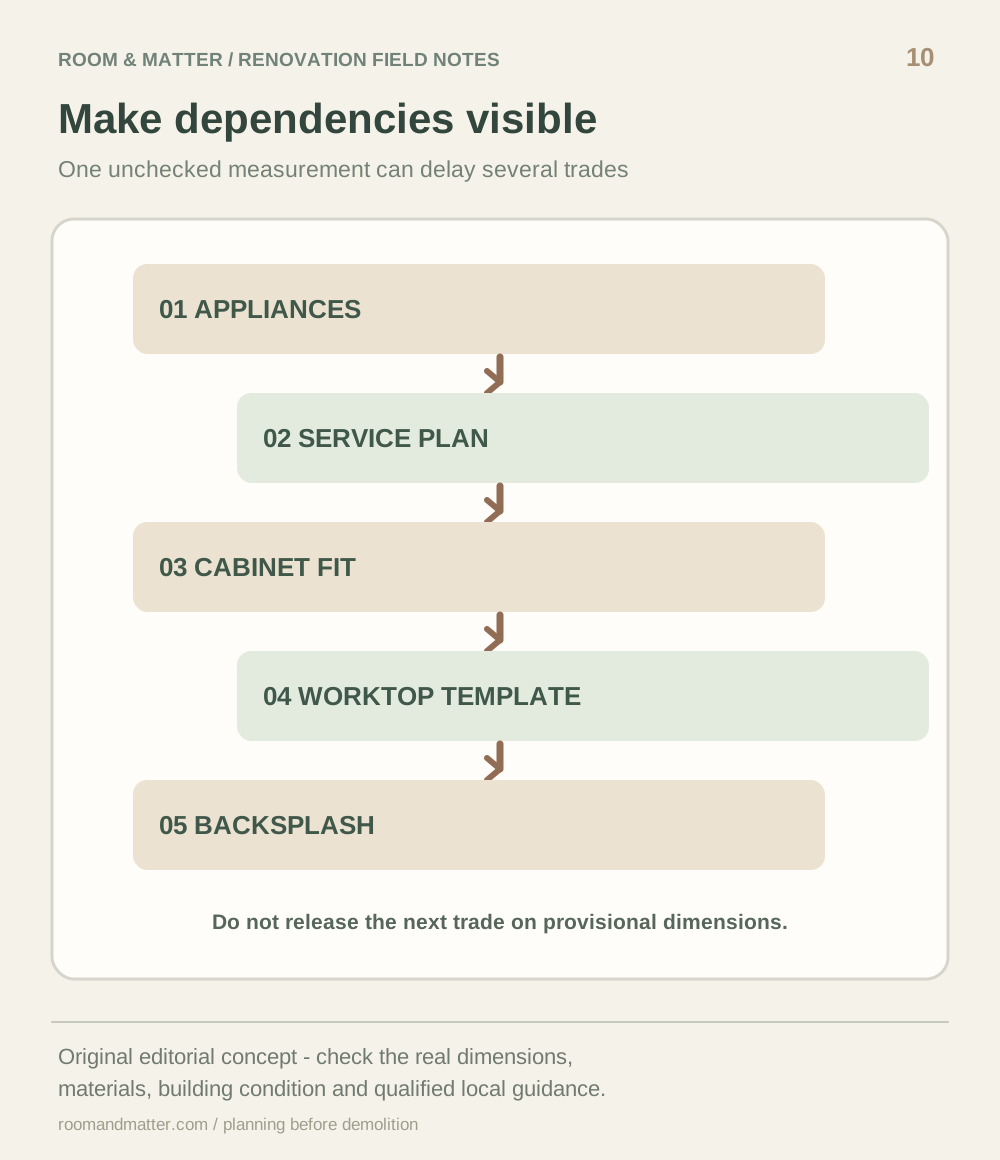
Remodeling decisions become expensive when one trade depends on measurements or equipment that have not been confirmed. Cabinet drawings depend on appliance specifications and clearances. Worktop fabrication may need measurements of actual installed cabinetry. Lighting and outlets should be coordinated before irreversible finishes are applied. A backsplash boundary relies on several completed or firmly specified surfaces. Record this chain in a one-page handoff schedule showing each decision, who approves it and who depends on it next. The grey kitchen photograph provides a view of several integrated systems, not evidence of how that specific kitchen was built. Ask which measurements can be trusted before demolition and which must be rechecked after hidden conditions are exposed. Do not place orders purely to feel that the project is moving forward when the underlying dimensions remain provisional. Lead times, returns and storage of delivered materials belong in the sequence as well. A thoughtfully coordinated modest kitchen can be more successful than an ambitious project that repeatedly reworks interfaces between trades. Technical documentation and professional supervision remain essential where required.
Hold a Reserve for the Unknowns, Not Extra Decoration
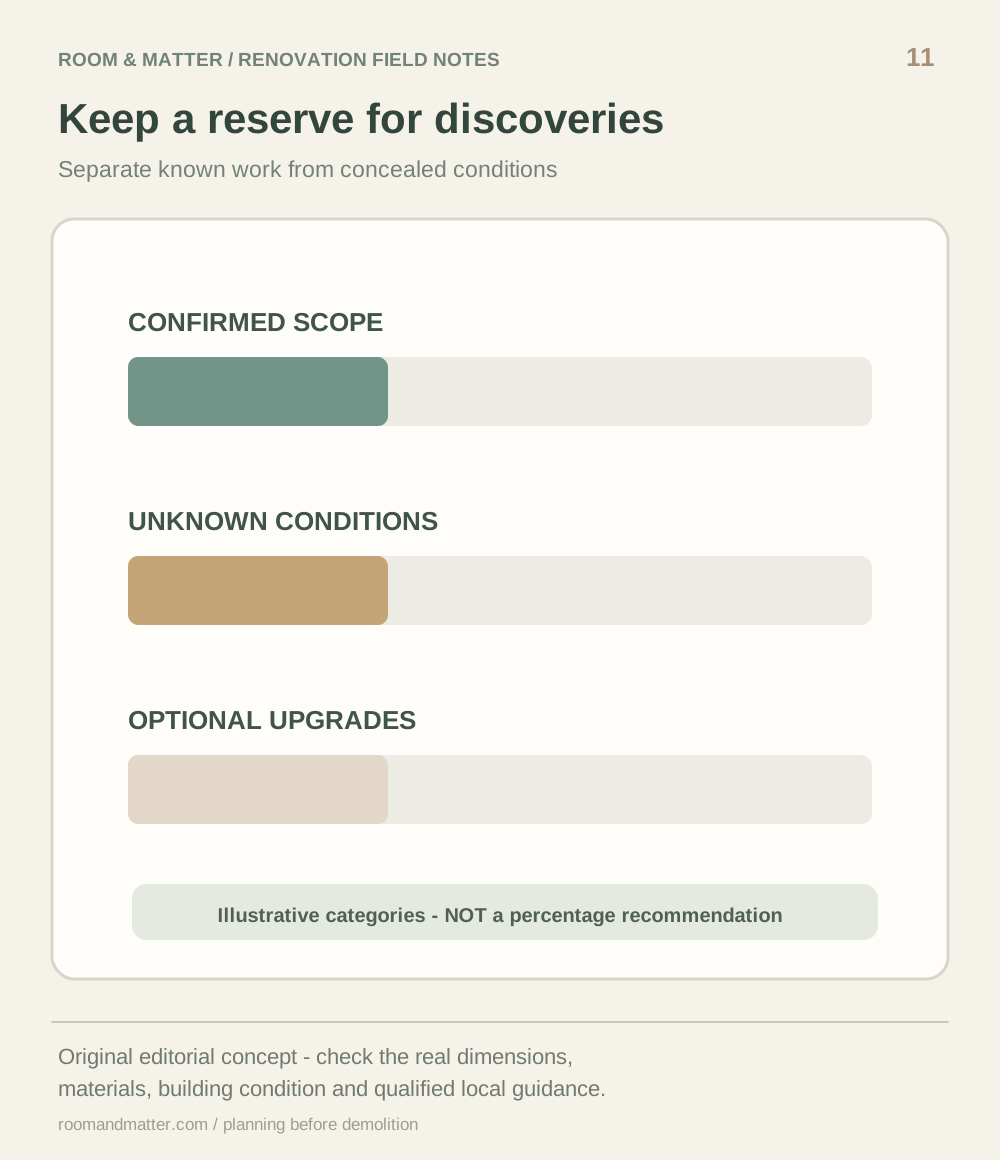
Existing buildings may conceal conditions that are difficult to assess before work begins. When opening a wall or removing an old worktop, a project can reveal damage, irregular surfaces or services needing attention. Distinguish confirmed work from risks that remain provisional and discuss them with qualified local professionals. Keep room in the budget for necessary discoveries rather than allocating the entire amount to decorative upgrades. There is no single reliable contingency percentage for every building and scope. A modest surface update and a large structural alteration carry different uncertainty. Document decisions when circumstances change: what was discovered, what additional work is needed, what it costs and which later specifications are affected. The practical sink and worktop shown in the photograph remind us that serviceability and repair access are part of the project result. If costs rise, optional trim, high-end decorative lighting or another finish upgrade may be deferred before compromising safety or core function. Avoid turning a risk reserve into an invitation to add more shopping items. A disciplined renovation manages uncertainty openly rather than hiding it behind optimistic estimates.
The Best Remodel Sometimes Stops Before Demolition
A kitchen does not require a wholesale replacement because the doors are unfashionable or an inspiration photograph shows a larger island. Revisit the brief before authorizing demolition. Are the cabinets structurally sound? Is the cleanup and cooking sequence acceptable? Are the dominant problems an unattractive finish, poor task light or excessive countertop clutter? If so, a targeted program of surface repair, lighting improvement, carefully specified fronts or hardware may resolve what matters without replacing the room. The compact kitchen photographed here demonstrates that modest size alone is not a failure; a clear worktop and coherent layout can be valuable. Conversely, damaged systems and persistent hazards should not be disguised by a cosmetic refresh. The purpose of a stop rule is not to discourage renovation. It is to prevent escalation driven solely by the availability of attractive products and increasingly ambitious mood boards. If a narrower intervention fixes the identified problems, spending more on demolition may have limited value to the household. A well-judged partial remodel can be a confident outcome, not an unfinished compromise.