Begin With the Listening Ritual, Not the Console
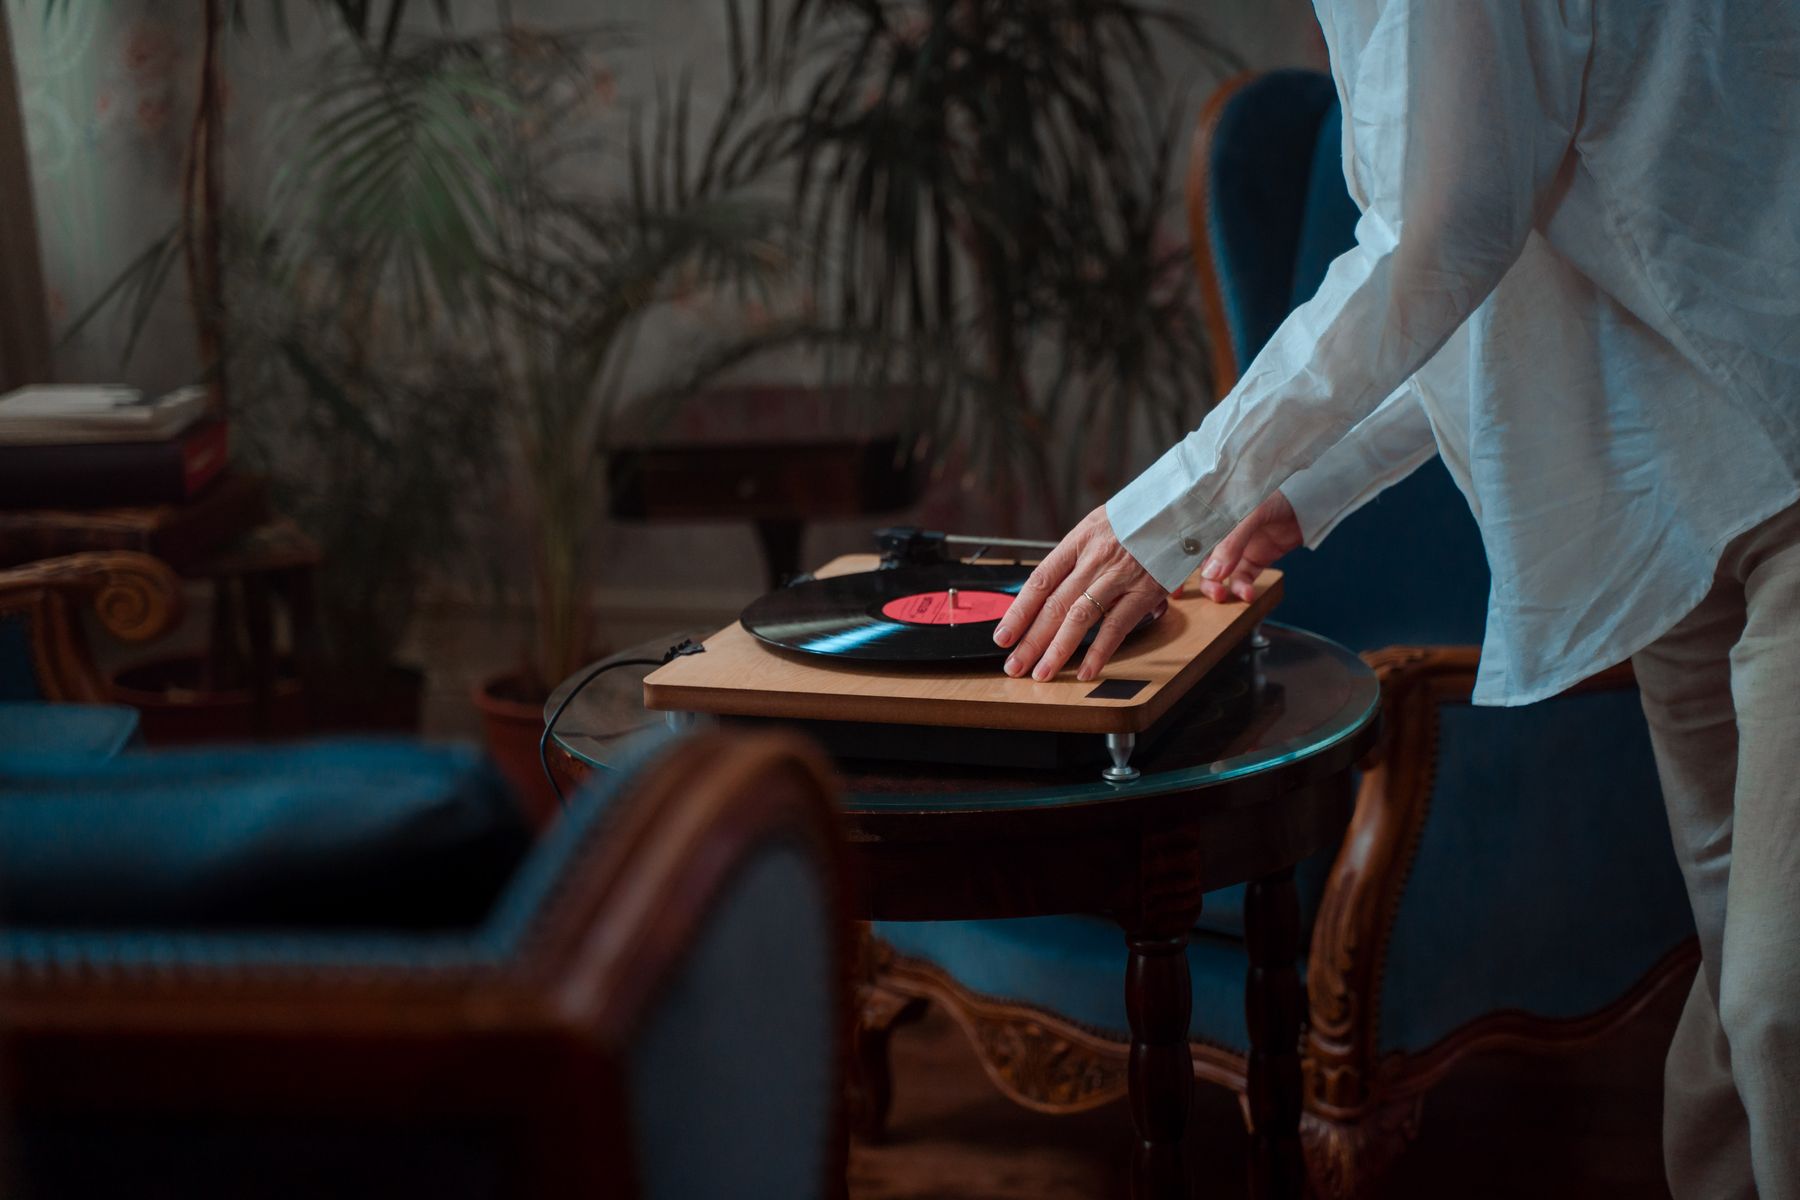
A listening corner deserves its own plan when playing a record is a repeated activity rather than a decorative still life. Walk through the sequence: choose an album, remove the inner sleeve, place the record, cue the side, sit down, turn the record, then return it without leaving sleeves on the floor. Each step needs a reachable surface and a clear path. If you listen alone for an hour, one supportive chair may matter more than a symmetrical pair. If music accompanies conversation, the chair can remain part of the main seating group while the equipment occupies a quieter edge. Decide whether the ritual is focused listening, background music or both; that answer sets the priority for seat position, speaker placement and storage. This activity-first approach keeps the corner distinct from a generic vintage vignette and prevents a beautiful console from becoming awkward to use.
A Turntable Needs a Level, Reachable and Calm Surface
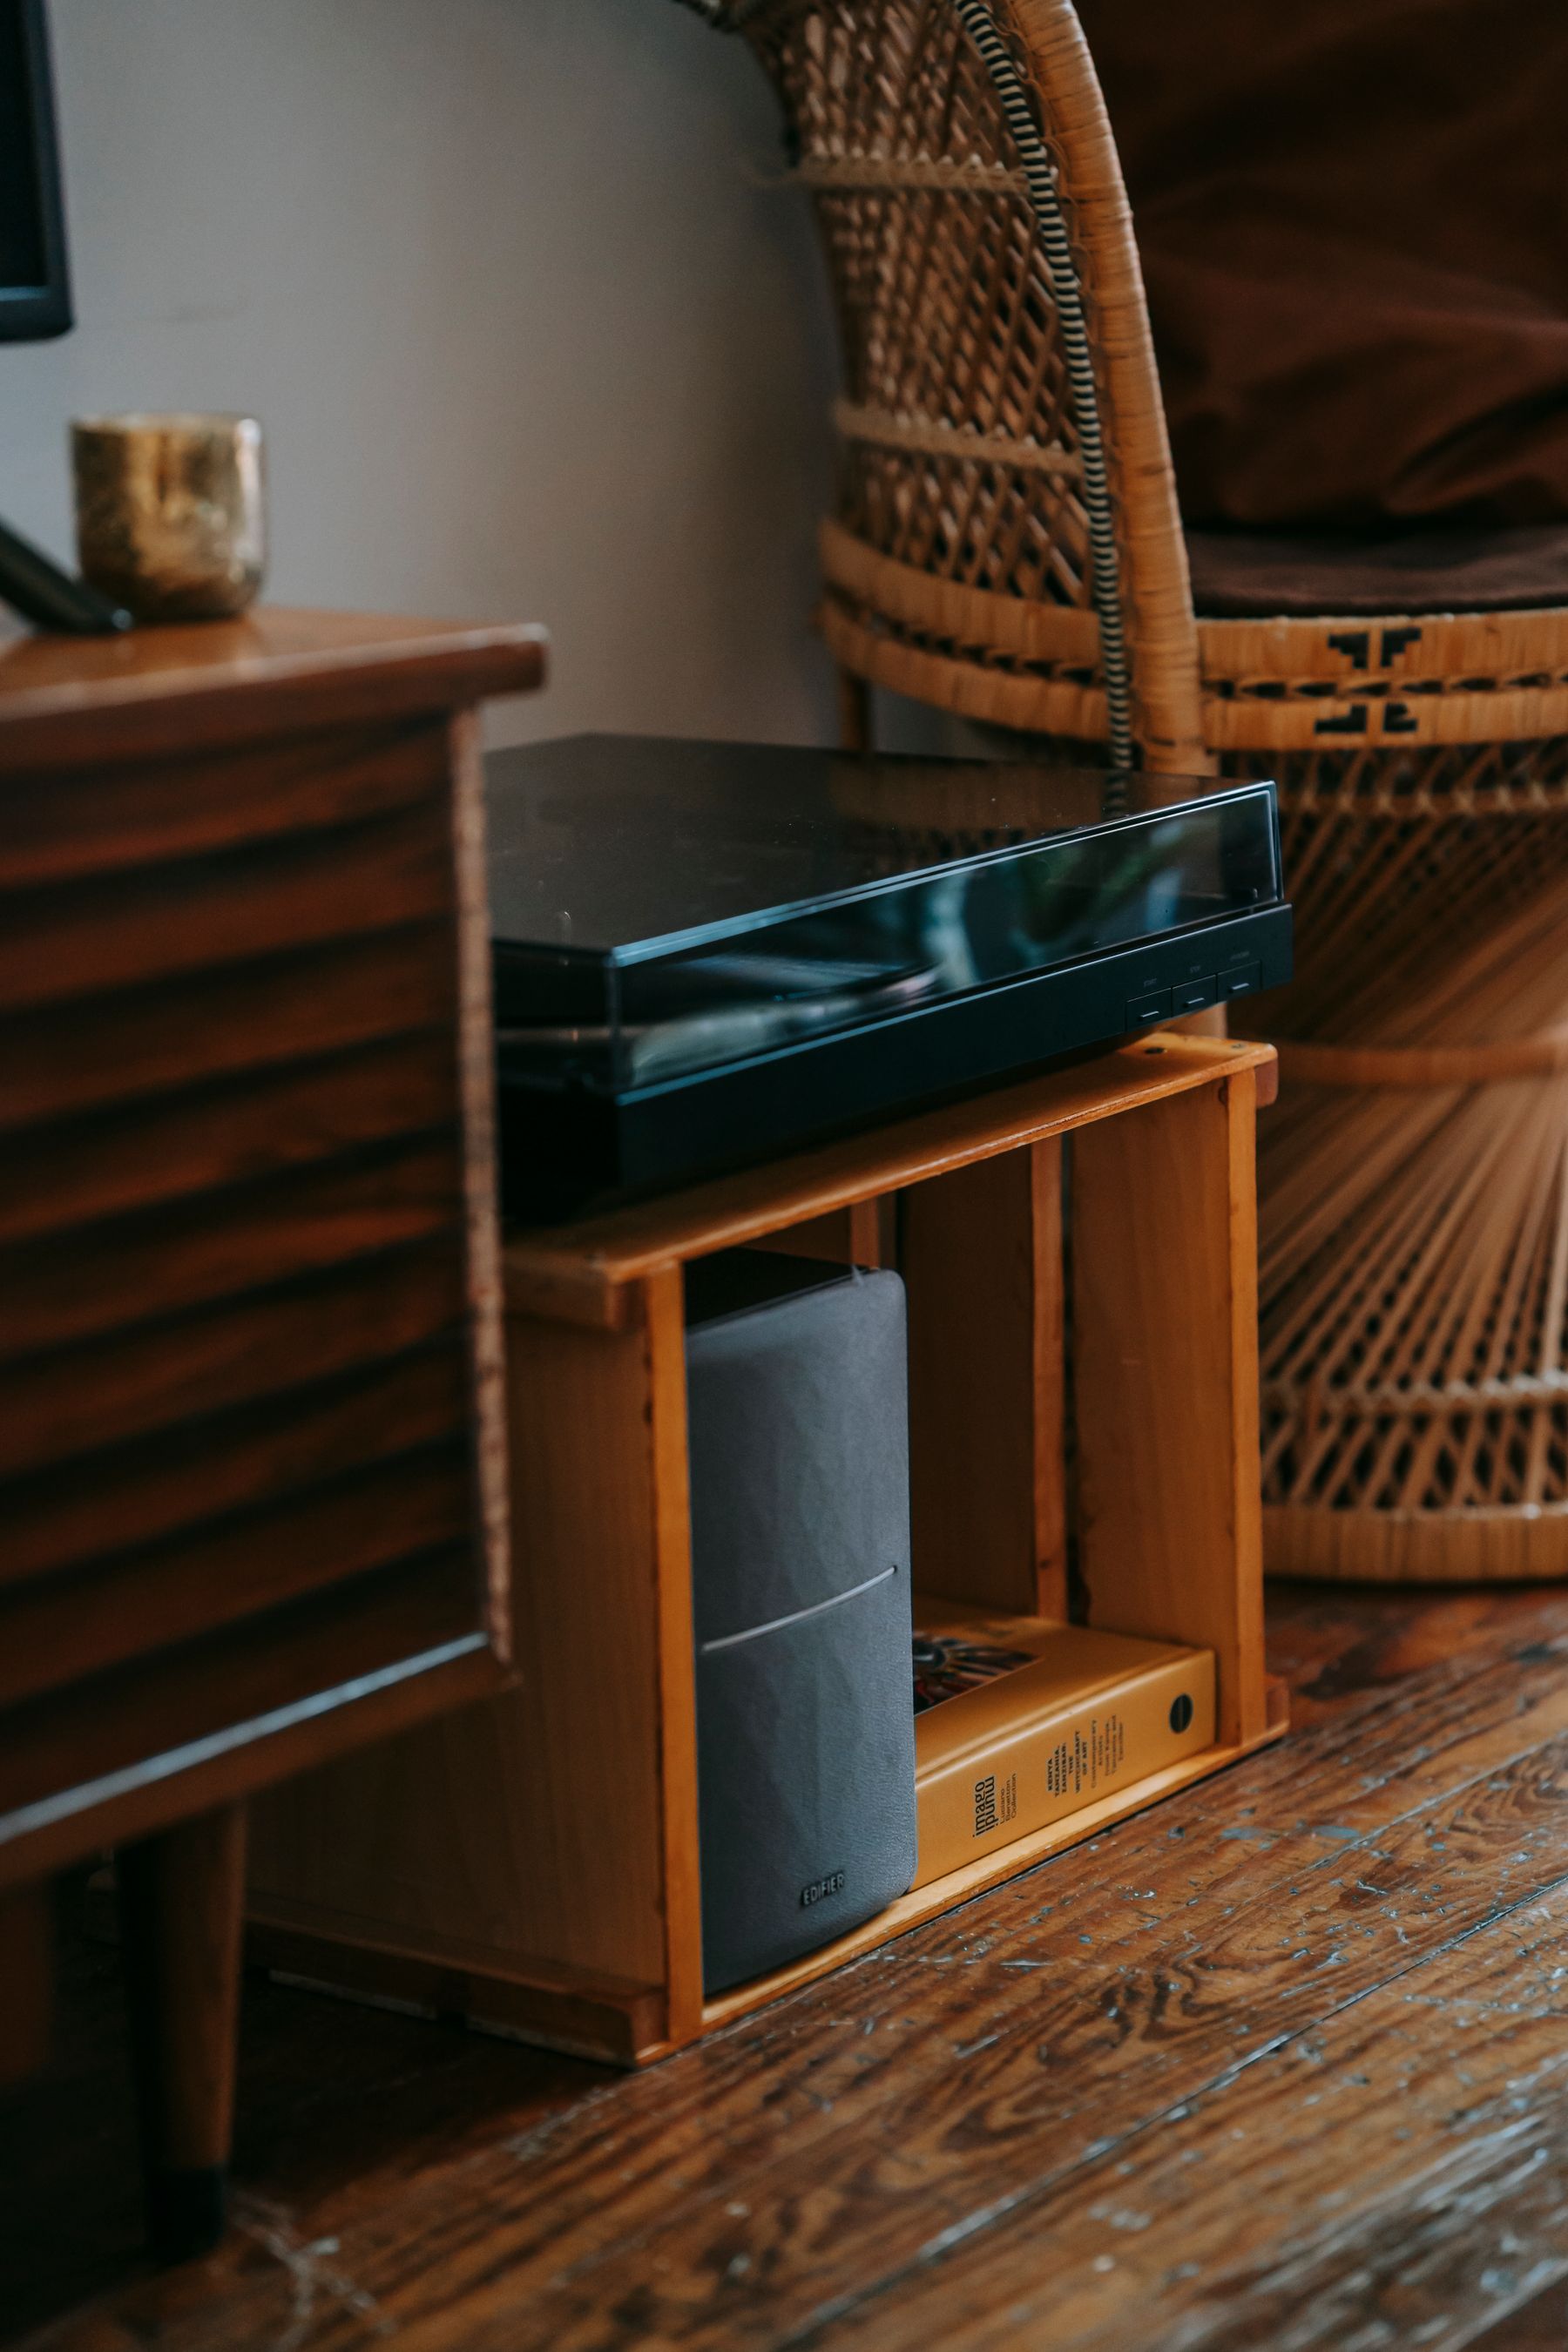
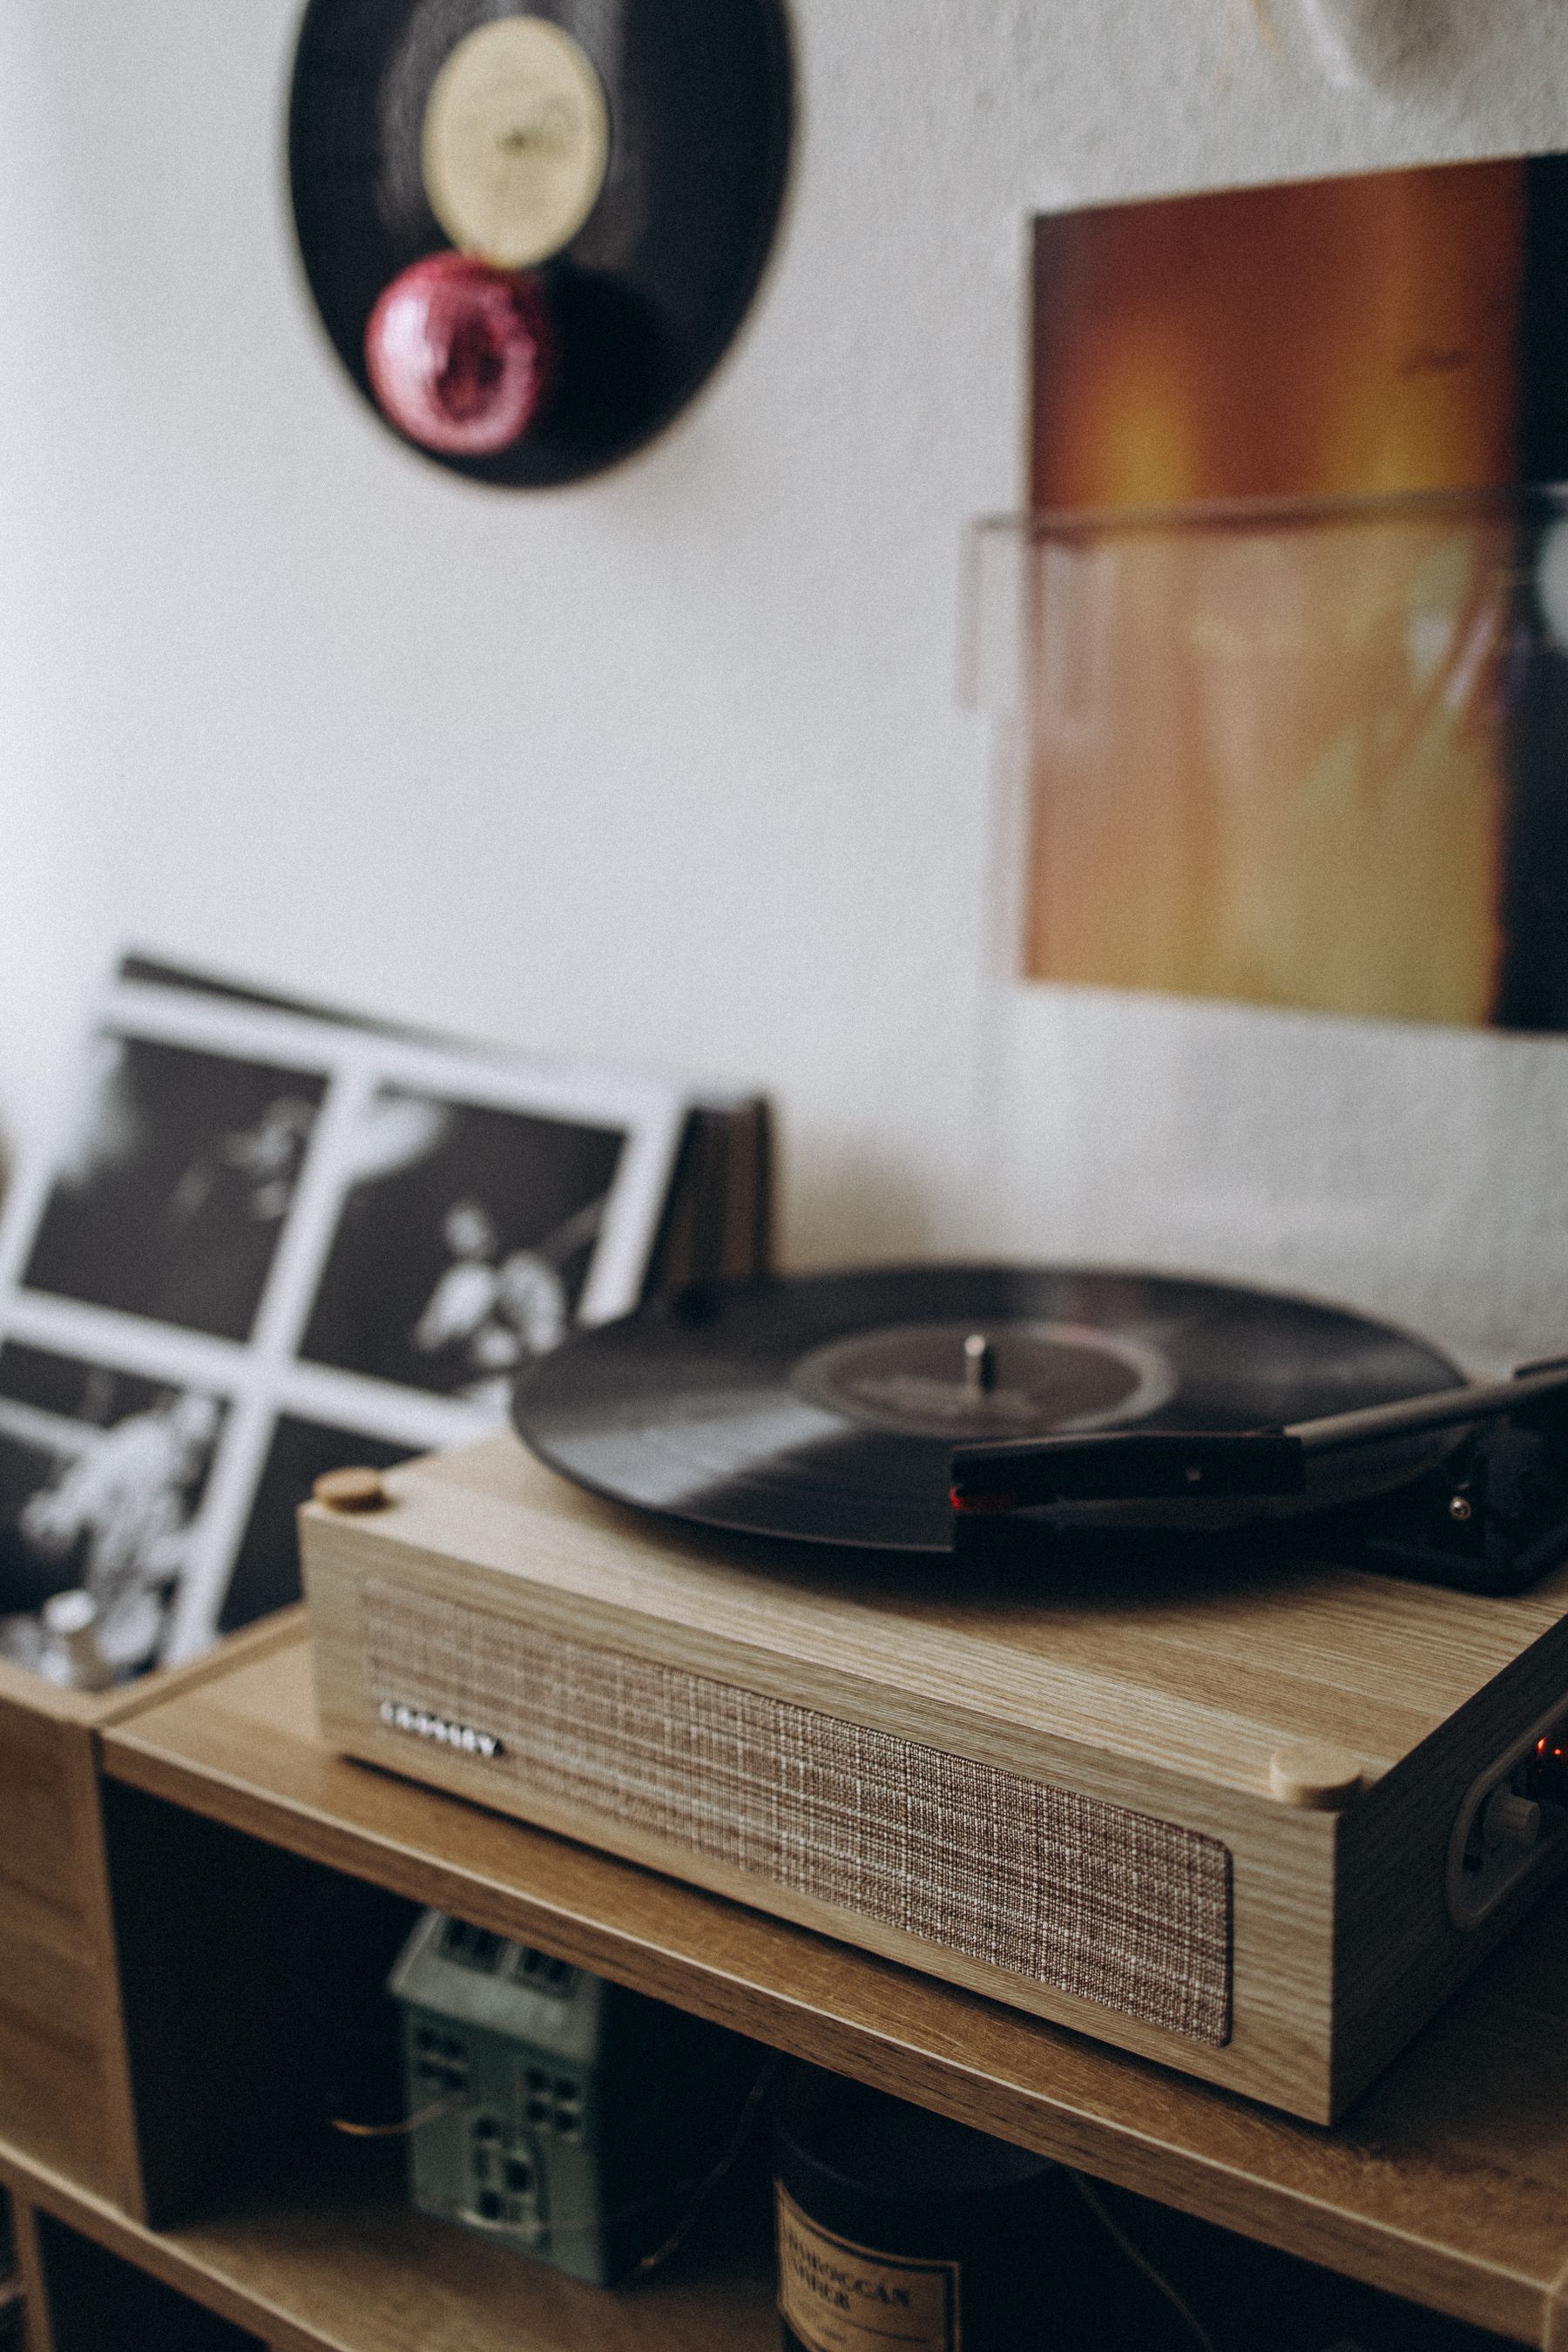
Choose the support by stability, reach and service access before choosing it by style. The turntable should sit level according to its manufacturer guidance, with room to open the dust cover, operate controls and lift a record without brushing a wall, plant or lamp. A console that rocks on an uneven floor or shares every footfall with a loose speaker may make playback frustrating; diagnose the support and setup before buying decorative isolation accessories. Keep drinks, watering cans and leaning picture frames off the operating surface. Check the full depth of plugs and cables behind the unit, not only the chassis dimensions. Low furniture can suit seated rooms, but crouching over the stylus each time may discourage use. Vintage furniture can work beautifully when its joints, top and load capacity are sound; age alone does not make it suitable audio furniture.

Speaker Placement Is an Audio Decision Before It Is Symmetry
Matching speakers at both ends of a console looks orderly, but furniture symmetry is not a substitute for usable placement. Start with the loudspeaker manufacturer's instructions for wall distance, orientation, stands and ventilation, then test from the regular listening seat. Avoid promising one universal triangle or clearance: speaker design, room shape and the listener all change the result. Do not balance a speaker on a record crate, crowd a rear port against a wall or let a door strike a stand. If speakers share furniture with the turntable, listen for unwanted interaction and follow equipment guidance before improvising pads. Wireless models still need power, charging and sometimes a wired link. Once the functional positions work, repeated wood tones, stand finishes or a shared visual height can connect the components without forcing both sides to mirror each other.

Put the Chair Inside the Ritual, Not in the Walkway
A listening chair should feel close enough to the records and controls to belong to the activity, yet clear of the route used by everyone else. Sit before moving furniture: check whether you can see the turntable, reach a side table and stand without stepping over a speaker cable. A chair angled toward the room can support both focused listening and conversation; a chair aimed only at a wall may turn the corner into an isolated display. Protect the door swing and the path to adjacent rooms, especially when a speaker stand or record crate sits at ankle height. In a small living room, the best listening seat may be an existing end seat on the sofa rather than an added armchair. The zone deserves a distinct center, not necessarily extra furniture. Use the [living-room layout guide](/living-room/living-room-layout-ideas/) for circulation, then return here to judge whether the music ritual remains convenient.
Store Records Upright and Make Browsing a Single Movement
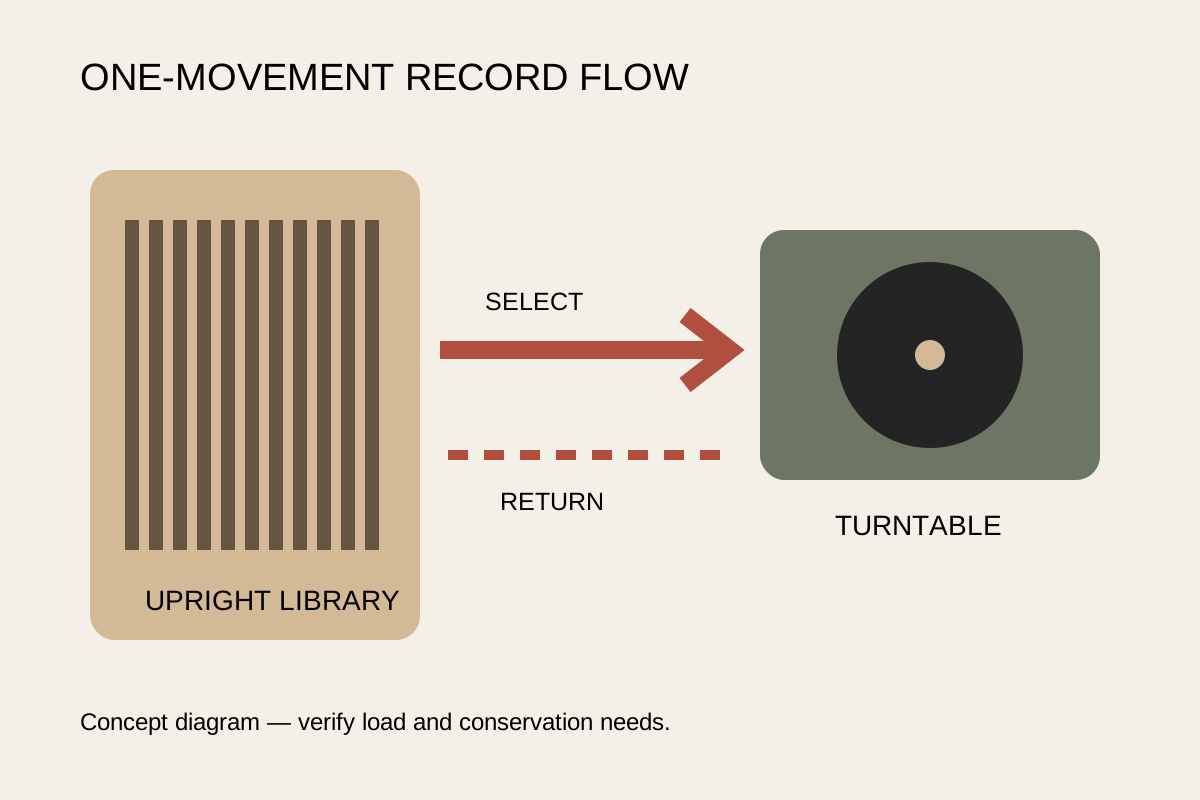
Record storage should support browsing, selection and return without turning the collection into wall filler. Keep records upright and adequately supported rather than leaning in a widening fan or lying in unstable piles; follow specialist conservation guidance for valuable collections. Divide a large library in a way you can maintain—genre, artist, era or listening mood—rather than choosing a system that only looks orderly in photographs. The most-used section should be reachable without kneeling behind a chair or moving a speaker stand. Leave enough finger space to browse without crushing sleeves, but do not create empty decorative gaps that let the row slump. Heavy collections require furniture and floors capable of carrying them; verify load limits instead of assuming a narrow bookcase is suitable. The [bookshelf decor guide](/living-room/bookshelf-decor-ideas/) helps preserve access and a legible shelf edge; here the record-handling sequence remains central.
Give the Current Record a Deliberate Landing Place
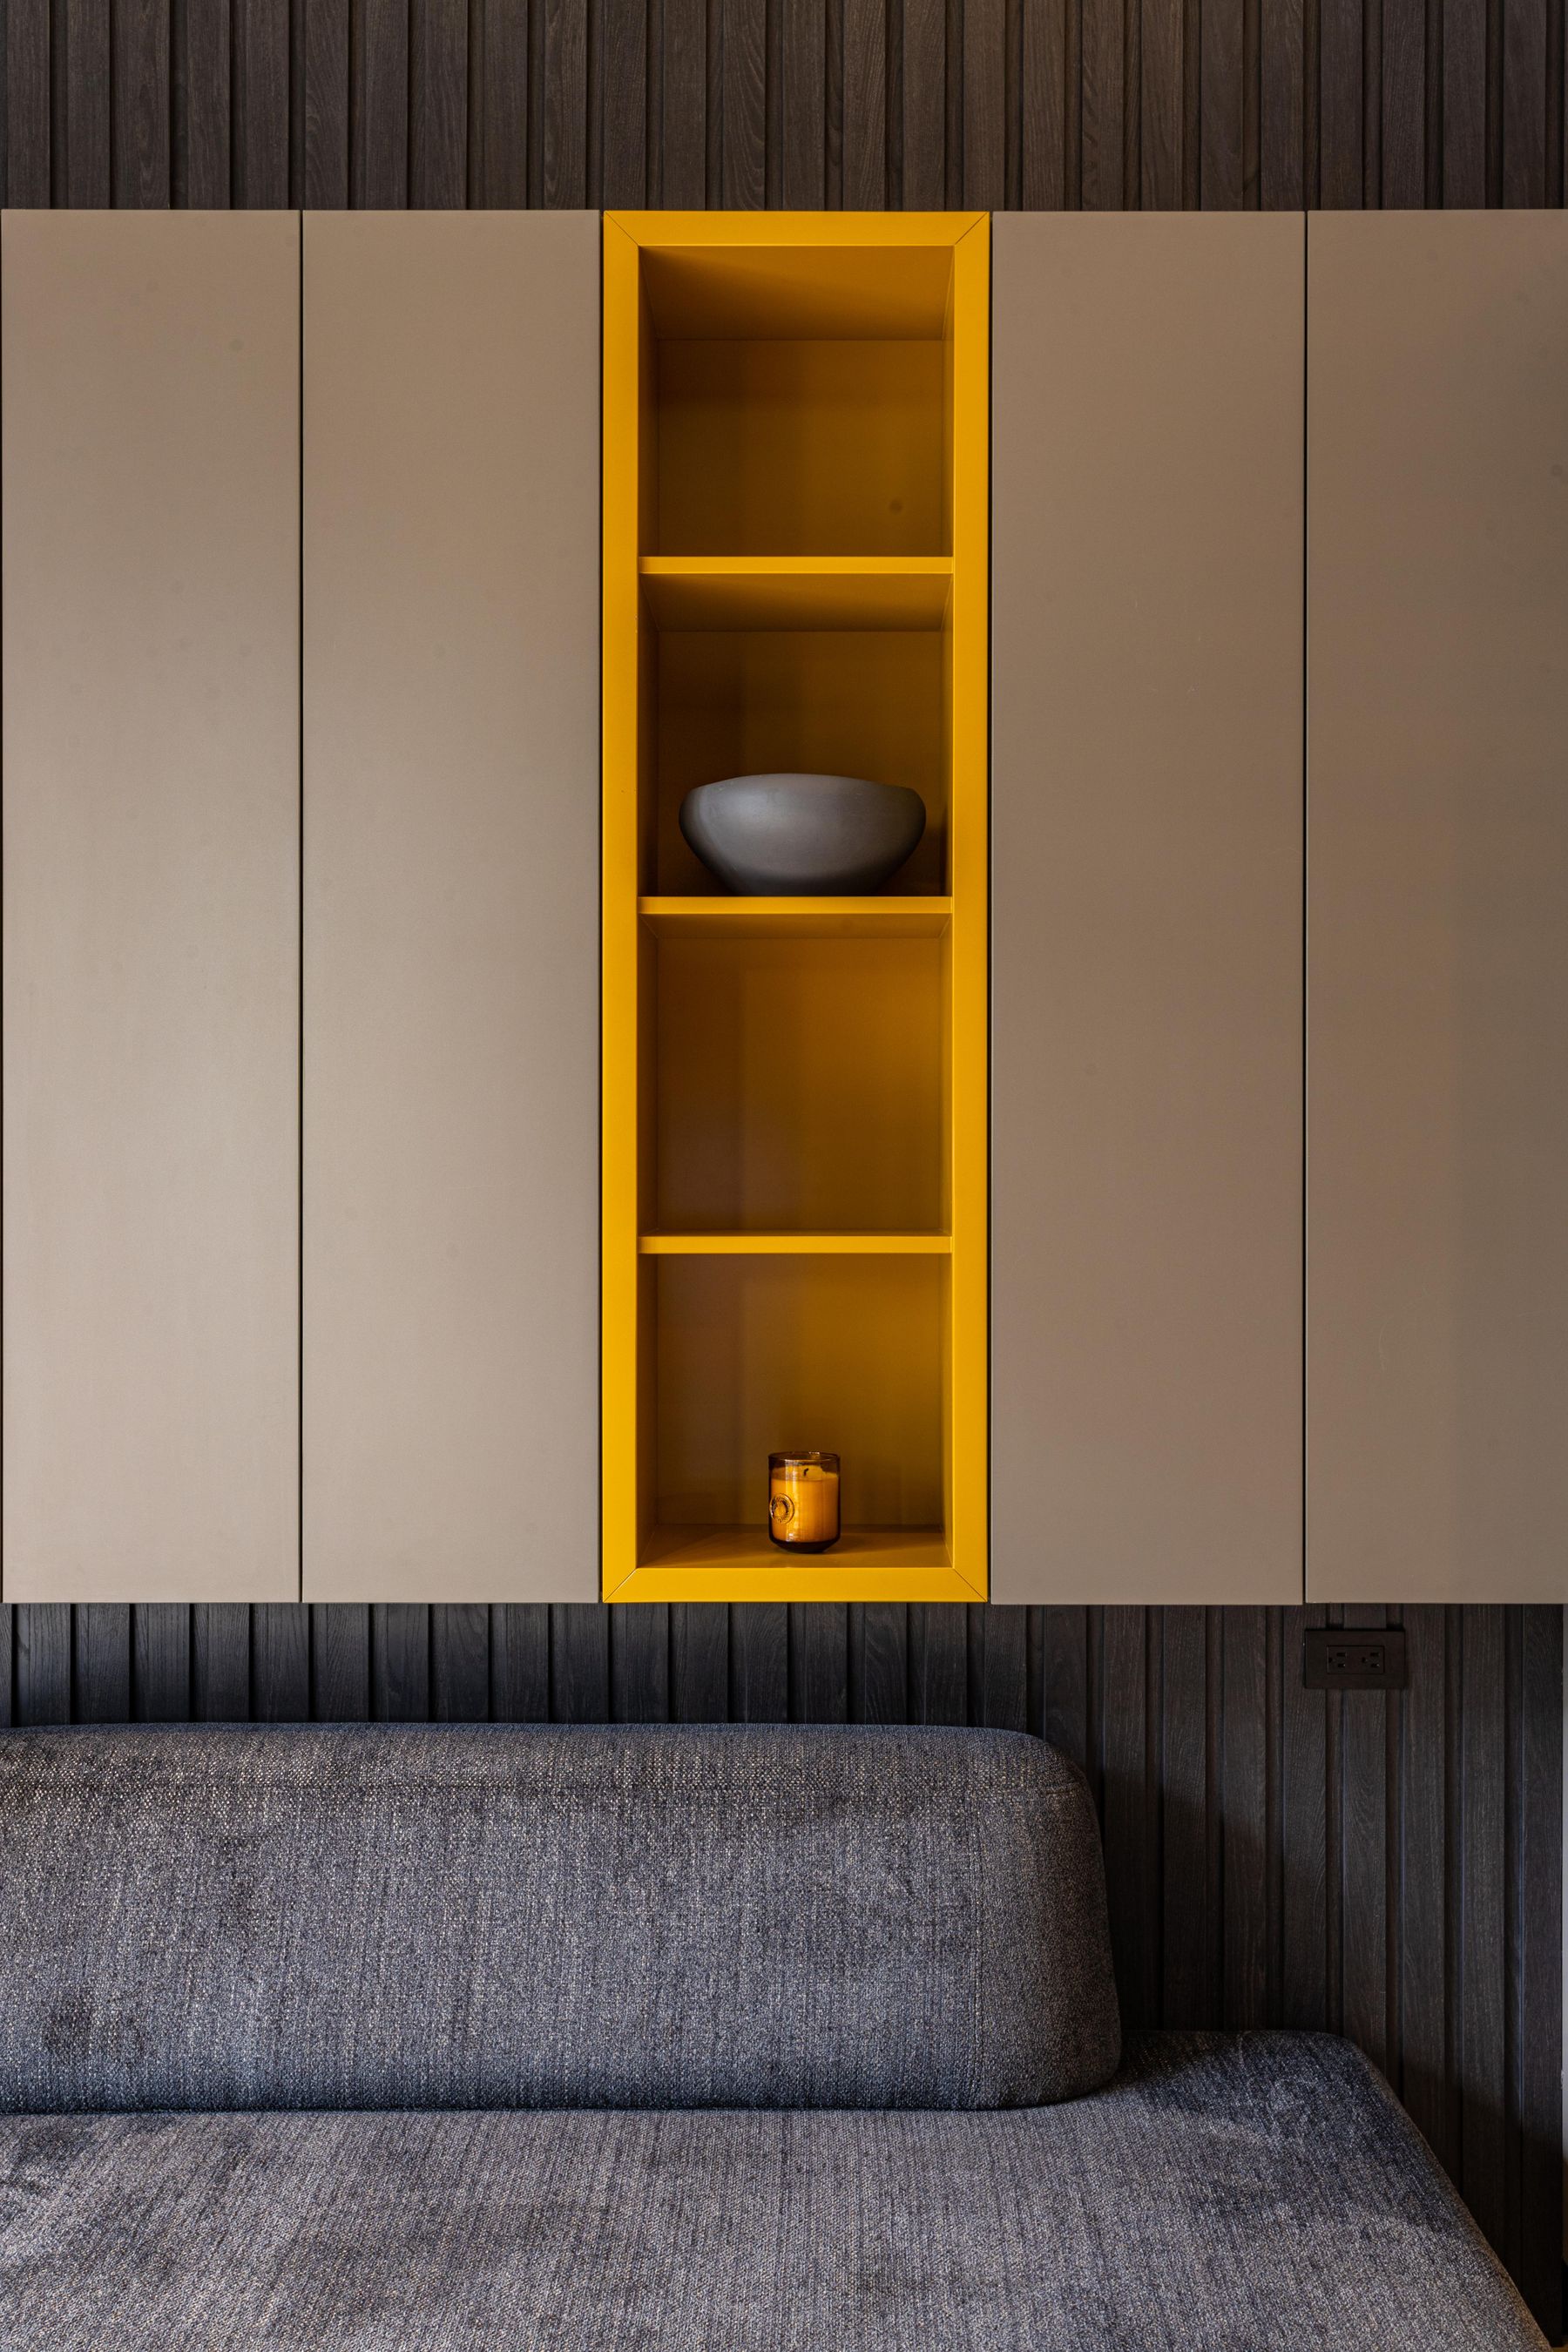
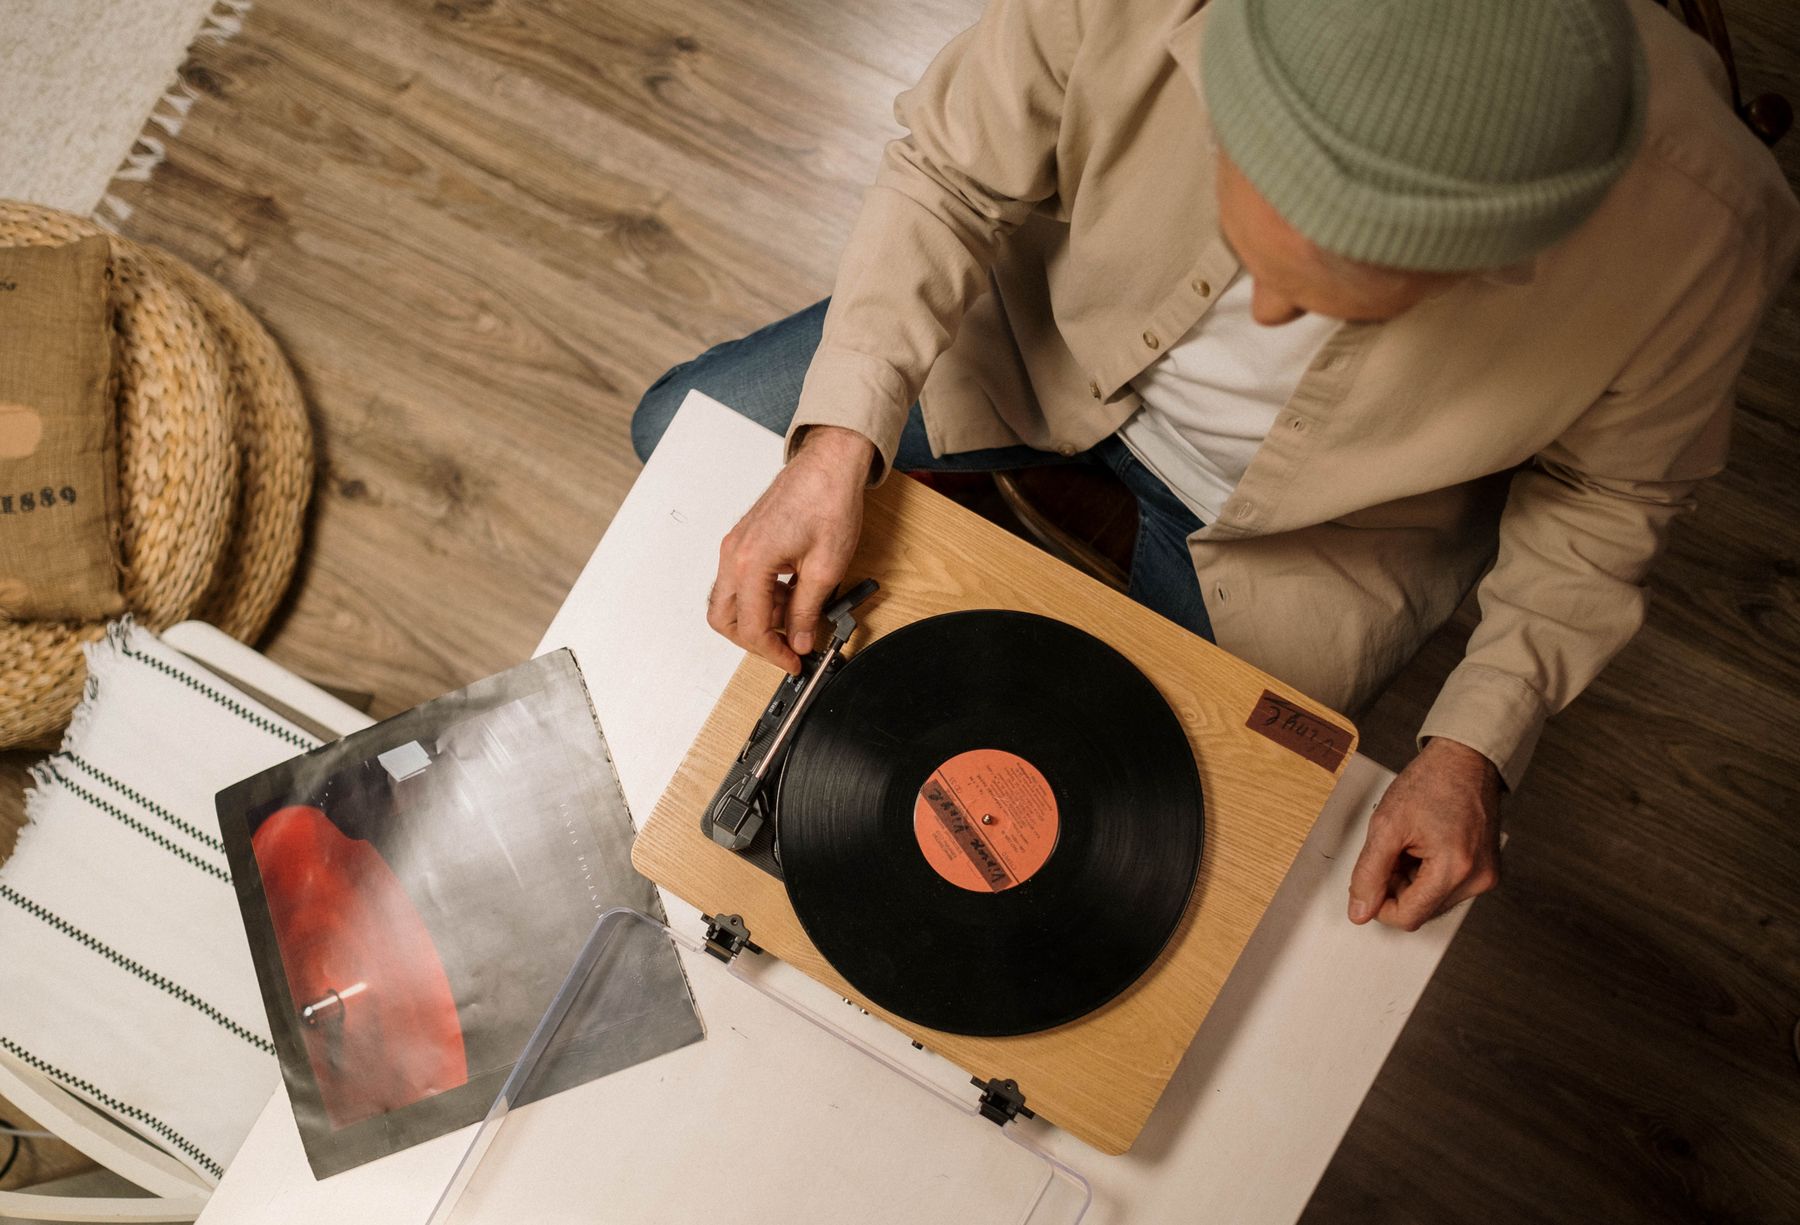
During playback, the outer sleeve, inner sleeve and any cleaning tool need a temporary home. Without one, they drift onto the floor, chair, radiator or top of a speaker. Build a small landing place into the system: a narrow open shelf, stable sleeve stand or one clear section of the console. It should be close enough to use without reaching over the spinning record, yet separate from drinks and plant care. Treat a now-playing display as a handling aid first and decoration second. A front-facing sleeve can add color, but repeated sunlight, heat or a tight clip may not suit a valued cover; use a method appropriate to the item. Keep the landing place limited to the current album and perhaps one queued record. When it becomes a permanent stack, the return step has failed. This small decision clearly separates a working listening corner from a styled pile of vinyl.
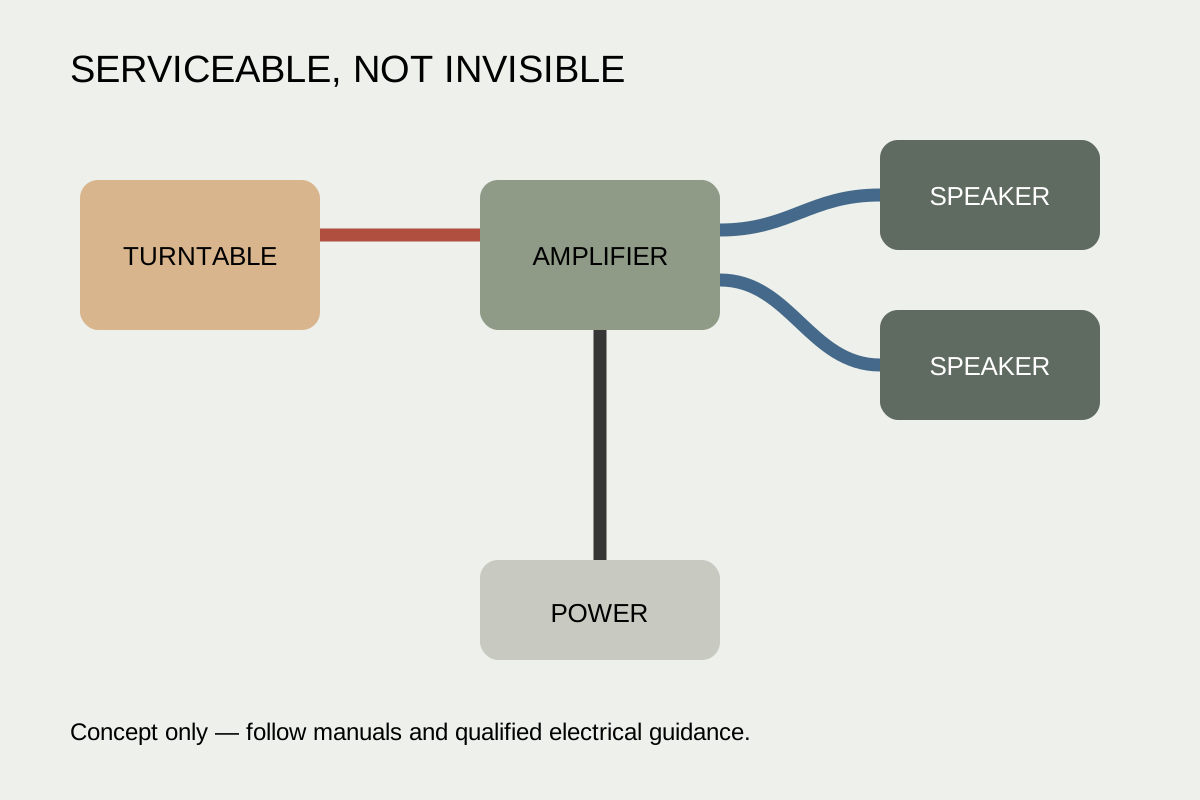
Draw the Service Route Before Hiding the Cables
Map every component, plug, interconnect, speaker lead, power supply and network device before pushing the console against the wall. Label both ends where several similar cables meet and leave access for replacement, cleaning and ventilation. Do not bury an unsuitable extension lead under a rug or pinch a cable behind furniture to make a photograph cleaner. Follow equipment and electrical-product instructions, and use a qualified professional where fixed wiring or uncertain outlets are involved. A rear opening in furniture helps only if plugs pass through, bends remain reasonable and heat can escape as required. Keep loose loops away from the walking route, pets and moving doors. The goal is not invisibility at any cost; it is a service route that reads calmly from the room but can still be understood when something stops working.
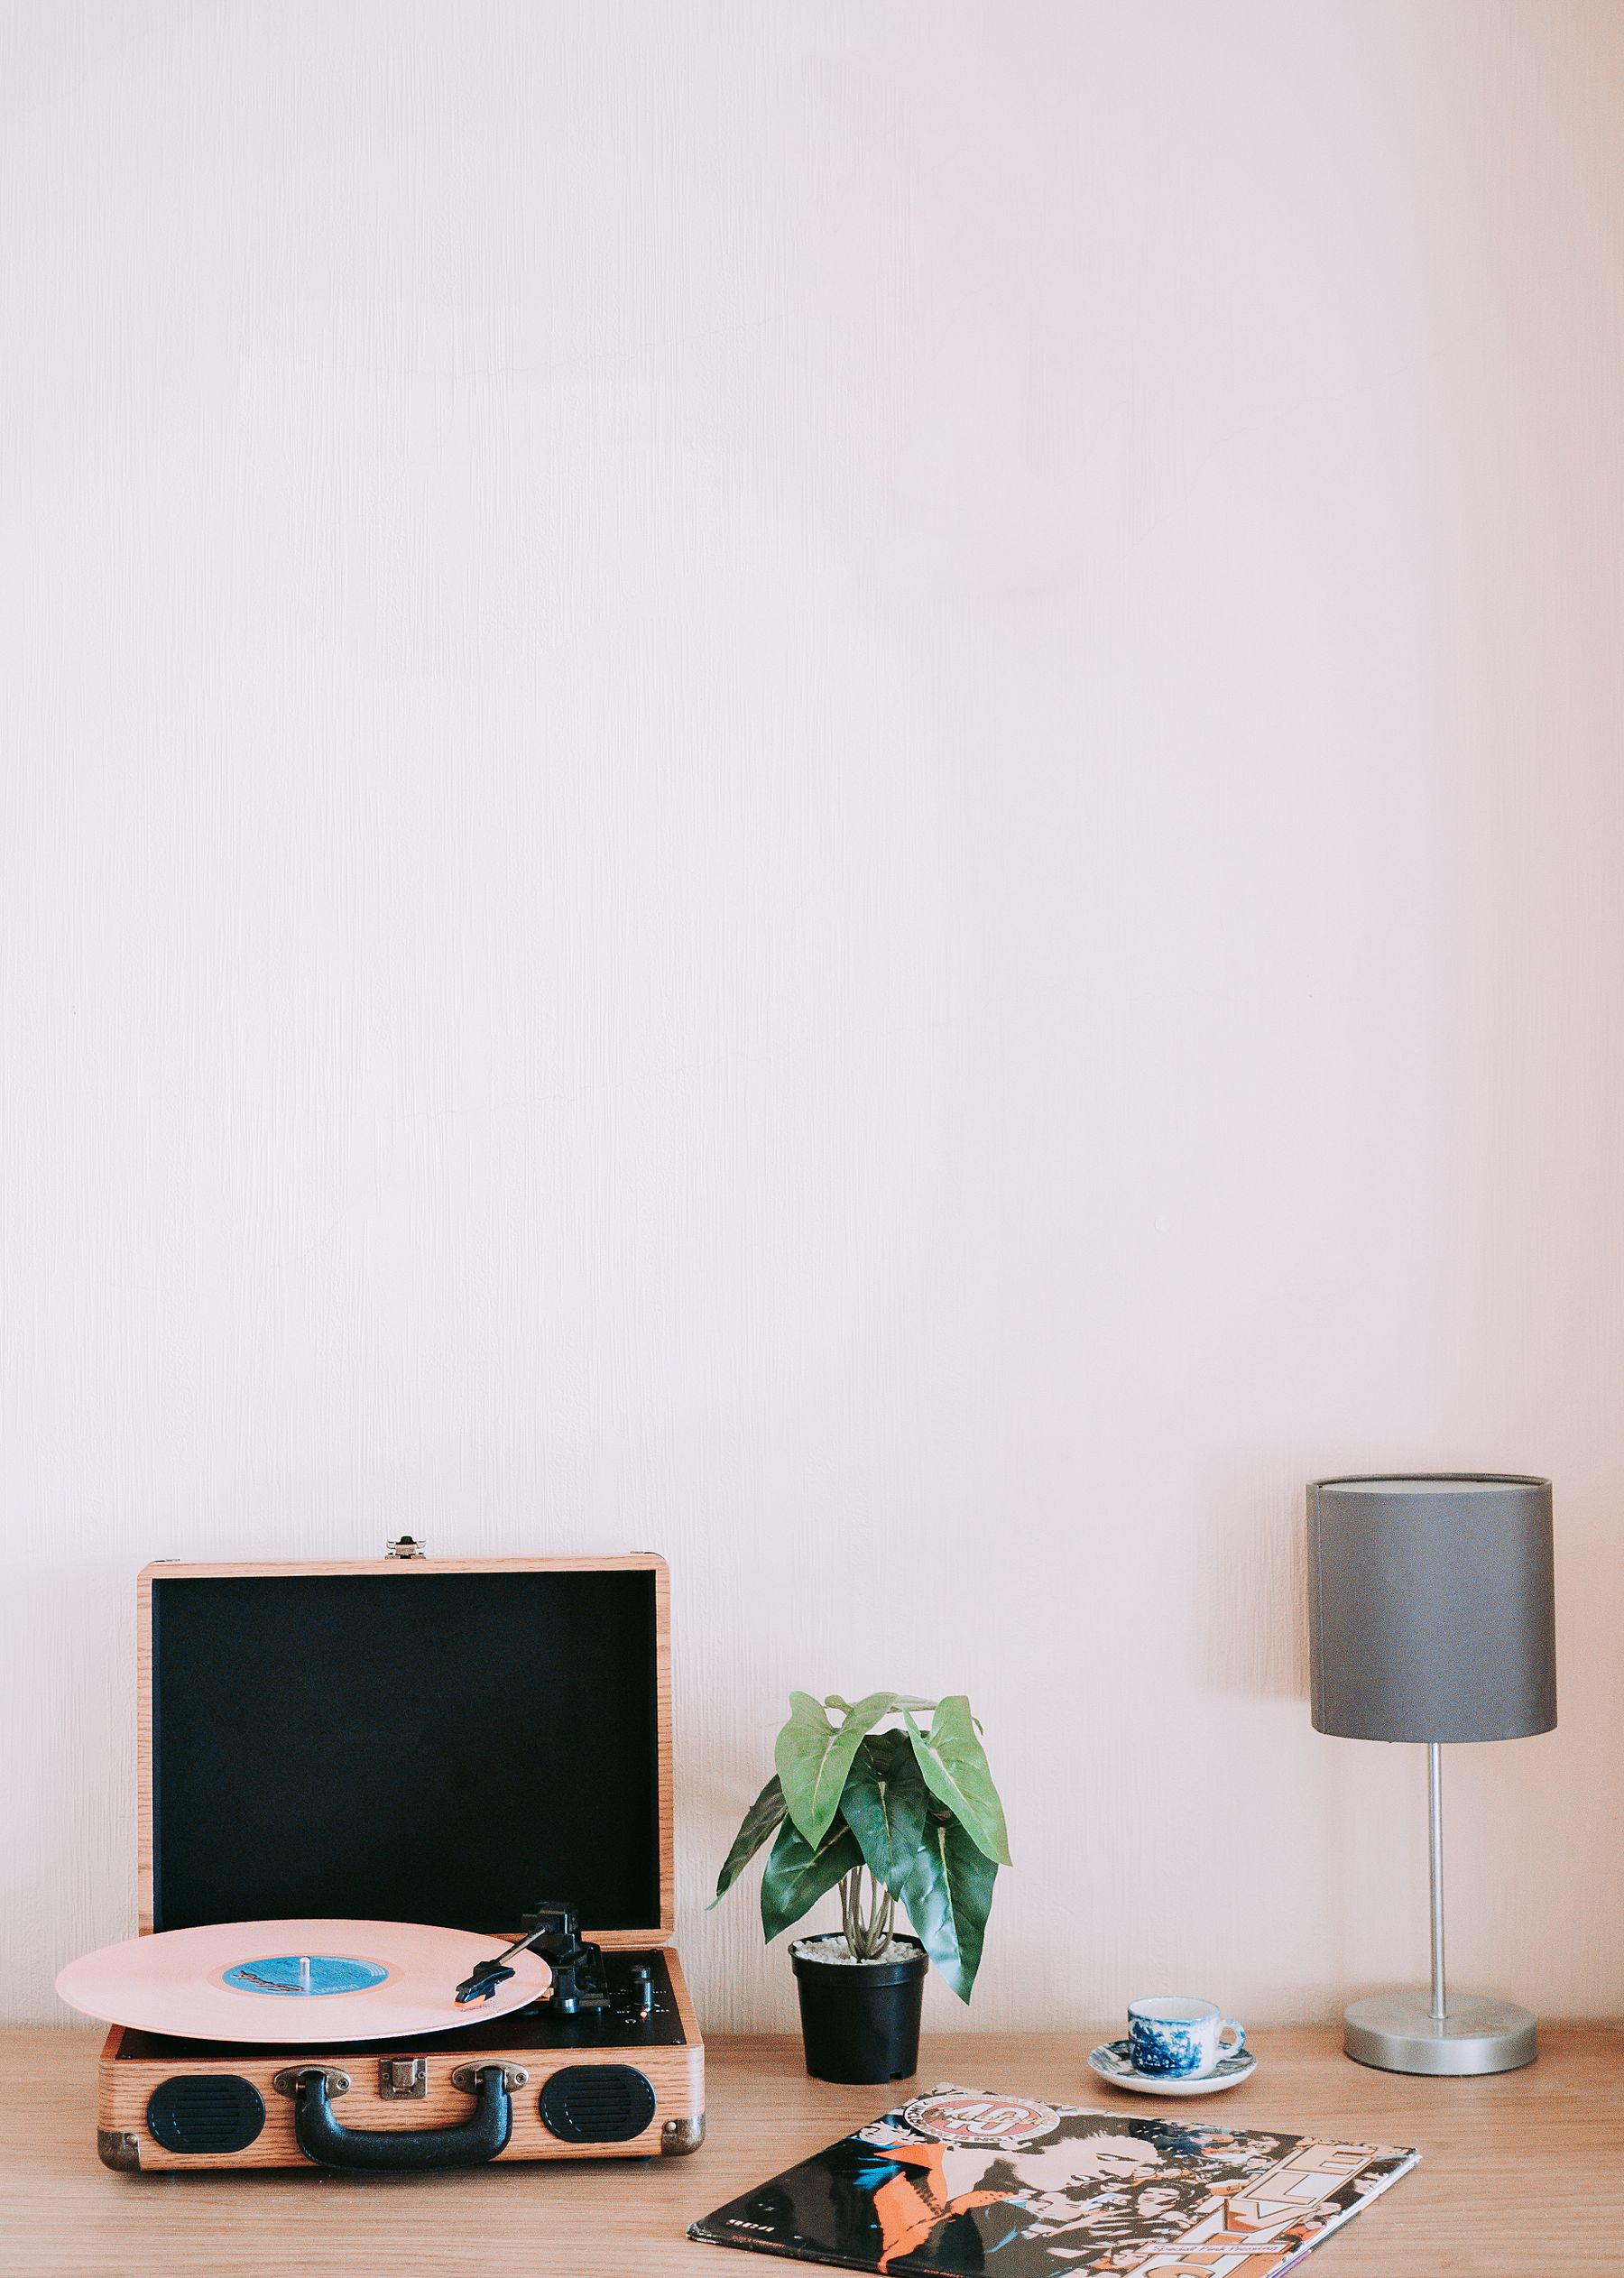
Light the Needle, the Sleeve and the Walk Back to the Chair
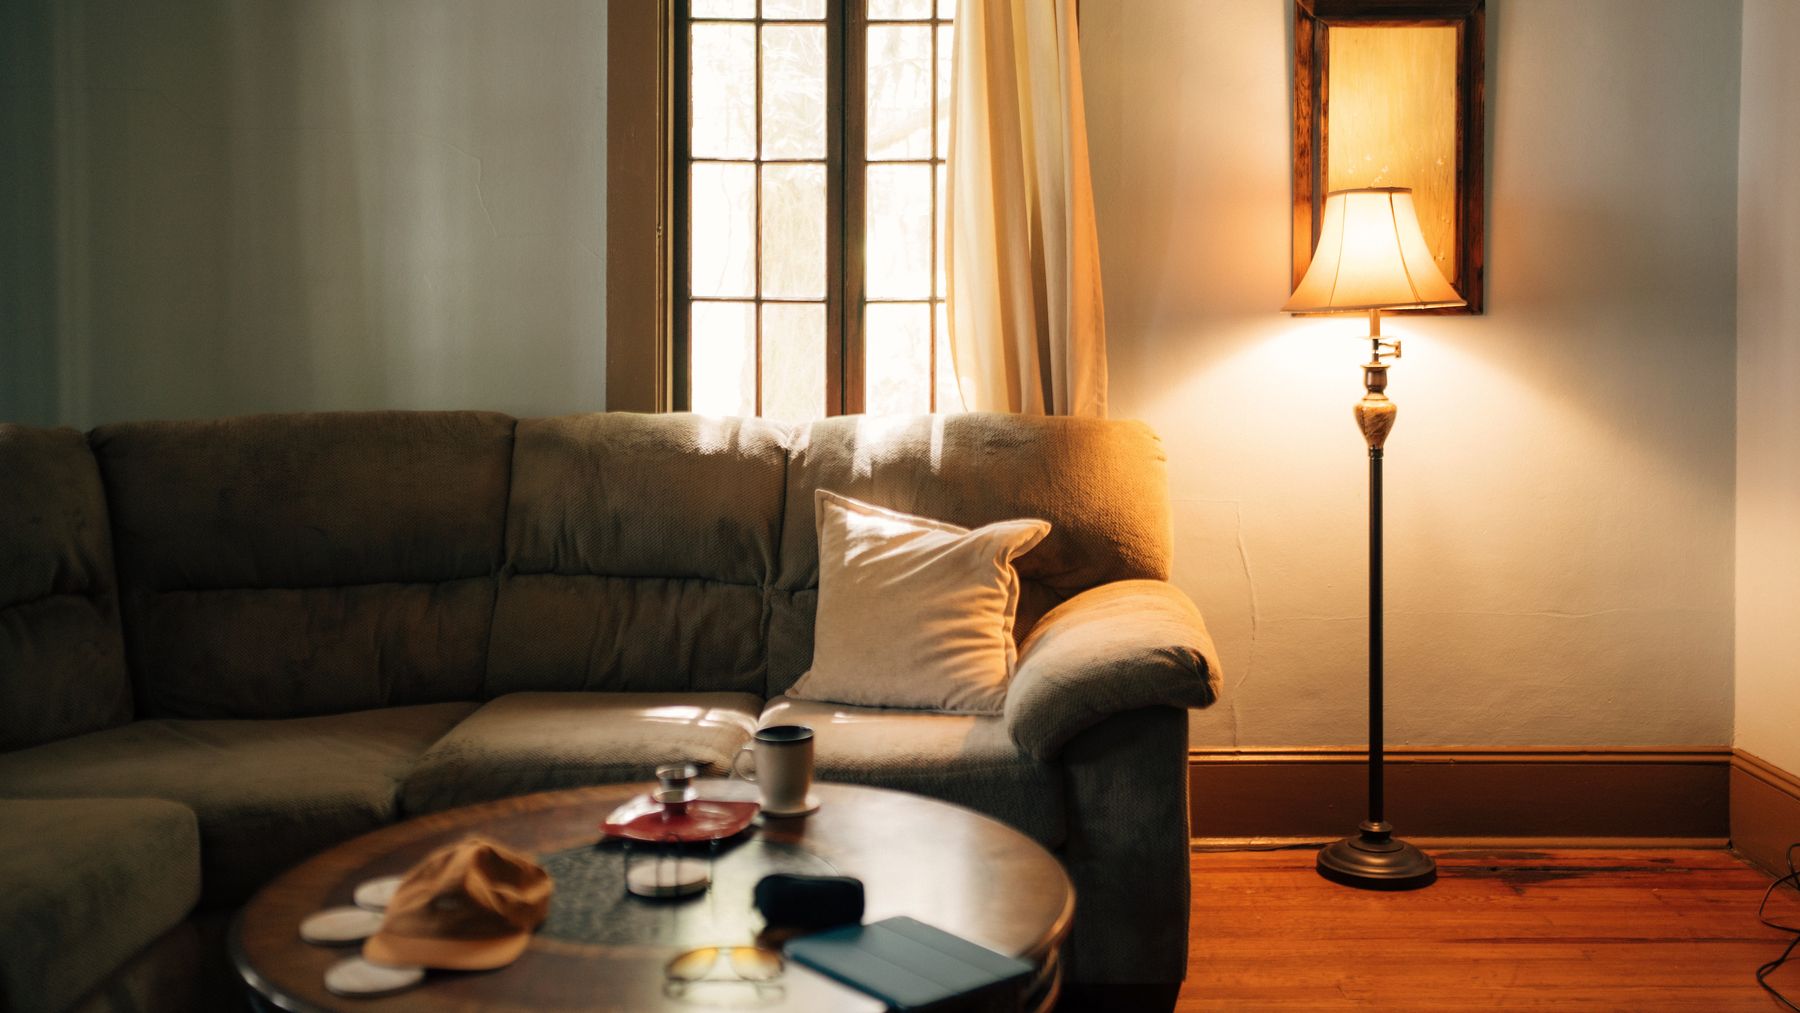
Listening light has three jobs: reveal the controls, let you read the sleeve and keep the short route to the seat visible. One glaring ceiling light rarely does all three well. Place a shaded lamp so its beam reaches the operating area without reflecting directly into the listener's eyes or casting your hand into shadow over the stylus. Check that the base does not steal the record-handling surface and that its cable joins the planned service route. A lower ambient lamp elsewhere can keep the corner connected to the evening scene while the task light handles cueing. Avoid placing hot lamps against sleeves or covering equipment ventilation. If smart controls add friction, a reachable physical switch may better suit the ritual. The [living-room lighting guide](/living-room/living-room-lighting-ideas/) explains scenes and glare; here the test is whether you can change a side safely without turning the whole room bright.
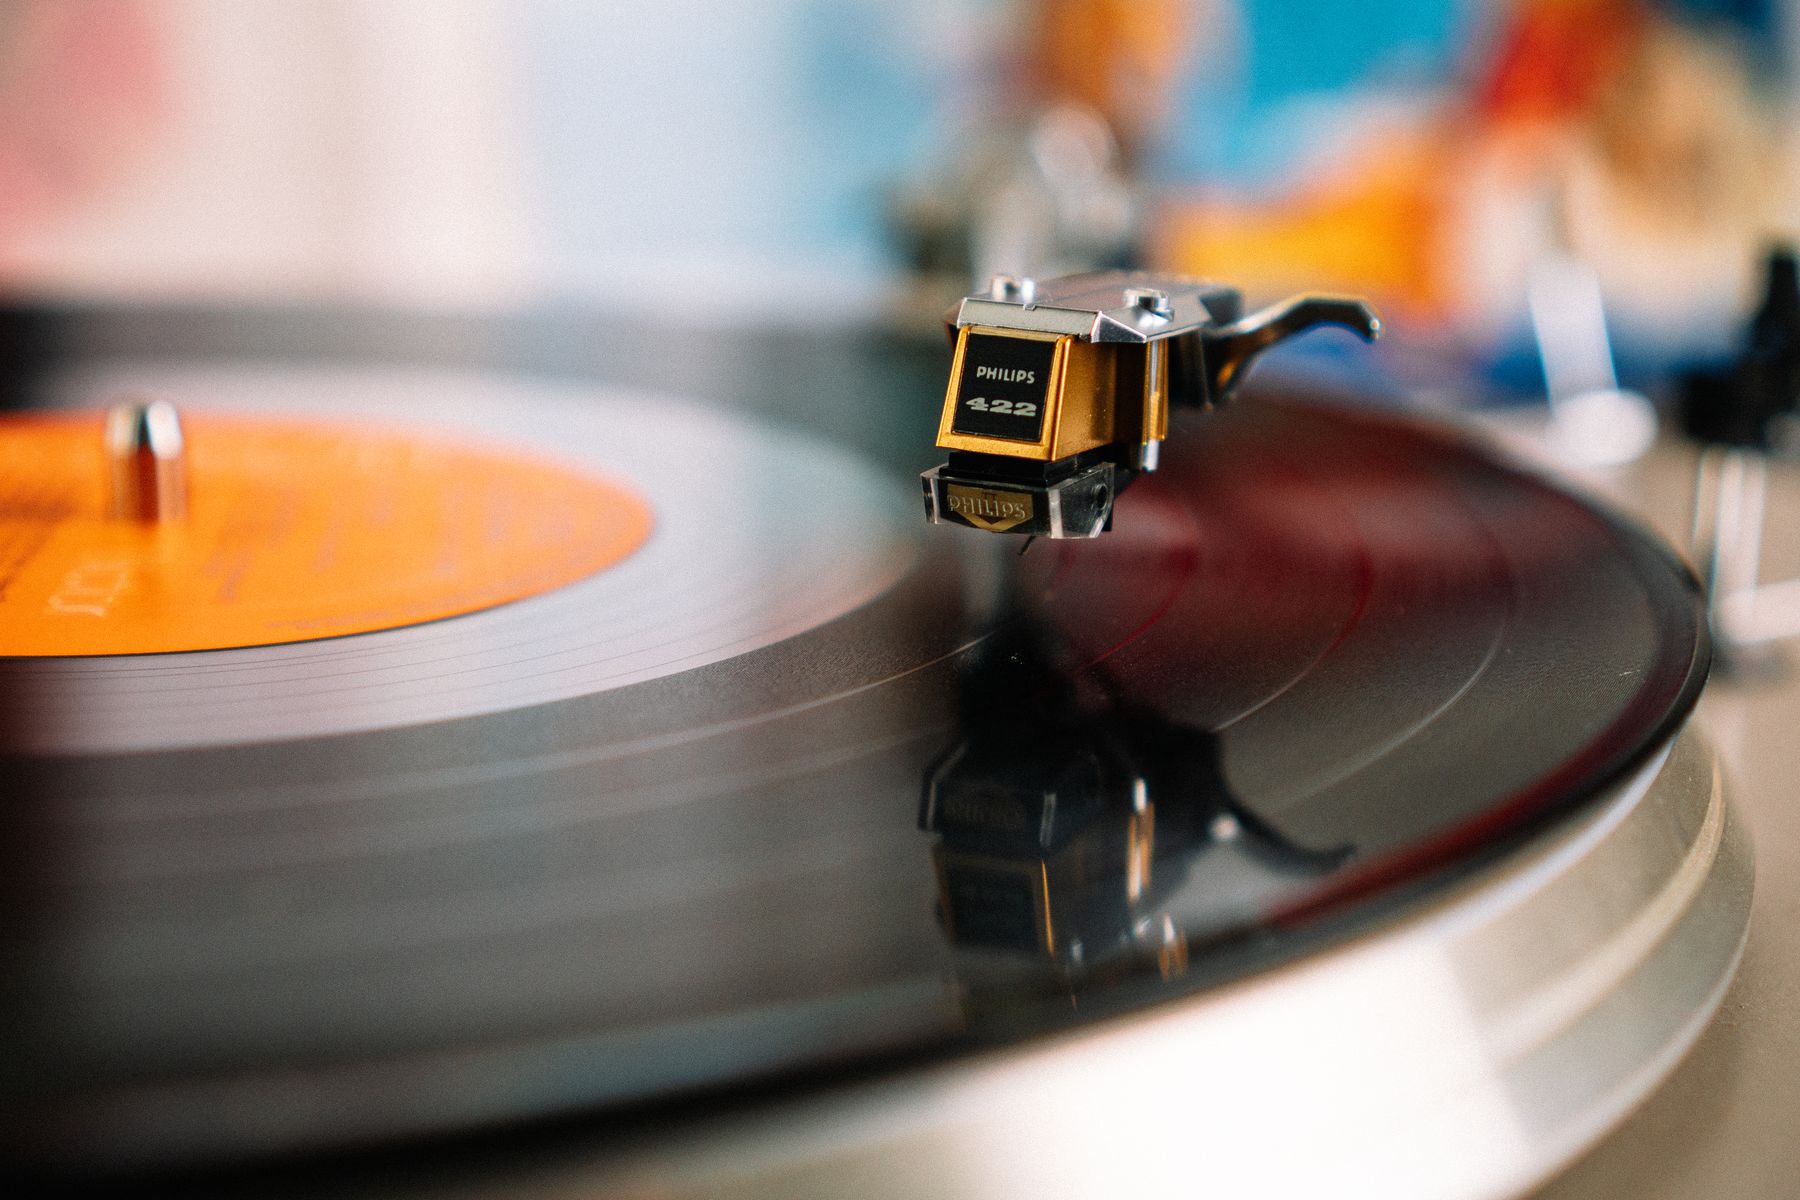
Treat Skips and Rattle as Diagnosis, Not a Shopping Prompt
If footsteps, cabinet movement or louder playback coincide with skipping or rattle, stop and identify the condition rather than buying random pads, panels or heavier furniture. Check the turntable setup and support against its manual, confirm that furniture is stable and observe whether the problem appears with footfall, a particular volume or one record. Keep diagnosis within your competence; damaged equipment and electrical faults need appropriate service. Soft furnishings can change how a room feels and may reduce some harsh reflections, but a rug, curtain or upholstered chair is not a guaranteed cure for every acoustic or mechanical problem. Use textiles because they also serve comfort, privacy or circulation, then judge the actual listening result. This prevents the corner from accumulating pseudo-technical decor and keeps claims honest.
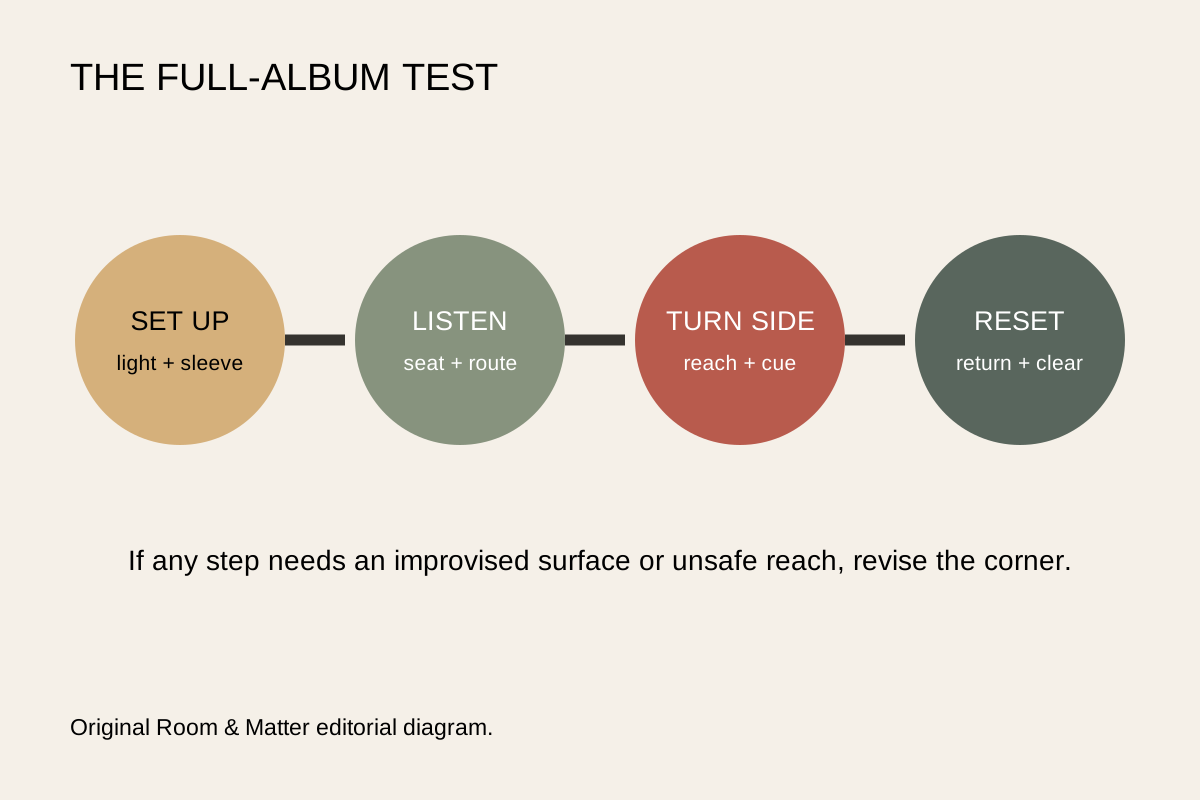
Use a Full Album as the Final Room Test
Finish by living through a complete album at the volume and time of day you normally prefer. Notice the first ten minutes, the side change and the reset afterward. Does the chair support the posture you actually adopt? Can another person cross the room without entering the equipment zone? Is the task light calm enough to leave on? Do sleeves return easily, and can equipment remain ventilated and accessible? Test quiet and louder passages without assuming that more volume equals better listening. Then edit the corner from the doorway and from the seat. Remove objects that steal operating space, block controls or make dusting difficult. Keep only additions that improve listening, handling or the room's wider composition. A successful corner should invite use on an ordinary evening, not demand a ceremonial setup each time.